clever idea with these homemade clamps 

 |
As a way to introduce our brass coins to the community, we will raffle off a free coin during the month of August. Follow link ABOVE for instructions for entering. |
 |
 |
The beloved Ships in Scale Magazine is back and charting a new course for 2026! Discover new skills, new techniques, and new inspirations in every issue. NOTE THAT OUR FIRST ISSUE WILL BE JAN/FEB 2026 |
 |


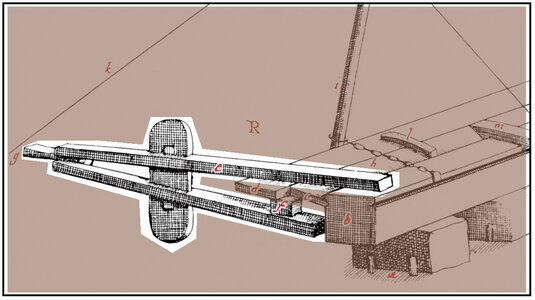
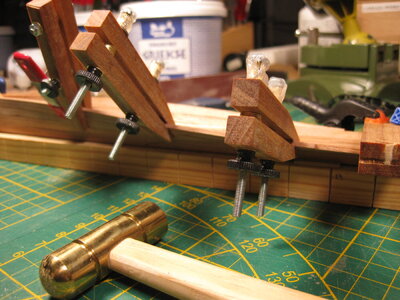
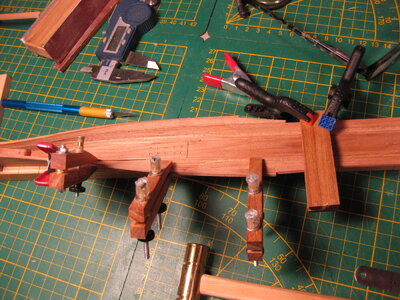
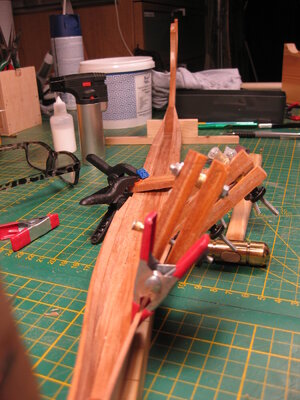
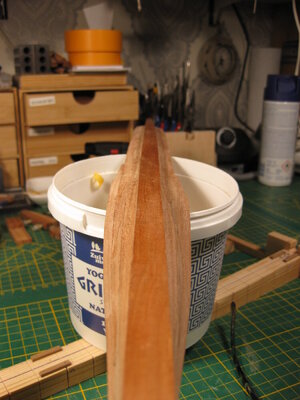
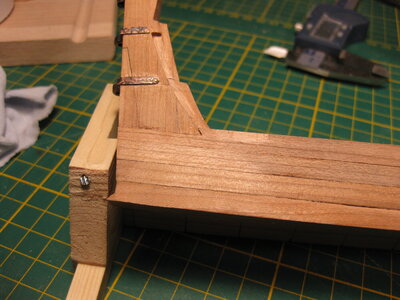
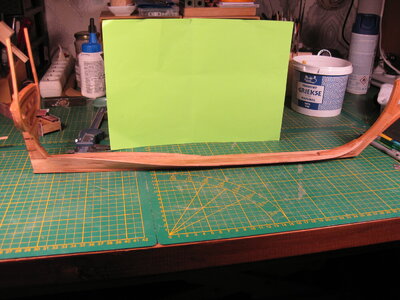

Not hard to do, he says. This is almost as bad as the use of certain saws.Thanks for the visit and the likes and @Uwek thanks for liking my clamps, the concept is more then 500 years old, I just combined it with a parallel clamp and useable for a model ship.
View attachment 365831
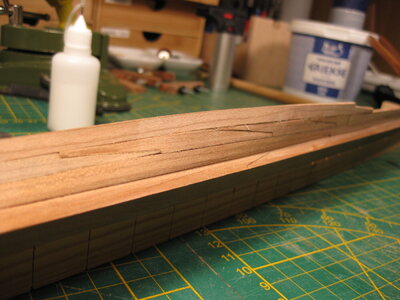
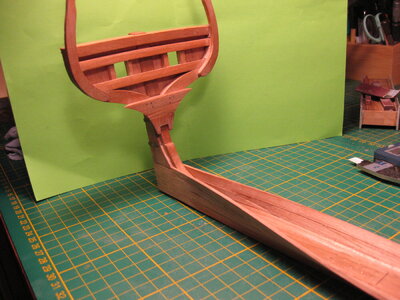
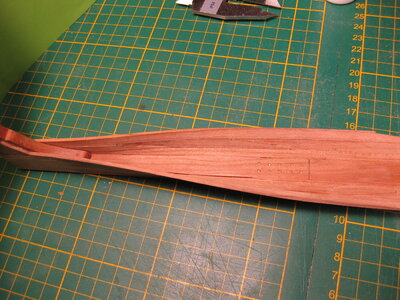
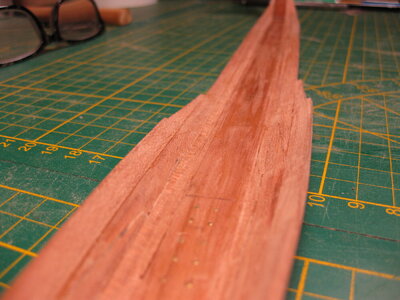
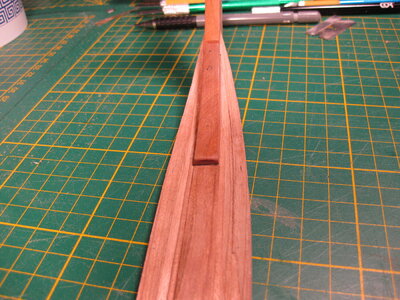
The first layer after the garboard strake was difficult. Need the hot Frankenstein wood bender to make everything in shape. The second layer of the planking of the bottom was easier to do. Just weak it in water and fasten it wet on the first layer. Gravity does the rest. After drying the plank have the correct shape and can be glued and clamped again.
View attachment 365812
View attachment 365813
View attachment 365814
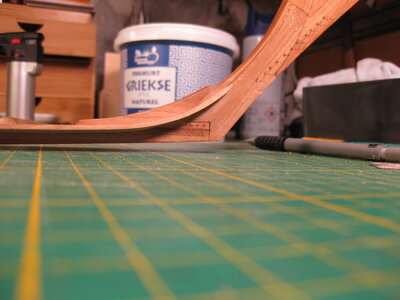
Here you can see the result of the first 1,5 layers of planks of the bottom.
View attachment 365815View attachment 365816View attachment 365817View attachment 365818View attachment 365819View attachment 365820View attachment 365822View attachment 365824View attachment 365825
This is not that hard to do, When you feel the wood how it bends and make sure the planks adjust correctly to each other the layers come in the correct way together. Patience is the keyword.
Thanks for watching.

Thanks Johann, it is also very instructive to do. You learn so much through this. I am starting to get more and more insight into why that typical hull shape of these Dutchmen came about.The construction in the model is identical to the original construction.
That is admirable!
I always forget that I'm wired differentlyNot hard to do, he says. This is almost as bad as the use of certain saws.
I do look forward to your next updates.
 . Installing the boards is easy using those old tools. But to take into account the shape of the ship, the sheer and the dimensions of everything. That is indeed a level extra high. Indeed, I have to take so much to consider to get the bottom right. Whether I will manage this the first time. I might just have to start all over again. I hope not so I will take my time.
My standard reflex in these kind of cases is: where are the form templates? That would give me some insurance on the correctness of the shape of the bottom hull (and less risk of unintentional use of the dustbin). Do I understand correctly that it's basically eyeballing the correct shape of the shell?Thanks Johann, it is also very instructive to do. You learn so much through this. I am starting to get more and more insight into why that typical hull shape of these Dutchmen came about.
I always forget that I'm wired differently. Installing the boards is easy using those old tools. But to take into account the shape of the ship, the sheer and the dimensions of everything. That is indeed a level extra high. Indeed, I have to take so much to consider to get the bottom right. Whether I will manage this the first time. I might just have to start all over again. I hope not so I will take my time.
And then there is also a Japanese saw on the corner of the table calling out in a small voice, "Use me, use me...."


For 90% correct. I use the horizontal line plan of the waterlines for direction. And when this first stage is done I will start with a few frames. So the most is on the eye.Do I understand correctly that it's basically eyeballing the correct shape of the shell?

Thanks Maarten, yes I know. It's the kwl line in the drawing where to stop. So the sheer will be also correct. So much to keep in mind at every step, but that is the fun of this way of building. Sometimes I imagen I'm on a real build back in the 17th centuryShe is looking great Stephan, can't wait to start mine
I would mark the stern and stem post at 1/3 of the depth of the hold.
This as the planking of floor and bilge would not exceed this height during planking according to Witsen.
Look at Ab s book of Abel Tasman where he shows this.

 and then I wake up.
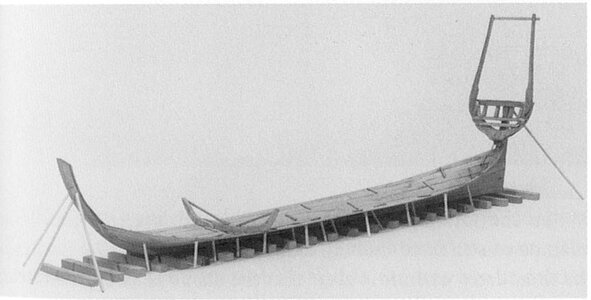
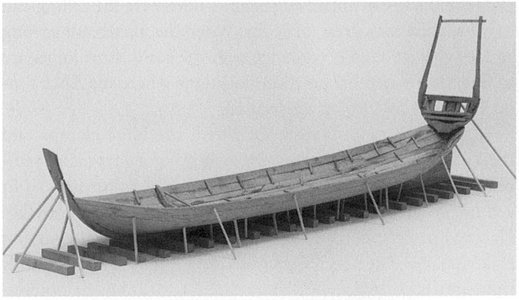

Do you need a painkiller when you cut your finger?You know back in the 17th century they didn t have pain killers, so don t cut into your fingers


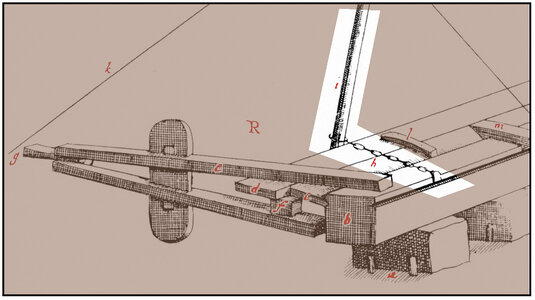
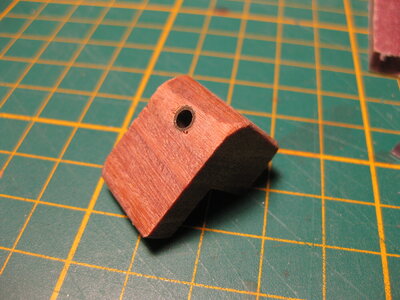
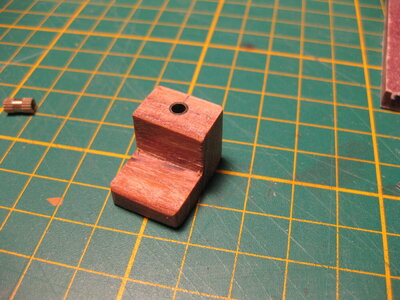
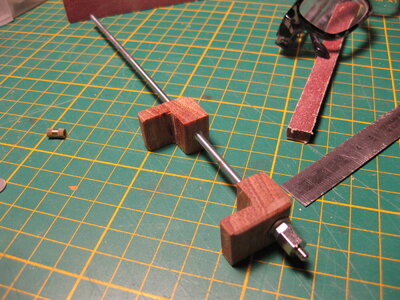
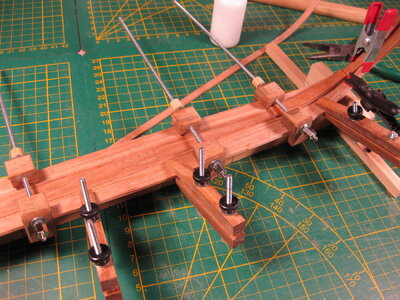
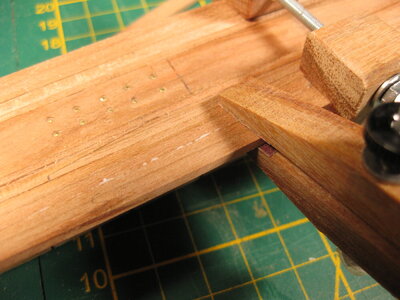
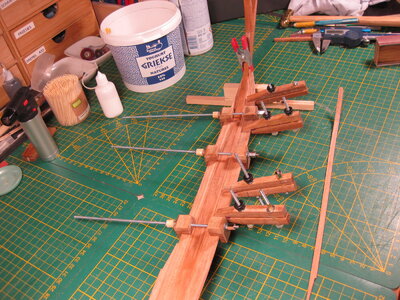


Thanks Herman. This on of the things you need to do when you go scratch build. Not everything in the shops is useble or affordable. In that case you must produce things by yourself. And when it works it as much fun then building the model.Very inventive Stephan.
You did it again, making your own set of tools.

Usable not only for shell first models, I think they would be in general very helpful
Thanks guys, I'll post the dimensions of the wooden parts and the nuts and bar.Very fine solution. very helpful indeed.
...and it shouldn't be a huge charge for sipping being it an envelope! Is the place\person who collects the shipping address?Looking at the size of these tools they easily fit in an enveloppe
