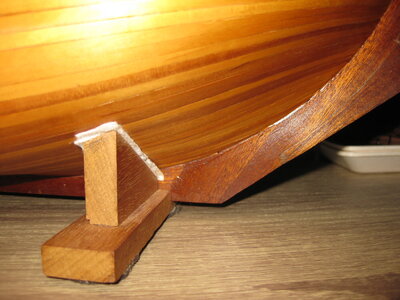
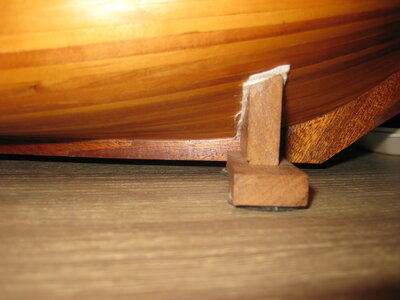
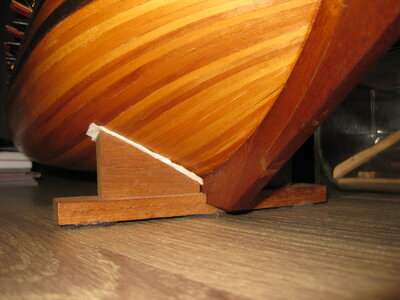
Hohenzollernmodell 1660-1670 Scale 1/75 POF build by Stephan Kertész (Steef66)

Hi Stephan,

Looking at the size of these tools they easily fit in an enveloppe :cool:
...and it shouldn't be a huge charge for sipping being it an envelope! Is the place\person who collects the shipping address?
:pROTF nice try.... guys it is fun making these things for yourself. Just try it.

@everyone thanks for the likes and visit. Hope I give you some idea's to try.

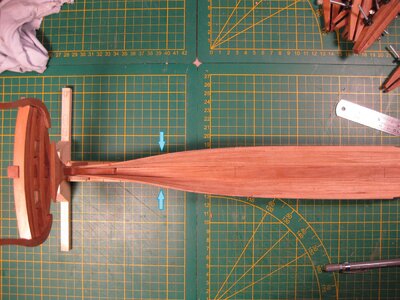
Back to my build. I had the first part installed of the 3 layer (4th include the garboard strake) on the stern beam and it was time to measure everything out to see if my work was correct. There was already doubt by me on the back part of the planking. It looks to sharp and so the width of that part is to narrow. And indeed it was.
So a part of the planking needs a RE-DO!!

First thing to start with, was to take away the 3th layer I just glued before. That was easy the glue wasn't totally hardened out.
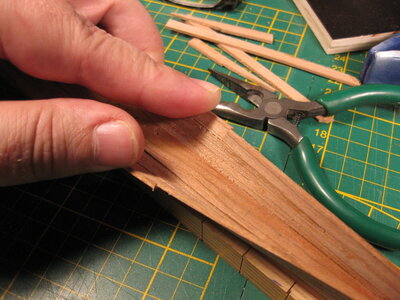
Then I cut in the second layer.
IMG_3373.JPG

The boards already naturally bowed outward after sawing.
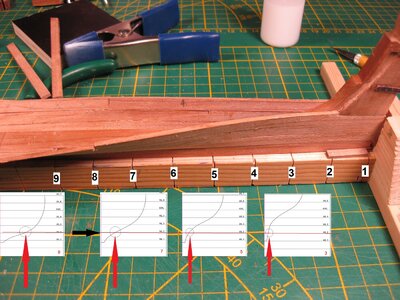
IMG_3379.JPGIMG_3378.JPG

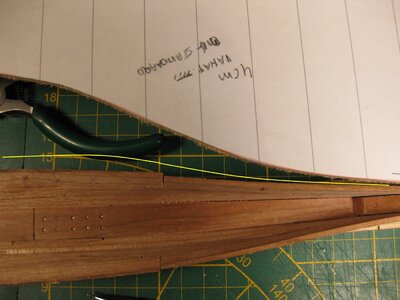
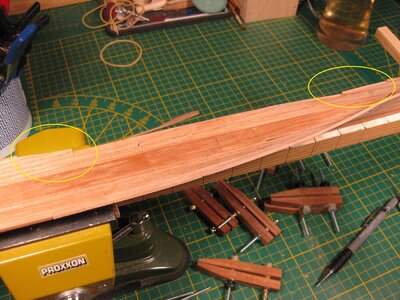
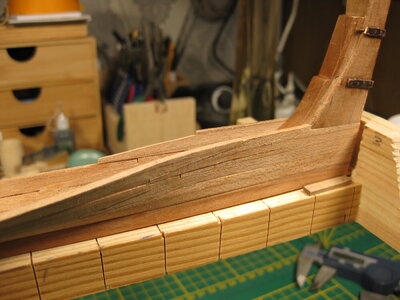
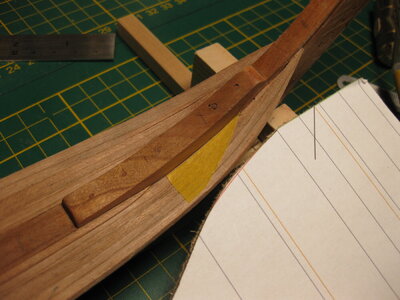
Above you hopefully can see the problem. The yellow line shows the width of the layers on that point. To frame 5 it is okay, but then it needs a bigger curve outwards on the second layer. After frame 11 (not visible in the picture) the planks are correct.

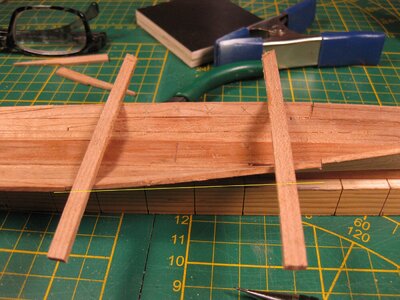
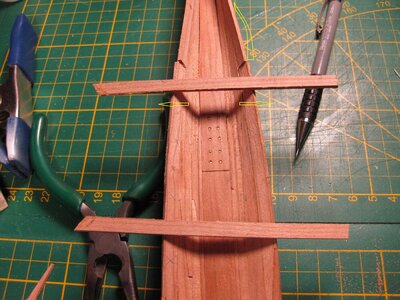
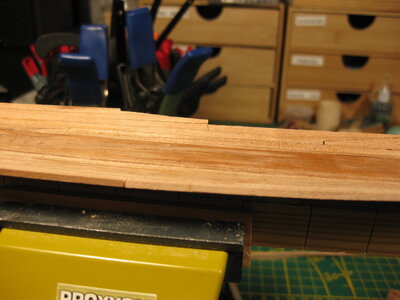
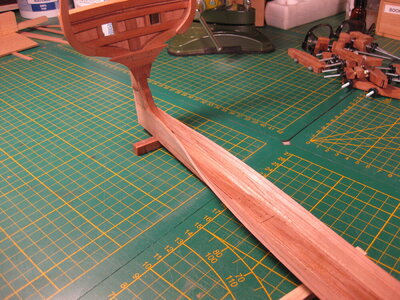
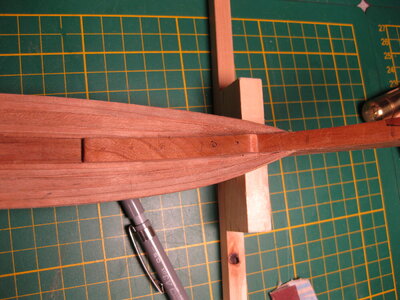
In these pictures you can see I only have to correct the second layer from 5 too 11. So I take out that part, make scarfs on the layer and put in a new plank with the correct curve. Sounds easy, but.... Lets find out and see. Hope I succeed on this one. Ill take a picture if the planks are off and the scarf joints are cut out.
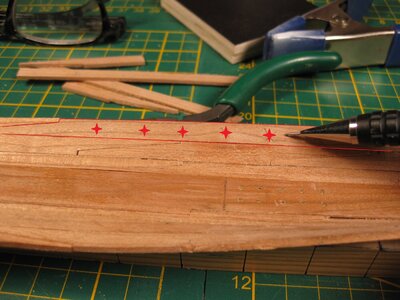
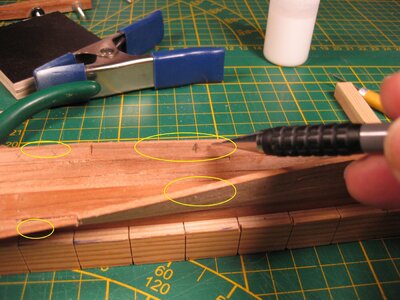
IMG_3374.JPG

IMG_3375.JPG

IMG_3376.JPG

IMG_3377.JPG
 
@Herman @RDN1954 and @dockattner thanks for the support and trust

The first layer is done.
You can see it is now more in line with the lining plan.

IMG_3380.JPG

It was not much to correct, only the place where the plank should turn is more to the back and that was the solution.

Here you can see the cut out part on the other side where still the redo have to come in. But I have to wait till the glue is harden out.
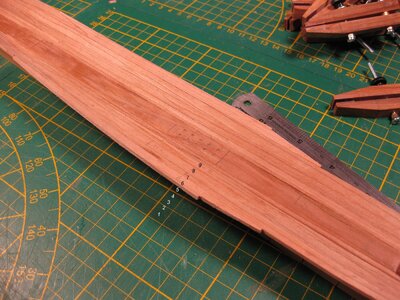
IMG_3381.JPG

IMG_3382.JPG
IMG_3383.JPG
 
@Herman @RDN1954 and @dockattner thanks for the support and trust

The first layer is done.
You can see it is now more in line with the lining plan.

View attachment 367129

It was not much to correct, only the place where the plank should turn is more to the back and that was the solution.

Here you can see the cut out part on the other side where still the redo have to come in. But I have to wait till the glue is harden out.
View attachment 367130

View attachment 367131
View attachment 367132
It’s amazing what you do, Stephan. And then there are model builders who say that PoB of PoF plankings is difficult…….. ;)
This is next-level-planking!
Regards, Peter
 
Last edited:
It is hard to disagree with you @Peter Voogt, if you think for a moment, there are so many talented people here on our forum and everyone is unique with their skills. We are all familiar with the tools @Steef66 Steph can do, but this is a very challenging task and requires a different level of skills. Bravo, I just cannot imagine what to expect next...
 
It’s amazing what you do, Stephan. And then there are model builders who say that PoB of PoF plankings is difficult…….. ;)
This is next-level-planking!
Regards, Peter
It is hard to disagree with you @Peter Voogt, if you think for a moment, there are so many talented people here on our forum and everyone is unique with their skills. We are all familiar with the tools @Steef66 Steph can do, but this is a very challenging task and requires a different level of skills. Bravo, I just cannot imagine what to expect next...
These are very beautiful words Peter and Jim, they actually make me blush. And don't really know what to say to it. I think just 'thank you' is the most appropriate response. Personally, I don't see it as a very complicated job, repeating what people did hundreds of years ago, but on a small scale. And in doing so, I hope to be able to help others try it that way too. My mistakes in this process I am therefore happy to show. Those are the most instructive in this process. And without all those great reports here, all those tips and how to do it, I could never have started this. I still always look at others to see how they solved it. And find a way to fit this to my problem in the build.
 
@all thanks for the likes and the visit to my log.
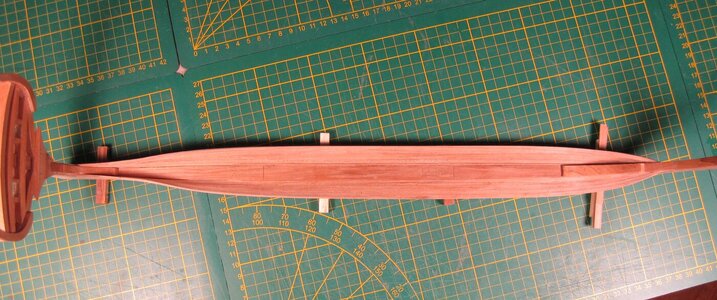
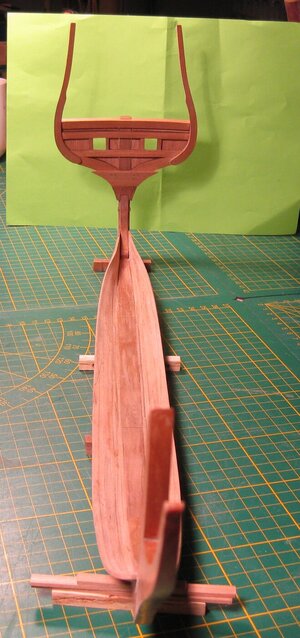
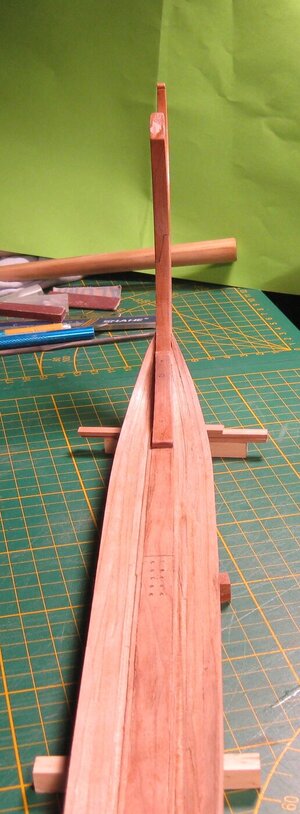
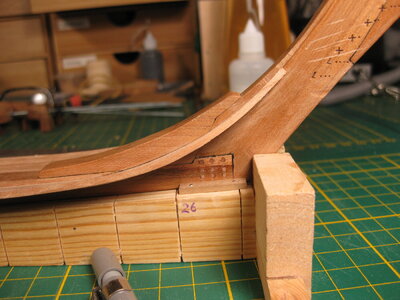
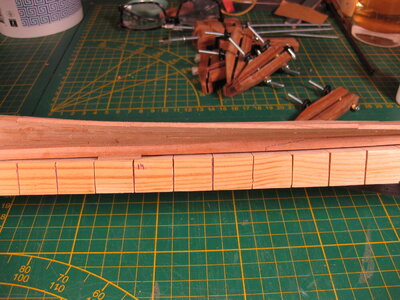
The RE-DO is done successful. I'm satisfy. The pictures look the same, the flat area is changed to a more flat area.
Some pictures of the result till now.

IMG_3384.JPGIMG_3385.JPGIMG_3386.JPGIMG_3387.JPGIMG_3388.JPGIMG_3389.JPGIMG_3390.JPGIMG_3391.JPGIMG_3392.JPG

Thanks for watching
 
Last edited:
@all thanks for the likes and the visit to my log.
The RE-DO is done successful. I'm satisfy. The pictures look the same, the flat area is changed to a more flat area.
Some pictures of the result till now.

View attachment 367432View attachment 367433View attachment 367434View attachment 367435View attachment 367436View attachment 367437View attachment 367438View attachment 367439View attachment 367440

Thanks for watching
I'm watching this with baited breath; how will this experiment turn out?
 
I'm watching this with baited breath; how will this experiment turn out?
Don't get to exited Johan :D . It is just patience you need to get the floor right. After the floor is done it will be familiar to the rest of you how the build goes on. Building bilges where the planks will attached to.
I will show you here it is not that difficult to get planks together, when you do use the right tools. The same way it was done hundred years ago.

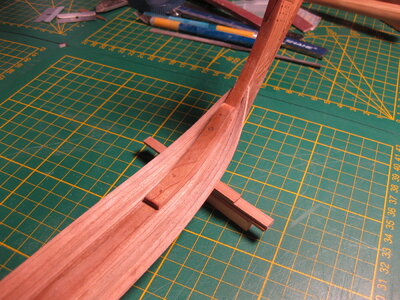
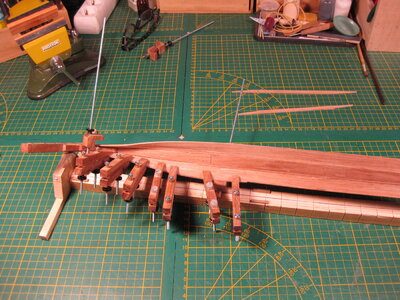
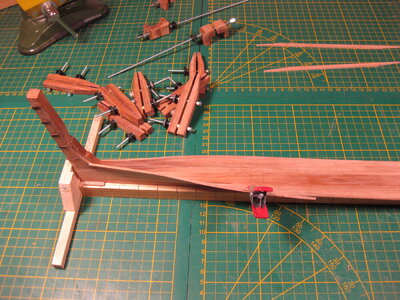
First I make the plank in shape, to be fit to the stern beam and make on the other end a scarf joint.
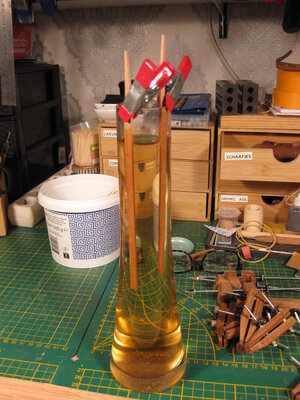
Then I sock it a few hours in water (only the part that needed to bent)
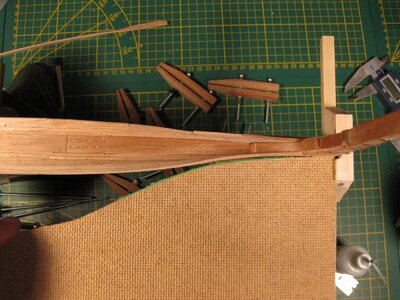
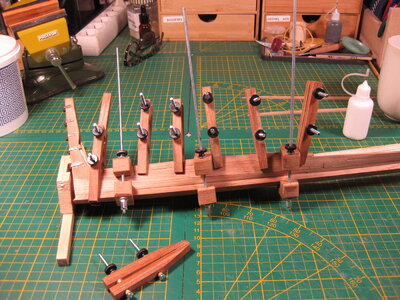
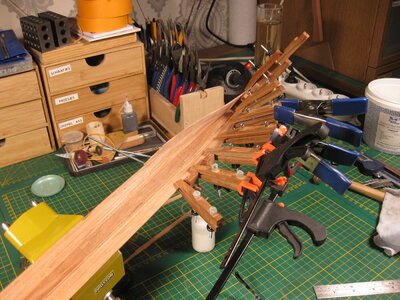
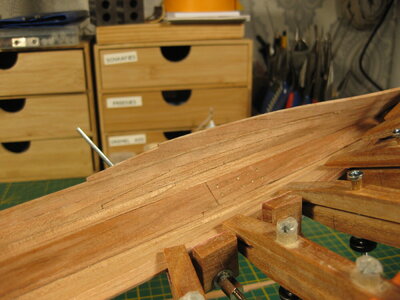
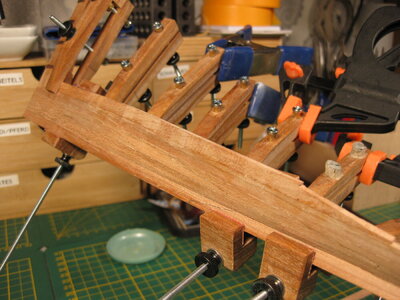
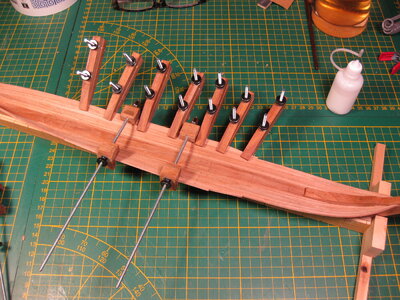
Then I fit the wet plank with the clamps to the planks of the floor that are already fitted. The weight of the clamps do the rest.

IMG_3393.JPG

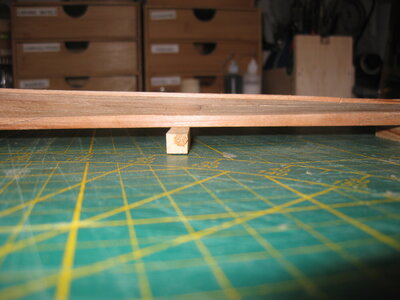
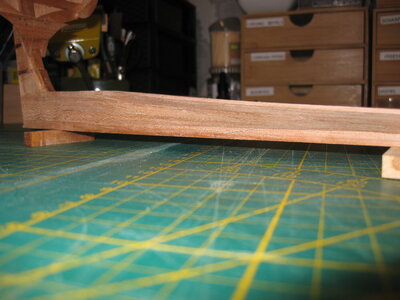
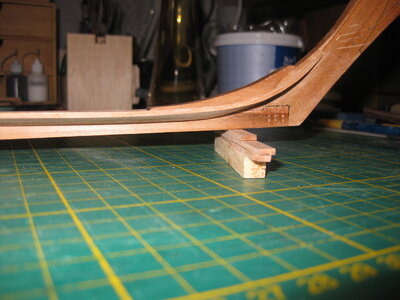
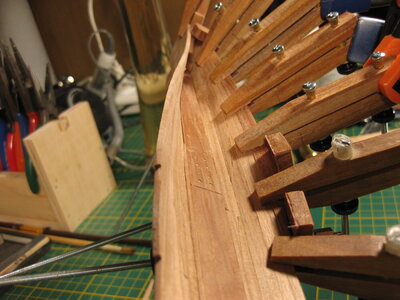
When after a night drying you can see the plank have the correct shape to be glued.
her you can see it with just 1 clamp in the middle. It fits for 90 %.

IMG_3394.JPG

This is the most difficult part to glue it on the right spot. Sometimes I wish I had an extra hand, but with some patience I get the job done.

IMG_3396.JPG

The glue I use (Pattex white glue D3) is fully dried after 4 hours. And fully harden after 24 hours. But over 4 hours I can start on the other side.

Thanks for the interest in my build, visit and all the likes.
 
And when the glue is dried enough to go on, the other side is clamped in to dry, after that it will be glued to. I put some extra clamps on the clamps to give extra weight to make sure the gravity pulls the planks straight down.

IMG_3397.JPGIMG_3398.JPGIMG_3399.JPGIMG_3400.JPG
 
@Tobias @shota70 @Peter Voogt @archjofo Thanks for the compliment and your response.
@all Many thanks for the likes and visit to my log.

This layer I demonstrated is ready, here the last one in the clamps drying

IMG_3401.JPG

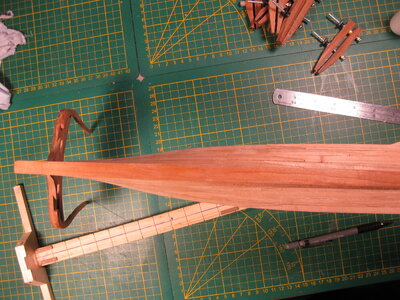
And then we can control the shape if it is how I want it.

the underside

IMG_3402.JPG


The top. That is not the same on both sides, little difference. The next 2 layers need some more attention on that point to even it a little out. The little difference is for me no problem. In an early post I already mentioned that the original model is also different of shape on both sides of the ship.
We have to live with these tiny in corrections when you build in this way. You can't avoid them building without mould.

IMG_3403.JPG

The next picture shows the layers to come before I can start with placing the bilge futtock and floor timber.

IMG_3405.JPG
IMG_3406.JPG

the 2 planks for the bow of that layer are already socking in water. The water starts to turn slowly red of the cherry wood. Maybe I can use this water later to stain the sails of my Prins Willem.

IMG_3407.JPG

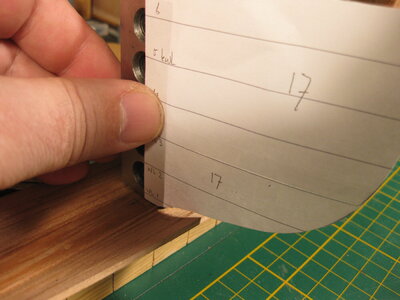
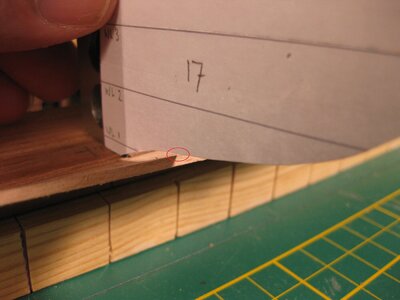
I did some measurements on the planking of the floor.

IMG_3408.JPG

Near the keel there is the shape not hollow, but flat. I think when they build shell first it is like this, flat and bold. The direction is okay when looking to the next picture where the paper hits the planking.
IMG_3410.JPG

Then the bow part where I still have my doubts on.

IMG_3411.JPG
IMG_3412.JPG

When looking to the line plan, I see that the planking go flat on the bottom, there is a more hollow part in it. Like a schooner for example. I can leave it like this. Or cut the tip of this part and lay the next layer of planing around it. The hollow part will not be in this one.

IMG_3413.JPG

I just studied my Prins Willem and decided to leave it like it is. I will get now a more Dutch bow in this case. Because looking to the bow of the Prins Willem, it is the same like mine 2-dekker.

IMG_3414.JPG
IMG_3415.JPG
IMG_3416.JPG

We will see how the outcome will be in this one.
Thanks again for the visit.
 
Back
Top