Smart man...gets to do a hobby he likes and keeps his wife happy at the same time...The HZ model having a lot of angels in the decoration. And my admiral loves angels
Well played, Stephan. Well played.
 |
As a way to introduce our brass coins to the community, we will raffle off a free coin during the month of August. Follow link ABOVE for instructions for entering. |
 |
 |
The beloved Ships in Scale Magazine is back and charting a new course for 2026! Discover new skills, new techniques, and new inspirations in every issue. NOTE THAT OUR FIRST ISSUE WILL BE JAN/FEB 2026 |
 |
Smart man...gets to do a hobby he likes and keeps his wife happy at the same time...The HZ model having a lot of angels in the decoration. And my admiral loves angels
In that case, certainly stick with the plan.And I have to start al over again. Another keel, stern and bow is needed. The HZ model having a lot of angels in the decoration. And my admiral loves angels, so she will not forgive me when I change plans.


Thanks Maarten, I already changed some parts of the lining plans because of the mistakes that are in the original. So why not this.Adfitionally you can also use Ab's two decker drawing

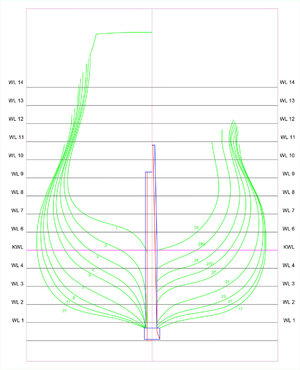
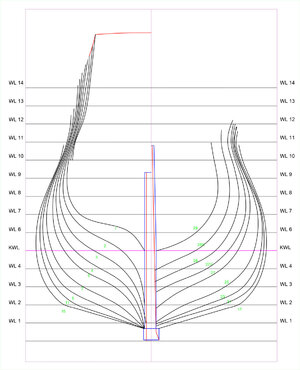
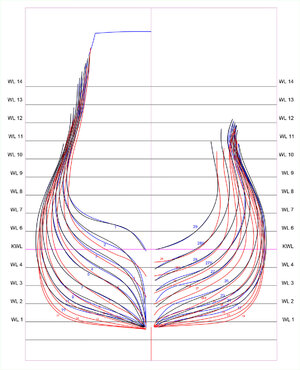
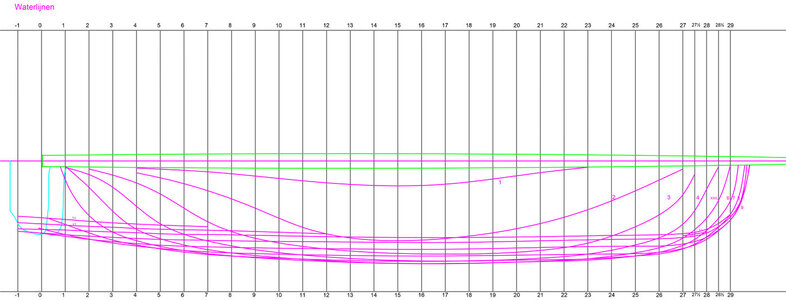

Yes, but I'm not quite satisfied. I'll save this and give it a second try to make it more like te 7P. Just a try if it is possible.Looks promissing.

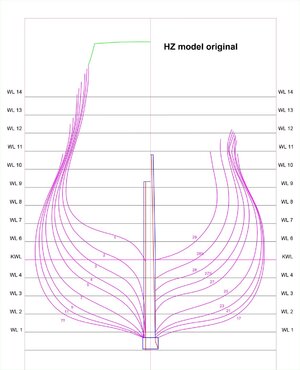
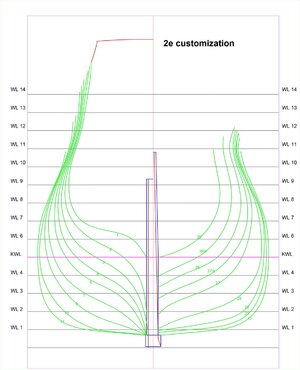
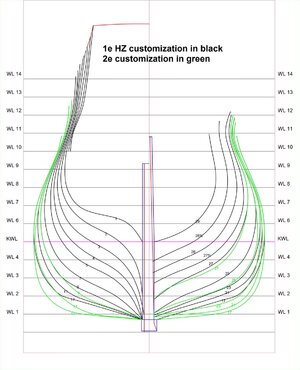
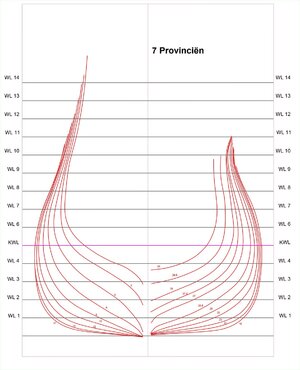

Thanks, usefull information. I'll make the 3D model in CAD to check out the hull and her shape. This only takes time and no materials.Hi Stephan,
It seems odd in the HZ model the transom is completely out of the water. However we see this also with Witsens Pinas.
What I understand is that the shape of the transome is again dictated by the available wood for the fashion pieces, so your design certainly will be possible.
You can also serch internet for Van de Velde drawings showing this in actual two deckers.
That is a major difference in shape, Stephan. And nice to see how you manage and compare all this in your CAD program.

Thanks Peter, once you understand how it works in AutoCAD it somehow easy to manage.That is a major difference in shape, Stephan. And nice to see how you manage and compare all this in your CAD program.
Regards, Peter
Thanks for your picture, there is nothing wrong with the transom, it is about the changes I made to the bottom of the plans and if that would fit to the transom.Here´s the transom of the Waasdorp (Amsterdam 1663), as drawn by Van de Velde. The shape is almost identical to the HZ. So it´s nothing unusual about it.
View attachment 372255



And I learned a lot Paul. I avoid a lot of tiny mistakes I did in the beginning.A wonderful learning experience!
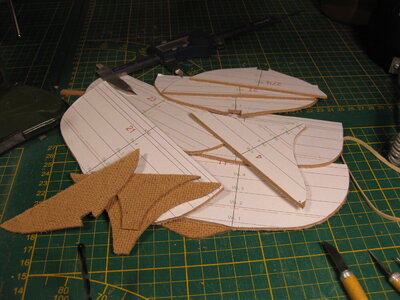
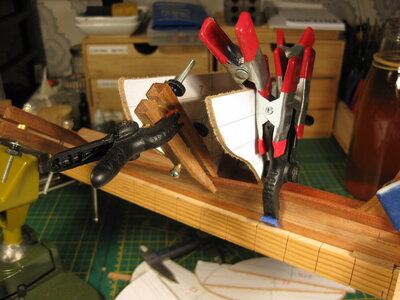
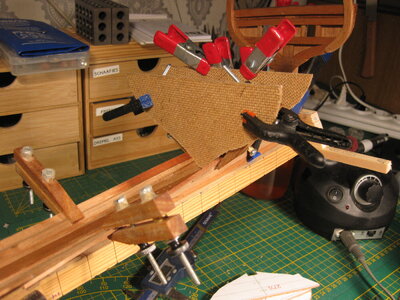

To some extent I'm pleased to see you are using "form boards". Previously, I couldn't wrap my head around the idea to build a hull without any references, other than what's in your head.@ all thanks for the likes and visit.
And I learned a lot Paul. I avoid a lot of tiny mistakes I did in the beginning.
On the Dutch forum I got a little help from Amazone, a Belgium model builder that experience this kind of build. And he notice the same mistakes as he made in the beginning in my build.
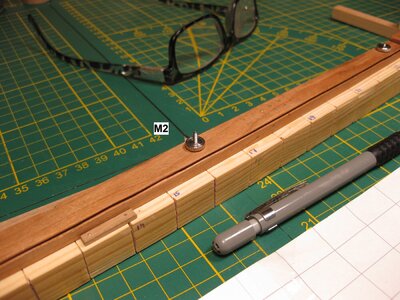
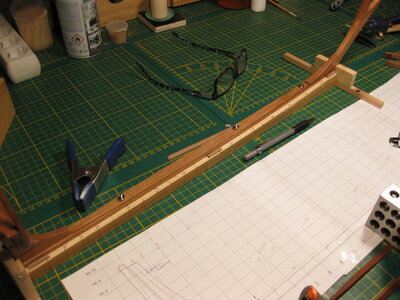
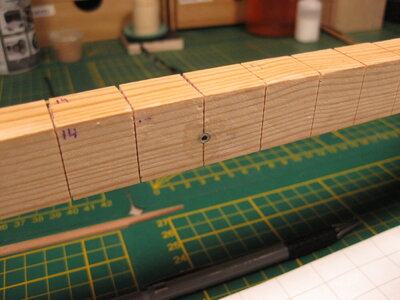
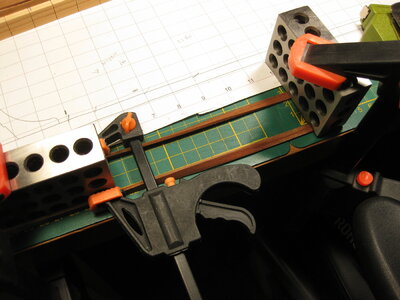
Building a jig to make the planking easy is some kind of cheating. But make some tools to measuring looks to me okay. So I will do it again like the first start. Only not with just paper cutouts of the frames. I use now hardboard to see if I go the right way. In the picture below I show them how I start bending the wet wood in place to dry. After that I cut the planks in shape before glue them.
View attachment 374014View attachment 374015View attachment 374016
I notice now also the first mistake I made the first time. The first layers of the planking of the floor I glued the first time to the knee on the stern beam. This time I didn't do that again and I only glue them to the stern beam.
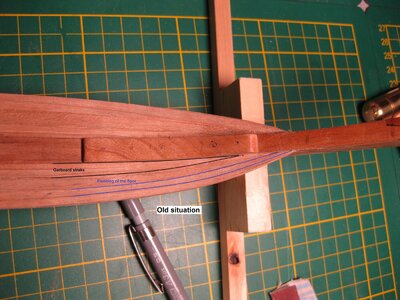
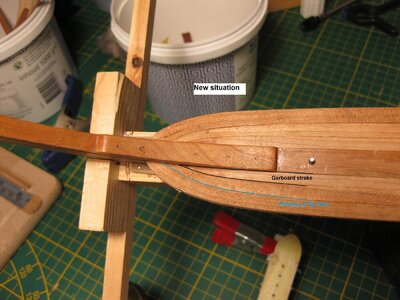
On the bow is the second change I make. The garboard strake stops earlier and I let the floor planking make a bigger turn around it. Pictures shows how
Old:
View attachment 374021
And the new situation:
View attachment 374022
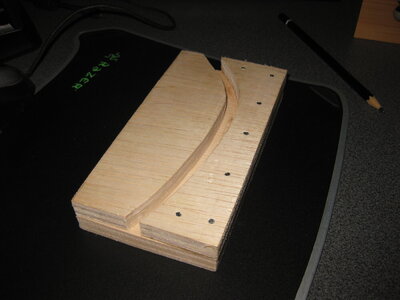
To get the planking in the correct shape, I use a jig to clamp the wet strip of wood. I show you the jig now. Next time I take a picture how this works. The jig I build before when I was working on the Newport.
View attachment 374023
Thanks for the visit
