Hohenzollernmodell 1660-1670 Scale 1/75 POF build by Stephan Kertész (Steef66)

I have to say, there are a some build logs I really look forward to viewing when there is a new post. Yours is one of them Stephan. When I was reading how you problem solve the issues you were faced with some things popped into my mind, specifically "creative thinking" and "innovative solutions". I was not surprised to see Paul to have similar observations.

I wish I had your ability to focus specifically on the issue and formulate a solution. I work at it every day. I sometimes lose momentum because of the phenomena known as "paralysis by analysis". This makes me even more envious of your ability to target the relevant cause of the issue and formulate a solution.

Keep it up. We all have a lot to learn from you.:cool:
 
I am always happy when I see you have a new post Stephan. I enjoy watching your innovative work.
Im always happy to see you around here Paul. You give me here a lot of credits

I have to say, there are a some build logs I really look forward to viewing when there is a new post. Yours is one of them Stephan. When I was reading how you problem solve the issues you were faced with some things popped into my mind, specifically "creative thinking" and "innovative solutions". I was not surprised to see Paul to have similar observations.

I wish I had your ability to focus specifically on the issue and formulate a solution. I work at it every day. I sometimes lose momentum because of the phenomena known as "paralysis by analysis". This makes me even more envious of your ability to target the relevant cause of the issue and formulate a solution.

Keep it up. We all have a lot to learn from you.:cool:
Thanks Ken. These are big words and make me blush a little. I'm glad that my work is informatie and inspire other builders.

To some extent I'm pleased to see you are using "form boards". Previously, I couldn't wrap my head around the idea to build a hull without any references, other than what's in your head.
Regardless, impressive it is! I hope to see you and your current build in Amsterdam, coming September.
thanks Johan, without these boards it will go wrong again. They are necessary. And I will be there in Amsterdam.
 
Dear Stefan
I'm confident that your persistence will pay off and you'll be successful with the last method you used, fingers crossed my friend :) Thumbsup
Thanks my friend. I will not give up until the shape of the hull is correct.
 
Again, I run into a similar problem as the first time. The problem occurs at frames 7 to 11.

20230513_193018.jpg
IMG_3421.JPG.jpg

This probably arises with the boards fitting. I glue them on the ends and flatten these sides so that they meet. But this has to be done at an angle at that spot in the fuselage because there is a big curve at that spot. This has to be done very accurately, but that is almost impossible at this scale. If the sides do not meet flush, the glue will shrink when drying and the angle will change. As a result, after gluing it won't sit as it should.

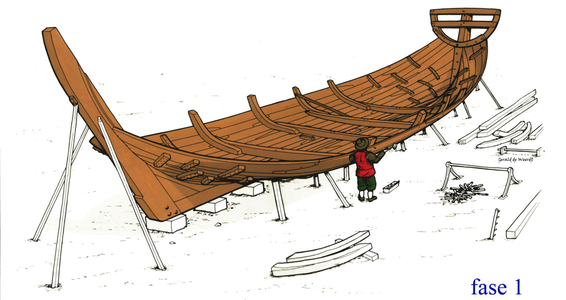
If you look at the original construction, you will see that gravity is used to keep the planks in place using posts under the hull.

Bouw-Barschip-Fase-1.png

That gravity has little effect on a model, but the tensile force of the drying glue does. I now face a dilemma of mounting the floor timbers between frames 1 to 11.
To keep the shape right at that spot. Is this cheating? But I see no other way out at that spot. The belly and bow do not pose any problems so far because the planks meet there more or less straight. It also provides another advantage to proceed this way. The place to place the beams later after there is very narrow and now you can get to it very well. After 6 layers of planking of the floor, this is almost impossible.
The tiger in me is working hard to find a solution about this problem.
20230513_195958.jpg
 
At all thanks for the likes en laughs :)
The tiger works hard and found the solution to the stern part, which seems to be impossible to make without some kind of permanent form boards. Also because they use back in that days these wooden posts under the planking of the floor to keep the shape of the floor. Like I said that the gravity helps in real is no guaranty that this helps on a model.
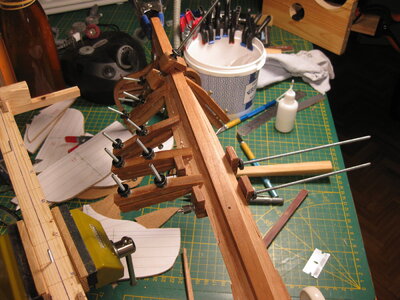
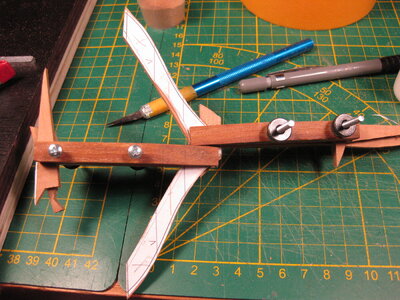
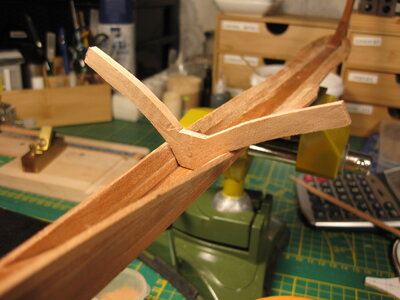
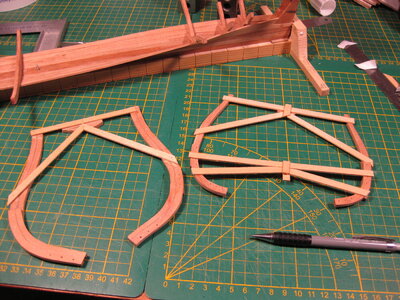
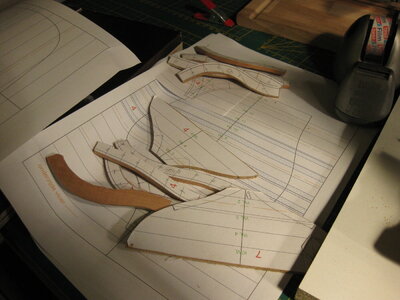
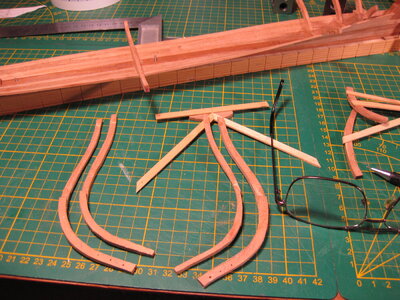
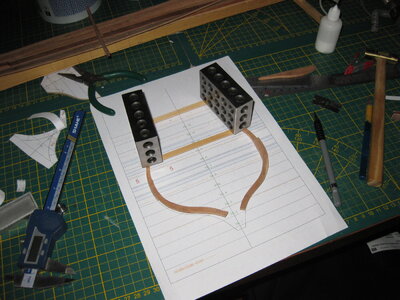
I tested and looked and discovered that frame 4, 5 an 7 are crucial when you build and get the shape right. These frames are in the ship started as a crutch on the keel. So I made these parts. In Dutch they are called "zogstukken" and in English I think they're called crutch where the steekers are attached to.

IMG_3527.JPG
IMG_3528.JPG
IMG_3529.JPG

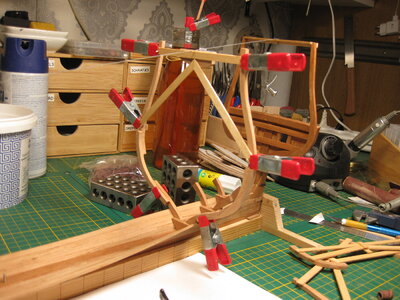
These crutch replace the wooden post, for keeping the right shape in the hull. If it works we will see if we go further planking.

Building in this way a model ship is a very different technique, using a glass plate to make sure your frames are straight? no way, you build everything on the keel from there. Sanding by hand, fitting, measuring and sanding again. One thing is for sure, most parts will disappear behind the planking. Only this build log is the prove you did it that way. Enjoyable it certainly is.
The frames are placed that I can mount frames between. Also the frames got different thickness. That was a Dutch thing to. So lets go on with the planking after this 'upgrade'

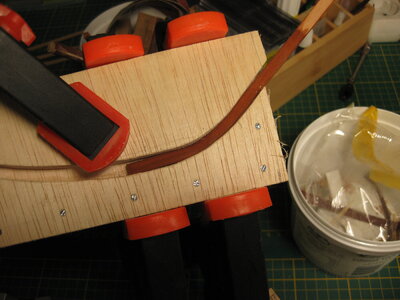
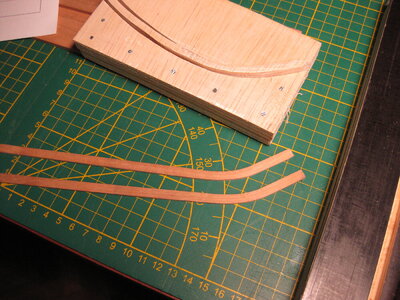
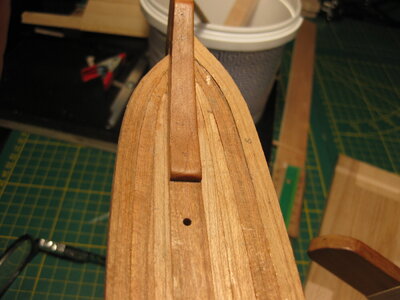
The planks I showed before in the jig are dry and ready to fit on the keel at bow.

IMG_3526.JPG

one already in place.

IMG_3530.JPG


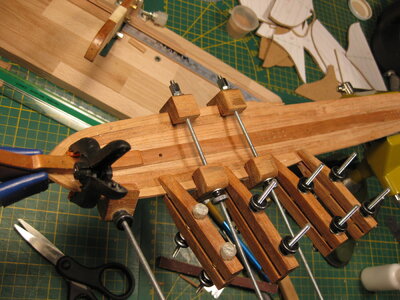
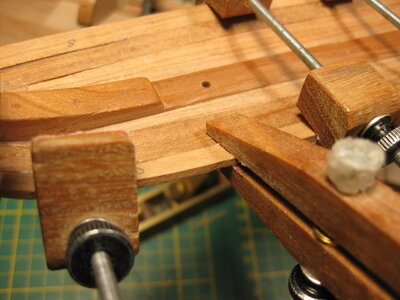
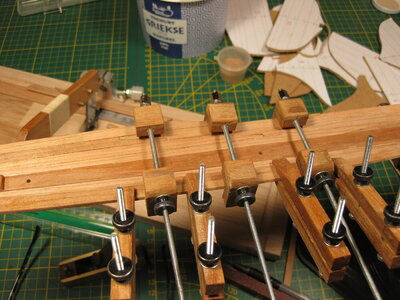
And here is the next glued in the clamps

IMG_3533.JPG
IMG_3534.JPG
IMG_3535.JPG

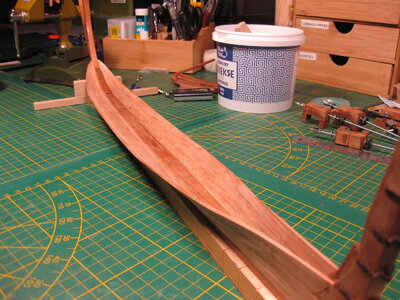
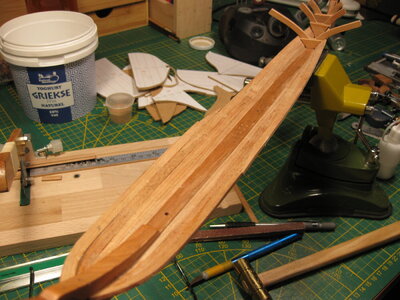
Here a picture of the stern planking this far.

IMG_3532.JPG

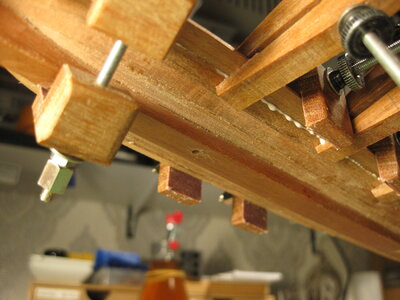
Another part in the middle in the clamps drying.

IMG_3531.JPG

Thanks for watching
 
Hi Stephan,

Missed your updates somewhere. You made great progress, much better shape as last time.
I am still convinced that you run into troubels by using straight planks. There will be too much tension on these.

I will make paper templates of the planks before fitting them, this allows you to pre shape every plank and avoid tension in the shell distorting the hull shape. Expect to start planking comming week.
Thanks Maarten, the zogstukken (crutch) are a big help forming the planks. Tension only occurs by the glue. I preform the planks before by soaking them a long time in water and then let them dry in the shape required. Works perfect and tension in the wood is at minimum. At this moment no problems, just to get the shape right. But these zogstukken en buikstukken (floortimber) I had place, are working out. Without you need another solution for the shape and that is your idea of a bathtub, you mentioned.
Later I wil show the new layer I did incl. frame 17 I made.
I like this way of building.
Hi Stefan,

I skipped the bath tub idea. Just build it in thin air like you did but maybe rest it on wooden poles like they did in the 17th century for carrying the weight of the planks.
These can function as a negative frame.
My ships bottom is completely flat which makes it maybe more simple.
My planking at the bow is also different jn setup due to the square bow of the fluyt.
We will see.
You will experience the way of planking in this way. There is so much to learn. Don't shy a redo.
 
Thanks all for the likes and visit.
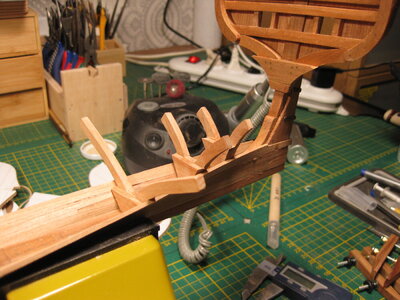
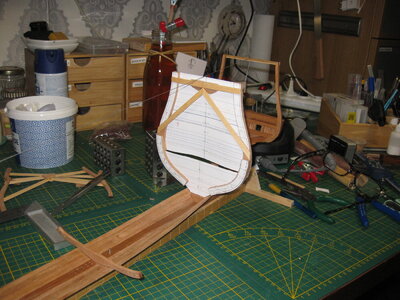
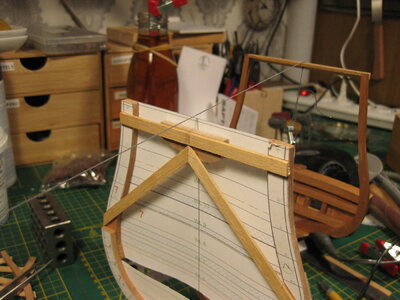
No planking this time. I was working on the frames where I already installed the 'zogstukken' Crutch on the keel to secure the shape of the hull. It looks to me wise to do it in this stage.
Not easy to measure those things out when a part is already installed. But I managed to line the frames out and dril the holes for the pins to attached the frames in a later stage. Just one to go and then I can go on planking.

IMG_3546.JPGIMG_3547.JPGIMG_3548.JPGIMG_3549.JPGIMG_3550.JPGIMG_3551.JPGIMG_3552.JPG
 
I think it was very wise to make a go at frame construction at this stage. I believe it will 'inform' the planking job because you now have a fuller appreciation of what lies ahead. Remember, the guys who did this 300+ years ago were experienced ship builders who could envision next steps. You are essentially rediscovering things they accepted as routine. And who is to say they didn't use aids along the way (like partial forms) for the critical stages of construction or in areas that defined the contours they were looking for?
 
Back
Top