L´Amarante 1:36 POF

Dear friends, I apologize for the late response. I'm abroad and I have limited ability to respond to all posts. Regarding the wood, Tobias has already partially answered (thank you very much), maybe just a link to boxwood - store.octopus.com.tr.
The gun - I am of the opinion that what was actually metal should be metal on the model as well. For this reason, plastic 3D printing is not a solution for me. I can't cast metal nor do I have the equipment to do so, so the only solution for me is turning. But turning has one big advantage and that is the time requirement. For this reason, I also have to decline all requests for custom manufacturing. I'm so sorry shota70.
thank you very much for answers my friend
Everything is fine and there is nothing to apologize for :) I'm fully understand
I hope my question did not cause any discomfort
 
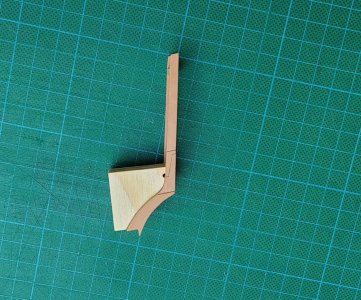
It's fantastic to see how clean and precise these counter pieces have turned out. It's something completely different when you have the opportunity to make them with a router. Clean work Thumbsup
 
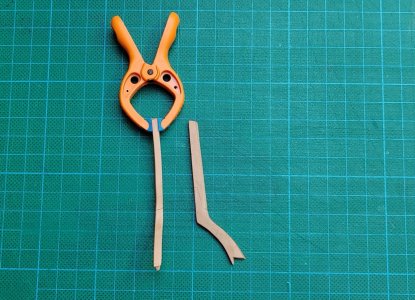
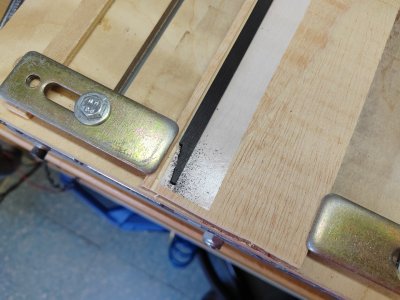
You are right Tobias. Although it takes a while to find the right procedure and prepare everything on the computer, the result is more than satisfactory. In addition, machine production of parts has one very significant advantage - if I do something wrong, it is not a problem to make the necessary part again (which I use quite often).
 
I keep on following your work.... so impressive! so thank you for sharing your skills and work.
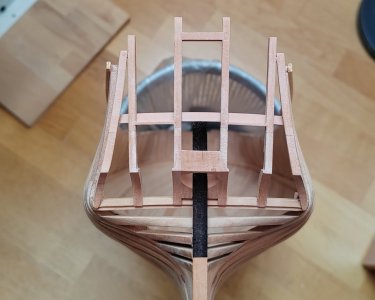
Question: i see that you have a strip of wood glued to the top of the beams, see blue arrow..... i am assuming it is not a permanent glue so you can remove it once the structure is secured. What product/glue are you using? is it easy to remove later on?
Thank youLA_0278.jpg

LA_0278.jpg
 
Tank you guys fór all likes and nice comments.
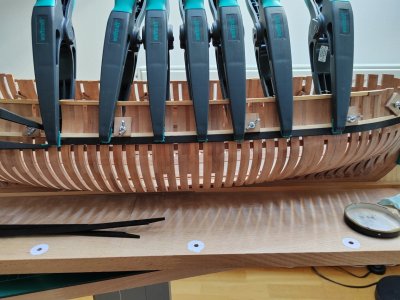
To StephaneDC - I am using White PVA glue. If you blow the connected parts with hot air from a hair dryer, the parts can be separated from each other without damage. In addition - the frames are made a little longer and the bar is glued to this extension.
 
As always, very precise execution. It's always a pleasure to see an update from you, soon we'll be at the same stage of construction and I'm looking forward to benefiting from your work and learning from it.
 
Thanks guys for all the likes and comments.
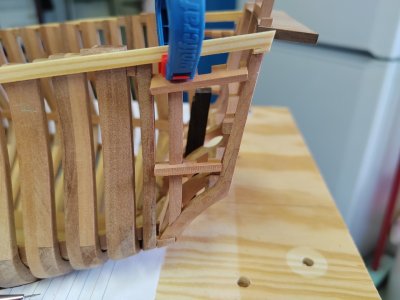
In reality, it doesn't look as simple as in the photos. One example for all. I was trying to glue the second strip under the wale. I chose the thickness of the plank in accordance with the drawings a little weaker than wale. After gluing this planks (on both sides of course) the result was absolutely terrible. Due to the curvature of the ribs at the place where the planks were glued, both planks almost buckled in height in some places. So I decided to remove the planks, make new ones significantly weaker and now I'm gluing them again. I hope it's the last time. And then I have lower wales (again with scarph joint) waiting for me, which will be another treat.
 
Back
Top