-

Win a Free Custom Engraved Brass Coin!!!
As a way to introduce our brass coins to the community, we will raffle off a free coin during the month of August. Follow link ABOVE for instructions for entering.
-

PRE-ORDER SHIPS IN SCALE TODAY!
The beloved Ships in Scale Magazine is back and charting a new course for 2026!
Discover new skills, new techniques, and new inspirations in every issue.
NOTE THAT OUR FIRST ISSUE WILL BE JAN/FEB 2026
You are using an out of date browser. It may not display this or other websites correctly.
You should upgrade or use an alternative browser.
You should upgrade or use an alternative browser.
La Candelaria - Occre Build log
- Thread starter Alan56
- Start date
- Watchers 21
-
- Tags
- la candelaria occre
Very good Uwek. I'm just starting to wrap my head around the differant types of planks like drop planks & stealers. At this point it's a little over whelming but further research should correct that.Maybe this pdf will help also
Yes - prepare yourself with reading and watching some of the building logs.
And be aware, the planking on the second ship model is better..... with planking you have to make your experiences
Not easy to get really perfect results.....
And be aware, the planking on the second ship model is better..... with planking you have to make your experiences
Not easy to get really perfect results.....
This morning I assembled the stairs leading up to the quarter deck. The stringers are pre made but the material for the treads is balsa wood which I didn't care for & besides it's not wide enough. Not sure what type of wood the stringers are made of but I have plenty of cherry which matches up nicely. It took some time to cut & fit the treads (1mm thick) but I think they turned out pretty good. The balsa board from the kit is in the foreground.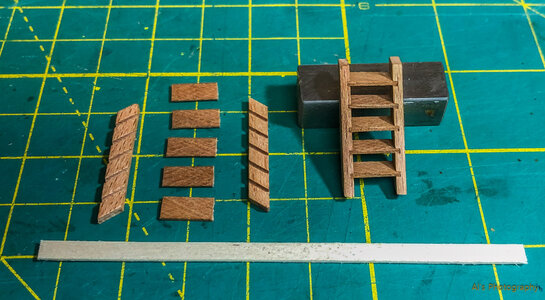

Still waiting on a book I ordered for planking the hull so I'm working on other details.
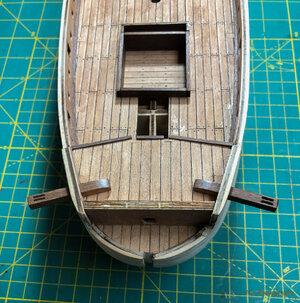
The cathead beams needed to be slotted so I marked out & drilled 3 holes for each slot then used an x-acto knife along with abrasive cord to complete the task. Thanks to Frank W. for the tip on the abrasive cord.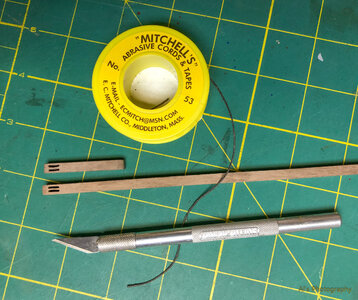
The cathead beams needed to be slotted so I marked out & drilled 3 holes for each slot then used an x-acto knife along with abrasive cord to complete the task. Thanks to Frank W. for the tip on the abrasive cord.

Love your ladders....I am doin the Beagle from OcCre and the ladders are metal....I hate them....may try to make yours based on this photo...thanks....they look really good.This morning I assembled the stairs leading up to the quarter deck. The stringers are pre made but the material for the treads is balsa wood which I didn't care for & besides it's not wide enough. Not sure what type of wood the stringers are made of but I have plenty of cherry which matches up nicely. It took some time to cut & fit the treads (1mm thick) but I think they turned out pretty good. The balsa board from the kit is in the foreground.View attachment 408618
Thanks Gene. The stringers are from the kit & I'm glad they were not metal. If you have a hobby table saw it wouldn't be that hard to make your own.Love your ladders....I am doin the Beagle from OcCre and the ladders are metal....I hate them....may try to make yours based on this photo...thanks....they look really good.
It's been a while since I posted progress on my ship because I've been spending the last 3 or so weeks trying to figure out how I'm going to attack this important step of planking the 2nd. layer. I've been looking at other build logs, watching videos & reading a book on the subject & I believe I'm confident enough to proceed.
One hurdle was figuring out how to taper the African Walnut boards consistently. At .5mm thick this stuff is dry as tinder & splinters very easily so I devised a jig to hold 4 planks together at an angle & sand them down. Hopefully the photos here show how I accomplished this. The clamp is actually from a hull clamping kit meant for holding the keel. The strips of wood are set apart to hold 4 strakes at once & are stepped from .5mm to 2mm which will take a 5mm wide board & taper it down to 3mm. I can see another week or two before I'm finished.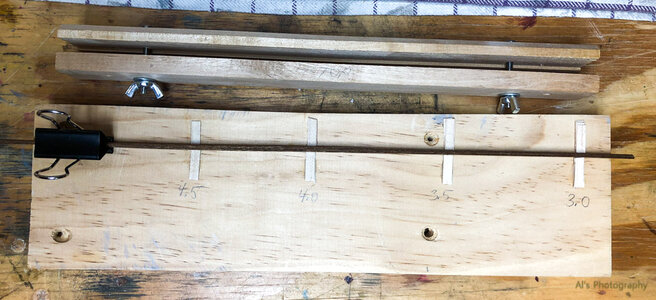
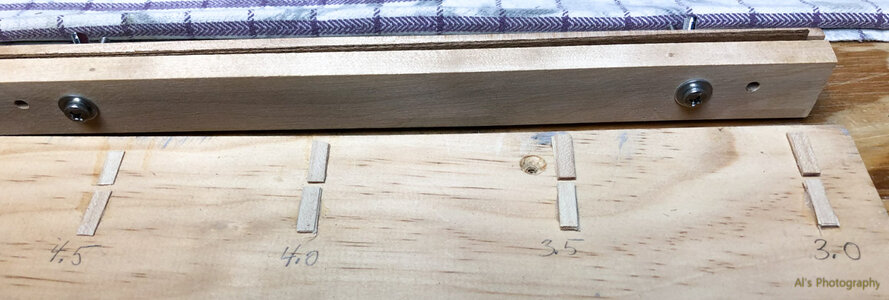
One hurdle was figuring out how to taper the African Walnut boards consistently. At .5mm thick this stuff is dry as tinder & splinters very easily so I devised a jig to hold 4 planks together at an angle & sand them down. Hopefully the photos here show how I accomplished this. The clamp is actually from a hull clamping kit meant for holding the keel. The strips of wood are set apart to hold 4 strakes at once & are stepped from .5mm to 2mm which will take a 5mm wide board & taper it down to 3mm. I can see another week or two before I'm finished.


This is looking very promising Alan!
Thanks Paul, I appreciate the vote of confidenceThis is looking very promising Alan!
- Joined
- Jun 17, 2021
- Messages
- 3,199
- Points
- 588

This second layer already looks very nice.
Very nice!!
Between holiday stuff & the CA glue debacle, I took a step back for a while, but got back to work on it over the weekend. How did you get your belt-line planks to lie flat in one solid strip? Mine kept wanting to buckle, so I decided to go with a “planking” method like the decking, and it’s working out quite well.
Between holiday stuff & the CA glue debacle, I took a step back for a while, but got back to work on it over the weekend. How did you get your belt-line planks to lie flat in one solid strip? Mine kept wanting to buckle, so I decided to go with a “planking” method like the decking, and it’s working out quite well.
Welcome back FrankVery nice!!
Between holiday stuff & the CA glue debacle, I took a step back for a while, but got back to work on it over the weekend. How did you get your belt-line planks to lie flat in one solid strip? Mine kept wanting to buckle, so I decided to go with a “planking” method like the decking, and it’s working out quite well.
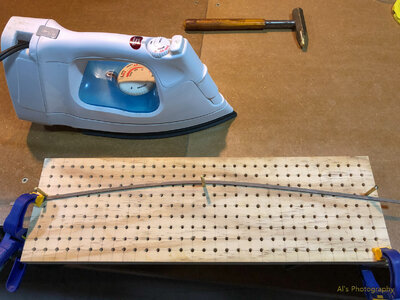
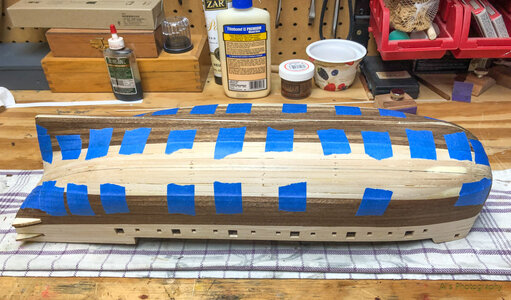
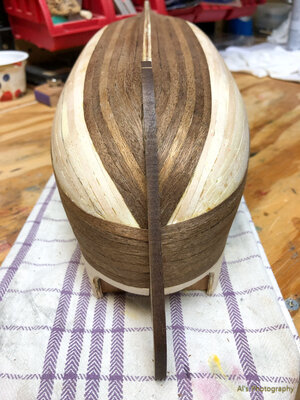
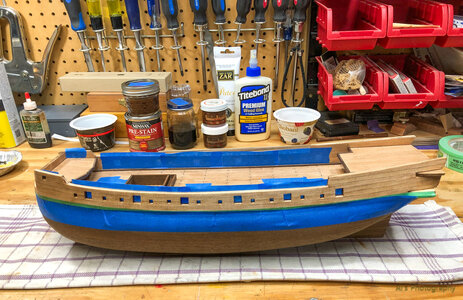
The photo shows me bending a rubbing strake. Once removed there is some spring back so the bend isn't as exaggerated as it looks.
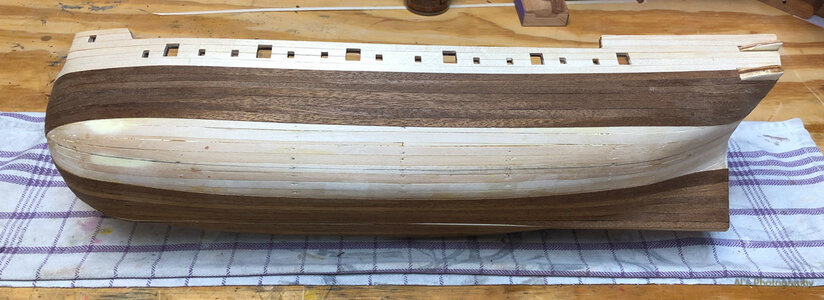
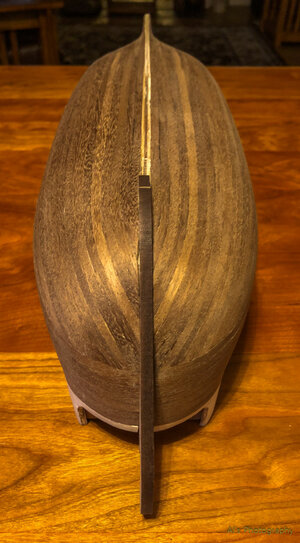
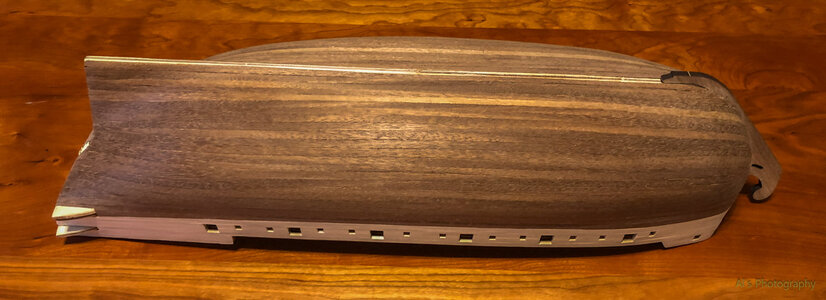
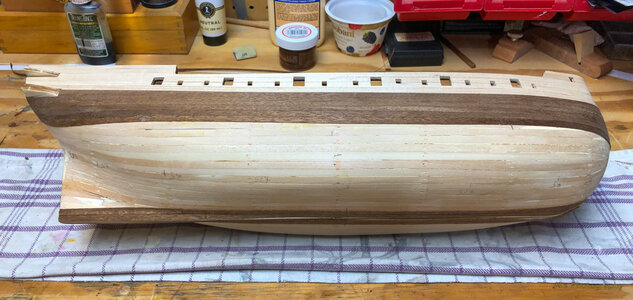
WAy to go Allan.I'm finished planking the 2nd. layer & did some sanding yesterday. Still need to finish sand & some minor touch ups before adding the rubbing strakes.View attachment 414534View attachment 414535
Again, that is some very nice work! I will admit I wasn’t feeling quite THAT ambitious, at least not yet for this build. I’ll probably update in a few days when I have something a bit more worth looking at.
And those catheads came out looking sharp… glad that worked for you.
And those catheads came out looking sharp… glad that worked for you.
Last edited:
gracias axelQuizás este pdf también ayude


