
And in the same galaxy. ")

 |
The beloved Ships in Scale Magazine is back and charting a new course for 2026! Discover new skills, new techniques, and new inspirations in every issue. NOTE THAT OUR NEXT ISSUE WILL BE MARCH/APRIL 2026 |
|
 |
As a way to introduce our brass coins to the community, we will raffle off a free coin during the month of August. Follow link ABOVE for instructions for entering. |
|


So true Dave. These kits would be considered "Advanced Level" and could be frustrating to build by less experienced modelers.Although this was a kit, there was a lot of improvising and scratch building involved.
IMHO, I would be considered most of POF builds (kit included) an 'Advanced Level'So true Dave. These kits would be considered "Advanced Level" and could be frustrating to build by less experienced modelers.
")


Its not even close to finished in that picture... LOLWow that really looks beautiful Mike.
Cannot wait to see it finished!!!Its not even close to finished in that picture... LOL
How do you like the Keel Klamper?
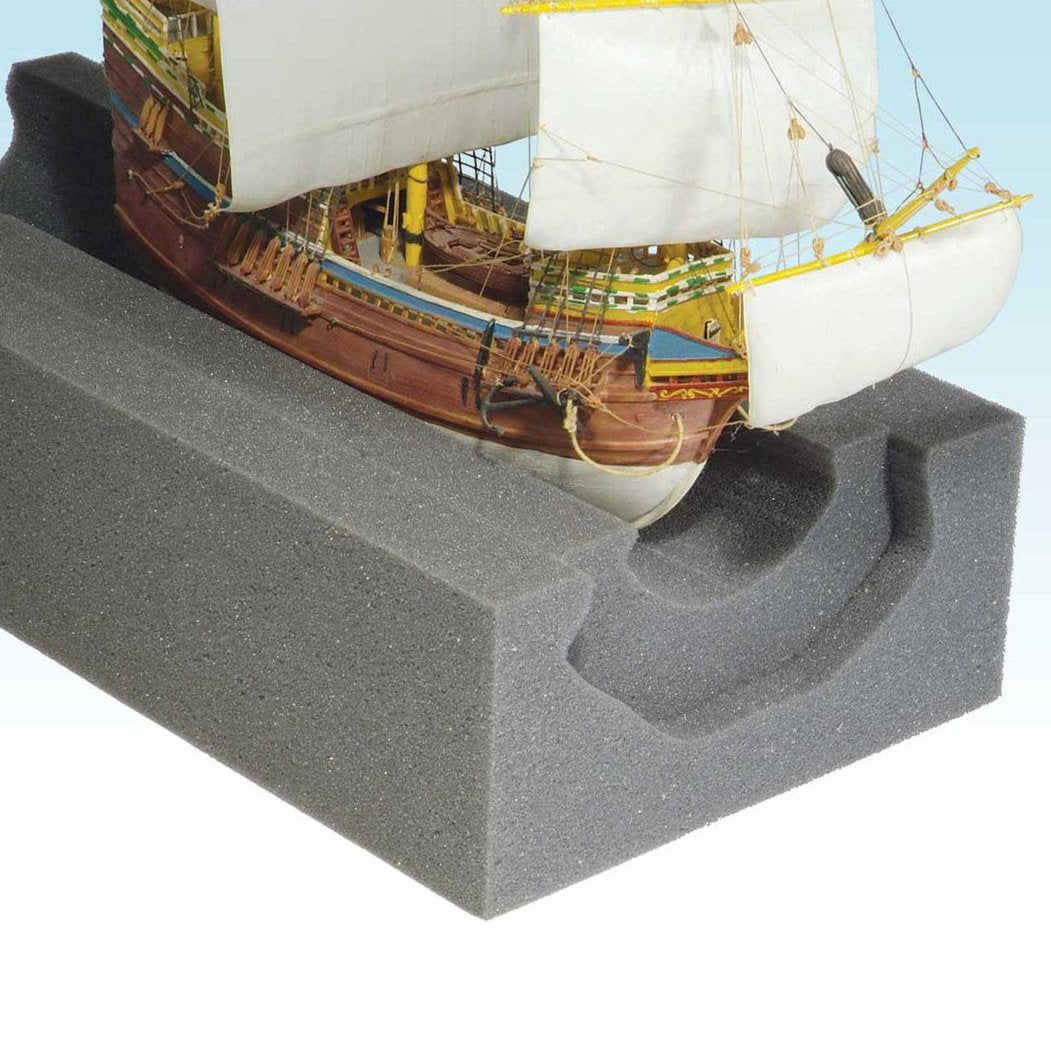
Ahhhhh, you need to beware of the keel clamper!!! While it is ok for generally holding the model for display photos and what not, I would NOT recommend it for actually working on the model. Particularly models that have built up keels. If you were to knock the model hard you could actually break off the bottom of the keel by accident. It is better to build the model in one of those u-shaped dense foam holders. So, it depends on the type of model you are using it with...... so beware..I have one of those and love it!
Jimsky my good friend... I finished this model in 2015 so I have a feeling you may have seen it before....Cannot wait to see it finished!!!
I would add my few kopeiks (Russain for cents). It is mostly useful to build structural parts e.g. bulkheads framing and while planking. it does have a ball joint to maneuver in different positions.Ahhhhh, you need to beware of the keel clamper!!! While it is ok for generally holding the model for display photos and what not, I would NOT recommend it for actually working on the model. Particularly models that have built up keels. If you were to knock the model hard you could actually break off the bottom of the keel by accident. It is better to build the model in one of those u-shaped dense foam holders. So, it depends on the type of model you are using it with...... so beware...
Thanks Kurt and Mike, that was my concern. I like the ability to set at different angles to get inside the hull but...guess I’ll keep looking.so beware..
guess I’ll keep looking.
my few kopeiks (Russain for cents)


