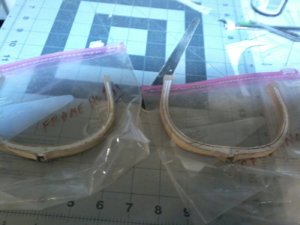
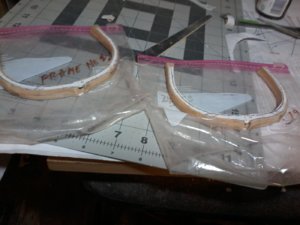
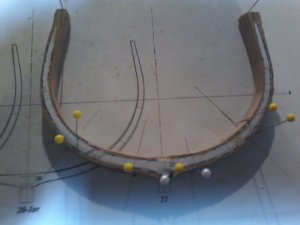
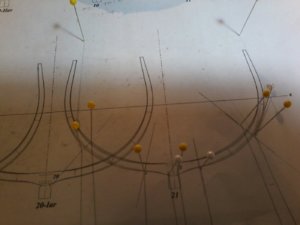
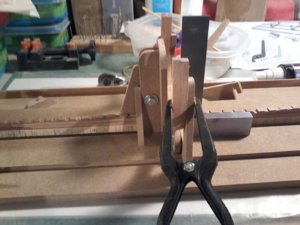
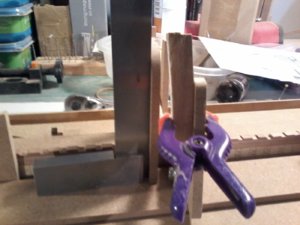
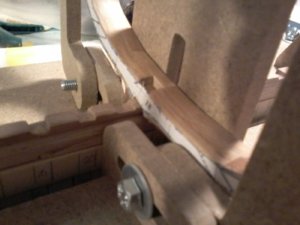
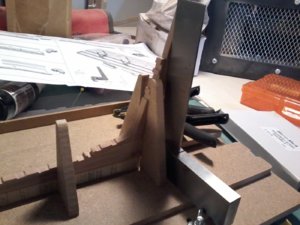
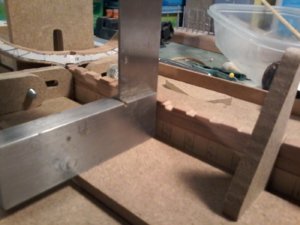
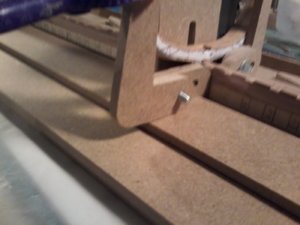
Exactly Don, this is the way. It helps you extra with outlining the frame as the paper is more ridged like this, the frame will not deform during glueing.HI GUYS, Is this what you are talking aboutView attachment 144397View attachment 144398View attachment 144399
-

Win a Free Custom Engraved Brass Coin!!!
As a way to introduce our brass coins to the community, we will raffle off a free coin during the month of August. Follow link ABOVE for instructions for entering.
-

PRE-ORDER SHIPS IN SCALE TODAY!
The beloved Ships in Scale Magazine is back and charting a new course for 2026!
Discover new skills, new techniques, and new inspirations in every issue.
NOTE THAT OUR FIRST ISSUE WILL BE JAN/FEB 2026
You are using an out of date browser. It may not display this or other websites correctly.
You should upgrade or use an alternative browser.
You should upgrade or use an alternative browser.
LE ROCHEFORT
- Thread starter donfarr
- Start date
- Watchers 37
-
- Tags
- ancre le rochefort
About the other frames You have to sand them to the other lines of the paper. Just very carefully bit by bit.
OK GOT IT, it took awhile but i got it, i have plenty more frames to go, still in LOCKDOWN so i have to do every other FRAME THAT I HAVE MADE because of the plans, so will continue with that. THANKS GOD BLESS STAY SAFE Don
- Joined
- Oct 23, 2018
- Messages
- 886
- Points
- 403

Thanks Gilles for showing what I mean. I don't have any frame in the moment , where I can show it.
Don,
you have prepared the notches in your frame. The notch in your paper pattern must match with the notch in the timber. Then it is exactly what I mean.
Don,
you have prepared the notches in your frame. The notch in your paper pattern must match with the notch in the timber. Then it is exactly what I mean.
- Joined
- Oct 23, 2018
- Messages
- 886
- Points
- 403

Don,
it's difficult to say. It's a question what do you think, how much "meet" do you need to cover your normal building tolerancies, to get a fine hull.
If the drawings are hand drawn you need also more wood. This you can check easily if you mirror some frame templates on the axis. If the lines match, everything is fine.
For a model, which will be build with CAD drawings and normal building tolerancies, I think less 1mm is enough meet. If you are not sure you can give a little bit more, max 1.5 until 2mm.
- Joined
- Feb 18, 2019
- Messages
- 717
- Points
- 353

To solve a problem, if there is one and to avoid future problems......
You must have a process to follow: strict and regular building steps.
Then, if there is a problem, you must understand what it is and where it comes from.
This is achieved by checks along the way to avoid an accumulation of small problems. Understanding the relationship of a particular part within the assembly of a series of parts to make a complete frame or the framing as a whole.
Then you must apply this same process to all your frames.
I will make the same suggestion I made earlier: work on a simple frame, frame # 14 or 15 for example.
Once you can accurately make these, following your process, work your way to the stern and the stem: all the others will work out as well.
Building frame 14 or 15 must be looked at a learning step. The frames further back and forward are an evolution of these basic frames: that is why one of those frames is called a master frame.
There is more to say about this, but who really wants to spend time reading.....
This said....
The frame in the photo may look good on its own, but is it accurately put together? Will it fit within the assembly of the framing as a whole?
The photos do not tell the whole story: let us see the photo showing the final check for this particular frame.
If the assembled frame fits, lines up with the original frame pattern with some accuracy, and the modeler verifies that, then the question "how does this look" or "am I on the right track" is not really needed. The accuracy of the fit over the original pattern will dictate the amount of extra meat needed on each frame to compensate any error made.
And as far as that amount of extra meat needed, only YOU can evaluate that need: according to how confident YOU are with the accuracy of YOUR work from the time YOU begin fabricating the components making an assembled frame. There will be an evolution in your confidence: it will get better as YOU gain experience from frame to frame. You also have to keep in mind that the least amount of meat you keep, the better you will be able to judge the accuracy of your work as it is easier to use reference points the closer you are to the lines.
Back to my cage.
G
Last edited:
- Joined
- Feb 18, 2019
- Messages
- 717
- Points
- 353

Don,
Looks good and you have come a long way! Congratulations.
G
Looks good and you have come a long way! Congratulations.
G
GILLES I TOO FEEL THE SAME AS HEINRICH, THE MORE READING THE MORE IDEAS TO CHOOSE FROM,,,, AND BTW THANKY YOU VERY MUCH IT TOOK A WHILE BUT HERE IT IS. Don
You are getting there Don, looks great.
THANK YOU MAARTEN IT WAS A LONG HAUL BUT WITH THE GREAT HELP OF SOS MEMBERS I PROGRESSED, LET US SEE WHAT HAPPENS NEXT . GOD BLESS BE SAFE Don
You are building a ship from scratch.THANK YOU MAARTEN IT WAS A LONG HAUL BUT WITH THE GREAT HELP OF SOS MEMBERS I PROGRESSED, LET US SEE WHAT HAPPENS NEXT . GOD BLESS BE SAFE Don
YES I AM. GOD BLESS STAY SAFE. Don
Don,
It appears that your framing efforts are going much better now. There is nothing more satisfying than forward movement acquired through difficulties. I am very happy for you.
God Bless you.
Steven
It appears that your framing efforts are going much better now. There is nothing more satisfying than forward movement acquired through difficulties. I am very happy for you.
God Bless you.
Steven
Hi STEVEN my dear friend yes it is going much better thanks to everyone on SOS WHO MADE SUGESTIONS AND OFFERED HELP. GOD BLESS AND STAY SAFE Don
Hi Don,
It looks like a shipyard.
If you are running out of materials what you can do is to redesign your build board.
What I would do is to add a waterline to the building board for properly positioning your frames. In your drawing set there should be a sheet showing the waterline plans, select the waterline halfway the hull height at the maximum breadth. Copy it to a proper plate of plywood.
Draw the frame positions in it and notches for the spaces between the frames. Remove the inner part and check it on the original shape on the drawings, it should be an exact fit as it defines the shape of the hull.
Fit the waterline board at the proper height with threads.
Now you have a template of the hull for fitting the frames.
See below a set up of this type of frame.
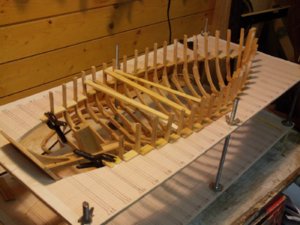

WISH I C something else. THANKS DonOULD DO THAT, AGE PROBLEM WITH HAND< EYES< BRAIN COORDINATION IS NOT THERE ANYMORE, THE POLISH COMPANY GAVE ME A PRICE FOR A JIG FOR THE Le Rochefort, i said ok waiting to here from him, anything else that i could be working on, like the stern or


