LE ROCHEFORT

When you take into account the way the timbers would be fitted, their is actually very little loss of strength in the assembly: one could even think that strength could be enhanced.

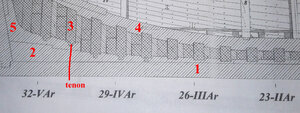
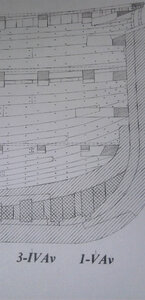
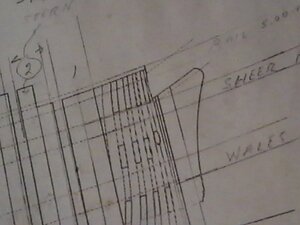
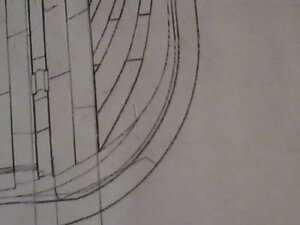
I think that this was posted much earlier but here is a drawing extracted from the "74 gun ship" (Jean Boudriot) showing the detail in the joinery.
Le Rochefort is of course a much smaller ship but built according to the plans......
The timbers would not have been just cut and glued (bolted) together, some joinery would have been required to "lock" the parts together for added strength.

It would be hard to reproduce this style on joinery, even at 1/36 scale: the timber are pretty small.

Furthermore: a similar but simplified exploded view of the foot of a rising frame should be or is included in the monograph: this view would / should show the breakdown (composition) of the frame parts without the complicated joints. I think, every other monograph does.....

And believe it or not, Don is actually doing a simplified version of these frames by skipping one step (his rising-floors are made in 1 piece): besides the joinery which is never (I think) included in the monograph's frame plans .

Anyways, here is the drawing.

View attachment 151139
Hi Gilles,

Thx for the drawings and indeed completely clear now. Of course this construction increases strength but also saves on the expensive Y pieces of wood.
 
@Maarten
And to further explain why the timbers were set this way, and it actually makes better sense having the frames built this way, as far as strength in concerned, especially given the complex joinery:

As shown in the drawing above, the frames being built in 2 layers, having 1, 2 or 3 crosspieces (horizontal timbers) on 1 layer and 2 elongated (vertical) timbers joined in the center in the other layer, allowed for an assembly taking advantage of cross grain setup between the parts in one layer compared to the other.

The problem would have been to find lumber large enough to allow for one single timber instead of the 2 or 3 horizontal parts, which grain would run horizontally, versus the grain running vertically in the timbers place in the other layer.

And, if you carefully look at the drawing shown above, you will notice a couple arrows traced in the timbers located in the foreground.
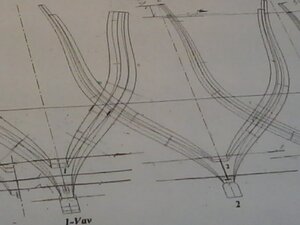
In the bottom timber, which is a bit taller, the grain is shown as running vertically: the same would apply to the vertical timber behind. As opposed to the grain running horizontal in the crosspieces.
G.
 
Last edited:
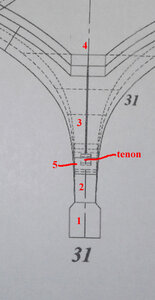
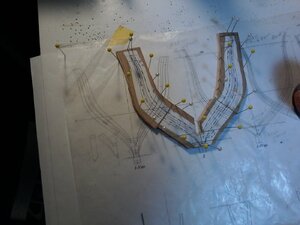
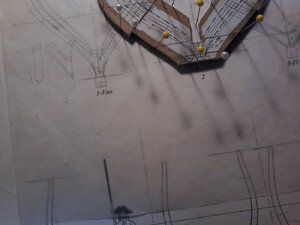
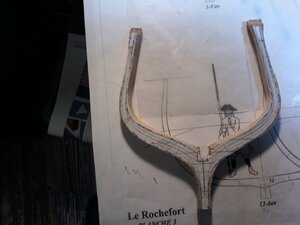
Let us identify the parts...
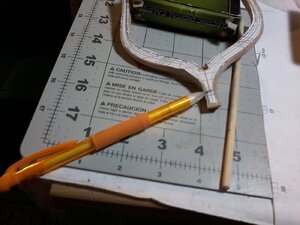
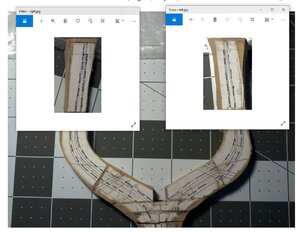
Two photos for reference:

The keelson is not shown in this first photo but it would be located where 4 is.

20200514_093904 copy.jpg

20200516_190847 copy.jpg

1) Keel
2) Rising wood
3) Double-layer frame # 31
4) Keelson - (only shown in the bottom illustration).
5) Sternpost knee


G
 
Last edited:
THIS WAS WELL NEEDE BY ME ESPECIALLY TO UNDERSTAND MORE FULLY PLAN SET 4. GOD BLESS STAY SAFE Don

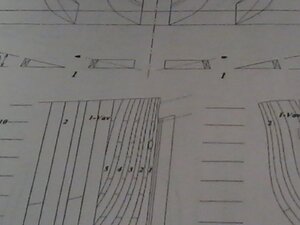
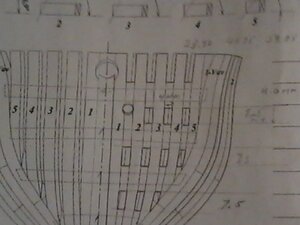
I do not mean to be lecturing about the plans again, but here is this advice of the day (and that is not specific to this particular build):

a) Using 1, 2 or 3 plates simultaneously as reference will help you understand how everything fits together.
The secret in understanding is to study the plates you actually need at any given point in the construction.

b) You also need to study the text related to these 1, 2 or 3 plates you work from. The text will give you complementary info related to the plans.

Working with both sets of documents (drawing and written explanations) at the same time is always a good idea. Since you have the two in the monograph, take advantage of it: it will help.
Furthermore, some of the plate can be put aside as you do not need them at this point.

G
 
Last edited:
YOU ARE CORRECT GILLES, THE ANCRE/ GERARD PLANS ARE TO ME QUITE A BIT DIFFERENT THEN WHAT I AM USED TO, i do study them a lot along with the text ALSO YOU DO NOT MENTION I USE YOU GROSS VENVENTURE SLIP WAYS A LOT ALSO i am trying to find a good book on the FRENCH MODELING PLANS HAVE THE FROLIC BOOK AND SOON NTHE 74 GUN SHIP VOL 1, ANY OTHER THAT YOU SUGGEST I WILL GET THANKS AS ALWAYS. GOD BLESS AND STAY SAFE Don
 
Good morning, Don.
I just read some of your recent posts and it seems that things are going better for you now. Keep up the good work and stay in touch. Keep this saying in mind: You can't expect vast results from half-vast efforts!
God bless and happy modeling.
Steven
 
THANK YOU STEVEN, I have not posted lately but still working on the frames will post more progres pictures tomorrow, finished FRAME No.32 now all aft FRAMES ARE COMPLETE only have FRAMES No.1and2 left to do working on FRAME No.2 about another 2 days will be complete wit ALL FRAMES as i am still arranging my modeling room. GOD BLESS STAY SAFE Don
 
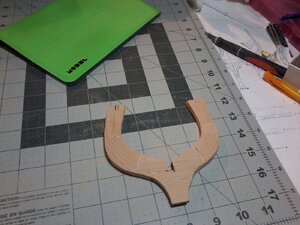
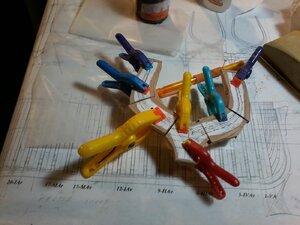
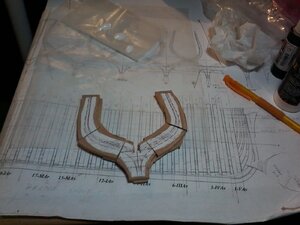
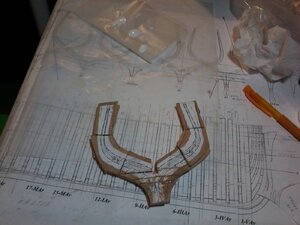
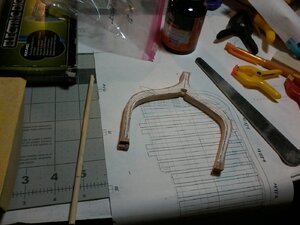
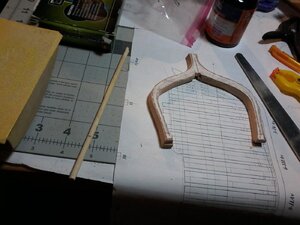
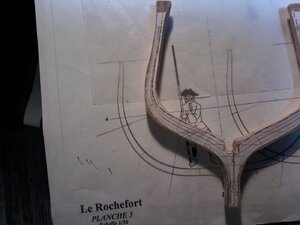
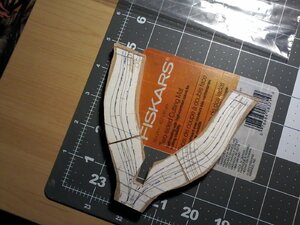
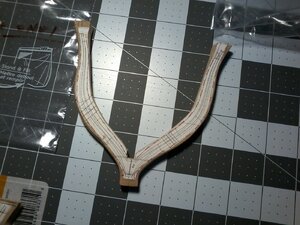
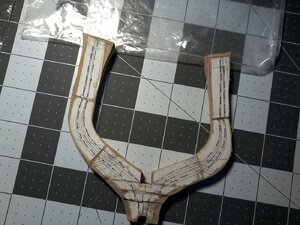
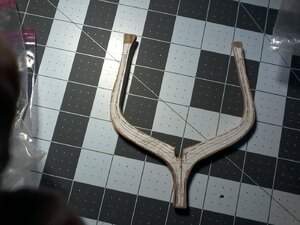
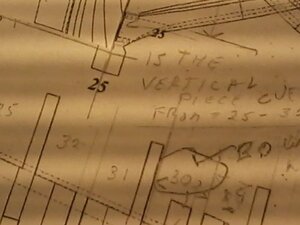
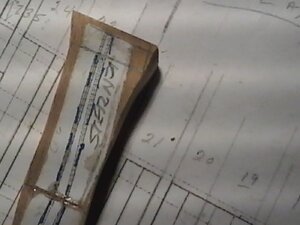
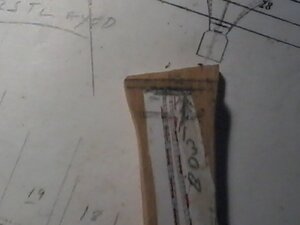
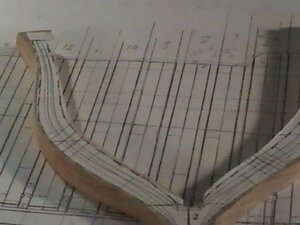
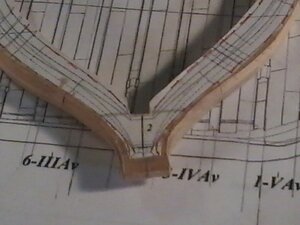
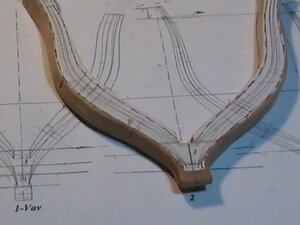
OK every one progress showing fram No.32 complete still need some work at getting to cut off as shown by GILLES and work around keelson notch i have to do that on a number of frames as well as cut where the frame extensions go also showing first layer of FRAME No.2 only one and a half more to go, something else i discovered if i mark out the horizantal cut lines it gives me another refrence point along with the joint lines for layer No.2 will do a complete review of what i have learned with this so far, thanks to all who contributed to help GILLES, MAARATEN, NIGEL, CHRISTIAN etc20200523_000034.jpg20200523_000117.jpg20200523_012625.jpg20200523_012703.jpg
 
Last edited by a moderator:
hi all after 9 months of work, frustration, help, and more help, satisfaction, showing FRAME No.1, and FRAME No.32, first and last, actually frame No.2 is the closes to complete, complete, see how i finished the keelson notch taken it to the lines am i correct here, if so need to do the rest, also have to sand down where the tenon goes on the frames, the BIG QUESTION IS FRAME No.1 witch i consider the most important of all the frames as the hawse timbers attach to it, my question is THIS WHEN I DO THE FINAL SANDING ( LIKE OTHER FRAMES) do i sand to the blue and red lines or to the inside and outside solid lines, also have 3 FRAMES THAT NEED THE FINAL PATTERNS DONE FRAMES No.1, No.26, No.30 I AM OUT OF PRINTS TO MAKE PATTERNS WAITING TO get TO FED-X to get copies just need it to be a lot safer out there, so soon I HOPE, and now while waiting for jig to come in will PROOF ALL THE FRAMES, get tops extended so i have enough material to sand to correct heights, and check all the keel notches to see how many are out and by how much so i can get the pins in, so now see if i am correct, help all20200528_035355.jpg20200528_035405.jpg20200528_035804.jpg20200528_040109.jpg
 
@donfarr
Before the question gets answered, let us address some problems:

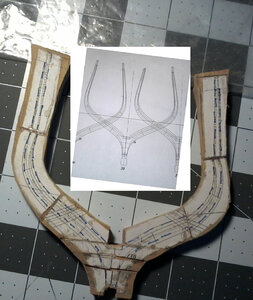
Frame 30
I can tell you that this frame is not going to fit.
You will have a major problem.
This frame will need to be redone.
Please look at the image below and write down what you see when you compare your frame and the inserted pattern.

20200528_035804 copy.jpg


Frame 1
I am not posting an image but, to a lesser extent, you will have a similar problem.

G
 
@donfarr
Frame 30
I can tell you that this frame is not going to fit.
You will have a major problem.
This frame will need to be redone.

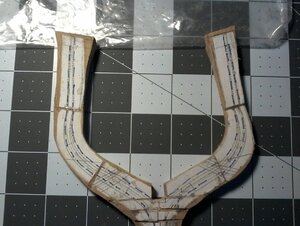
I think the toptimber segments were mixed from left to right side - because of this you have a sharp bend at the joint
you have
20200528_035804.jpg

but I think it should be
changed.JPG

Sorry for the very improvised way to show this.... I am not a specialist in photoshop etc....
 
Hi all again thanks, FRAMES NO.!, 26, AND 30 the patterns are not cut to the final as are the rest of the FRAMES I NEED TO GET MORE PRINTS DONE WHEN IT IS SAFE TO GO TO FED-X THESE ARE NOT COMPLETE AND EACH FRAME IS DRY FITTEED TO THE PLANS FOLLOWING JOINT LINES AND HORIZANTAL LINES AT THE FLOOR BTIMBERS AND THE AGAIN AFTER FINAL SHAPE AND THEN PROOFED AGAIN<NOTICE FRAME NO.30 HAS NOT BEEN FINAL SHAPED THE EXTENDED TOP TIMBER IS FACING BOW WITCH IS LAYER 2, THE CT IS LAYER 1 FACING STERN as seen in PLAN SET No. 4, are they still wrong, and i will start another proof on all frames and will post various ones. THANKS AGAIN TO ALL GLAD AND HAPPY FOR THE COMMENTS AND20200528_144323.jpg20200528_144739.jpg20200528_144843.jpg
 
Back
Top