-

Win a Free Custom Engraved Brass Coin!!!
As a way to introduce our brass coins to the community, we will raffle off a free coin during the month of August. Follow link ABOVE for instructions for entering.
-

PRE-ORDER SHIPS IN SCALE TODAY!
The beloved Ships in Scale Magazine is back and charting a new course for 2026!
Discover new skills, new techniques, and new inspirations in every issue.
NOTE THAT OUR FIRST ISSUE WILL BE JAN/FEB 2026
You are using an out of date browser. It may not display this or other websites correctly.
You should upgrade or use an alternative browser.
You should upgrade or use an alternative browser.
LE ROCHEFORT
- Thread starter donfarr
- Start date
- Watchers 37
-
- Tags
- ancre le rochefort
I am not sure, where you have in detail the problem with the numbering of the frames.
I do not have the drawings now with me (just sitting in the office), but maybe I have the chance to check them in the evening or in next days.
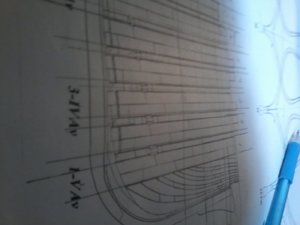
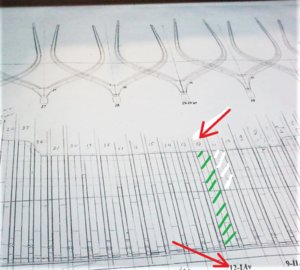
When I take a look at your photo I see no mistake in your numbering, because it is shown clearly in the drawing, where the are numbered (in steps of every three frames)
Numbering by the author is marked with the lower red arrow - here frame Nr.12
The frame number 12 is marked with the green lines - and you marked all frames correctly with pencil - upper red arrow

THANK YOU SO MUCH UWE, I JUST WANTED A VERIFICATION AS I HAVE MADE SOME MISTAKES IN THE PAST TRYING TO AVOID THE SAME ONE, glad i got it right since this is my first complete scratch build and my first french ship my confidence is not to good right now but getting there as I continue to advance as you are looking at the plans I do need one other verification of a small thing I HAVE HAD THIS PROBLEM QUITE FREEQENTLY but if you can help it would be wonderful, as far as I CAN FIGURE T+THE THICKNESS OF CERTAIN PIECES THE WALSS I COME OUT WITH 3.50 mm or 5/32 inch; THE SHEER PLANK 3.0mm or 1/8 inch, and the rail 1.34 mm or 1/ 16 inch, it took me quite a few hours to find what i did hope these are correct also while you are at it I WOULD APPRECIATE IT IF YOU CAN TELL ME WHERE TO LOOK FOR THE THICKNESS IS OF VAROUS COMPONETS, HOPEFULLY I WILL GAIN CONFIDENCE IN FINDING THINGS IN THE PLANE SOON, A S YOU CAN TELL I AM DOING THIM+NGS OUT OF SEQUENCE ON PURPOSE AS TO FAMILAR WITH THE PLANS AND DOING FRAMES AS FILL INS AS I DO HAVE QUESTION ON THE BOW FRAME A ND THE STERN FRAME HOPEFULLY I WILL GET THEM AS I PROGRESS. YOUR HELP AND EXPERTISE IS INVALUBLE TO ME. THANKS Don
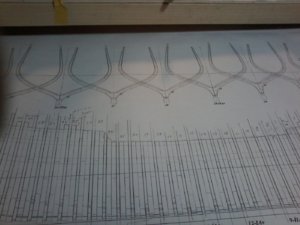
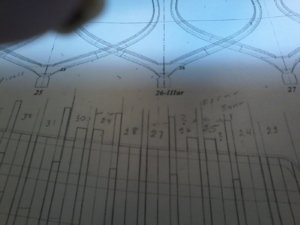
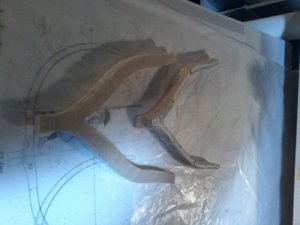
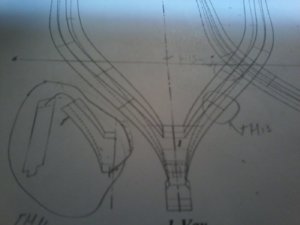
PROGRESS, THIS TIME REAL, REAL, PROGRESS, pictures follow, for almos 2 weeks I have been trying to understand the PLANS FOR FRAME No. 1 so many lines compounded by the printing witch showed all outlines dooted talk about confusion, i made 3 different frames each a disaster, after the third attempt i was going to ISSUE A SOS TO SOS (PUN INTENDENT) as i stoped to take pictures of my problem I noticed a little detail on frame plan ( CIRCLED) I started to look at this detail thourghly, still some confusion, then noticed something on the plans (CIRCLED) it had to be put there for a reason WOW SOLUTION THAT WAS THE FRAME LINE FOR BOW AND STERN FRAME No.1, picture shows the difference between 3rd try and correct 4th one, BRAVO TO ME, PLEASE COMMENTS NECESSARY TO HAVE INPUT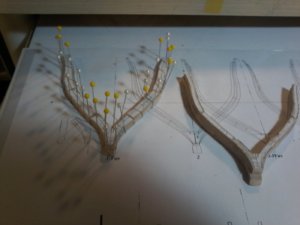


Hello Don, Don't worry, there is no such thing as posting 'too much'. Please post as you may need. This is the entire reason for build log: show and tell! 
THANKS JIM AND KNUT I WILL TRY TO GET BETTER PICYURES IT IS THE LIGHTING, WILL FIX IT I HOPE, THANKS FOR WATCHING Don
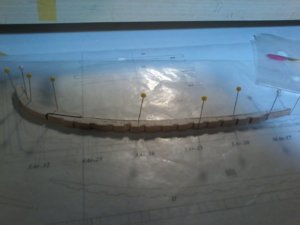
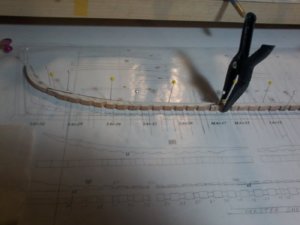
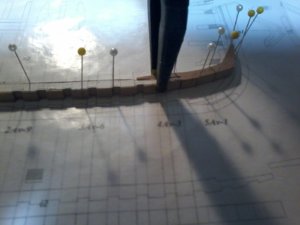
OK everyone showing frame no. 9 for 2 reasons one testing lighting, and distance, I am going to show the various steps I use in making the frames so far this has been about the best I can get but still not happy at all so any sugestions critisisms would be very useful, what i a m showing now is the bow portion of the double frame, what i do is cut my pattern close as i can get to the frame on the exterior portion of the frame this gives me a point of refernce to beging with then with the pins i see how much more sanding that i have to do notice the milled keel notch in the floor futtock, will show the rest of the frame as I put it together in one post is the lighting and distance better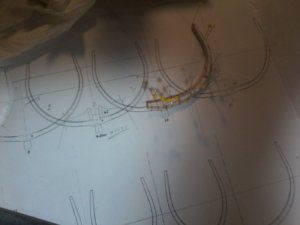
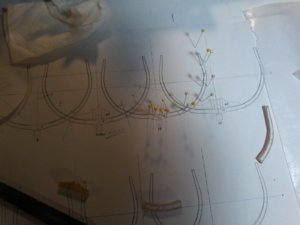
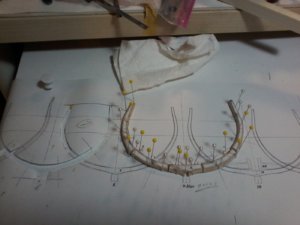
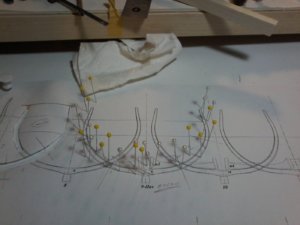


a lot of pictures this time, not so much contents, what i am showing is my method of putting the frames together, i have tried a lot of ways including UWES brick method most all did not work out turned into a mess, this is the latest so far the best it is a long process, PLEASE ANY COMMENTS WOULD BE APPRECIATED, on one of the pictures i show my mill so far THANKS TO NIGEL IT IS WORKING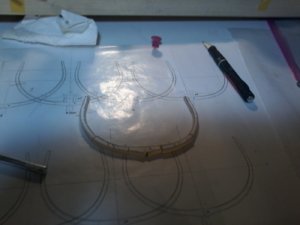
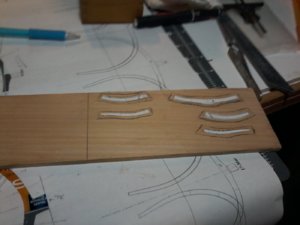
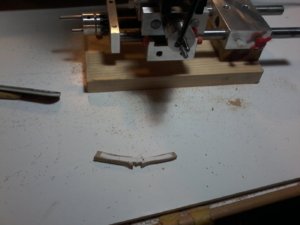
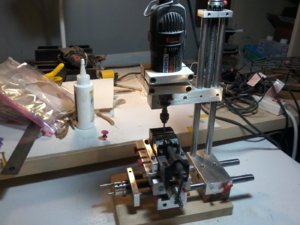
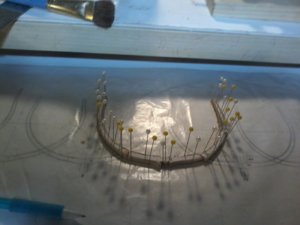
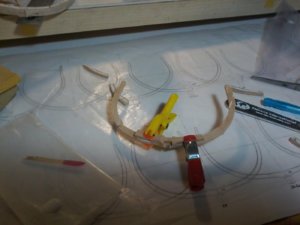
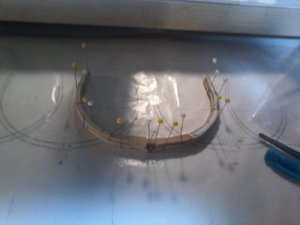
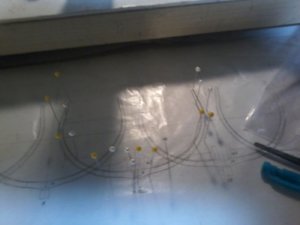
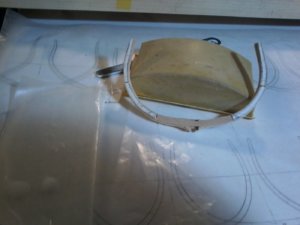


THANKS MIKE, and ALL for the LIKES, now i am doing a final sanding using a 220 grit disk in my dremel, may need some adjustment when i mount the frame to the inner keel and kellson, now if someone could help me find out some thickness of some parts or where on the plans i can find them. Don
Not just the photos look better, Don, you are getting a better experience with each frame completed. 

THANKS ALL, IT GETS BETTER ALL THE TIME STILL NOT THERE YET, JUST FINISHED THE WING TRANSOM WILL SHOW PICTURES, NOW I AM DING THE HAWSE TIMBERS, and another frame this one No.11 I have to do every other frame due to layout on the plans one sheet for futtocks, one sheet for the chocks and a master sheet to finish them up, this is a wonderful project so far from a FIRST TIME SCRATCH BUILDER I AM UNDERSTANDING IT AS I CONTINUE GOOD PLANS AND GOOD MONOGRAPH HELPS. Don
Hallo Don,THANKS ALL, IT GETS BETTER ALL THE TIME STILL NOT THERE YET, JUST FINISHED THE WING TRANSOM WILL SHOW PICTURES, NOW I AM DING THE HAWSE TIMBERS, and another frame this one No.11 I have to do every other frame due to layout on the plans one sheet for futtocks, one sheet for the chocks and a master sheet to finish them up, this is a wonderful project so far from a FIRST TIME SCRATCH BUILDER I AM UNDERSTANDING IT AS I CONTINUE GOOD PLANS AND GOOD MONOGRAPH HELPS. Don
I would not start already the complicate parts like hawse timbers - Maybe you should get a real experience to make the "boring" standard frames - after a number of produced frames, you will see, that it will get much easier and more accurate and the quality of your work is getting better.
And when you see, that you have the experience, the much more complicated elements on bow and stern will get much easier.
"Step by step" my father told me every time - and he was correct to say this
Hi Don
I do agree with Uwe.Not only will you get even more proficient making all the frames first but you can dry assemble everything to check the hawse timbers as you go.The relationship between first frame ,keel and where the inside hawse timbers strike the prow is critical.The profile of these inner timbers should follow the rabbet line.Having everything mocked up enables you to check this and make adjustments if necessary.
Kind Regards
Nigel


