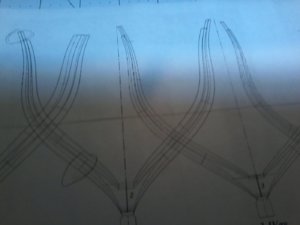
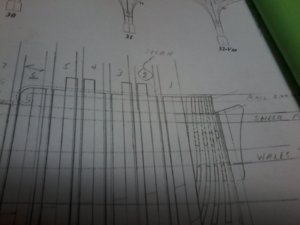
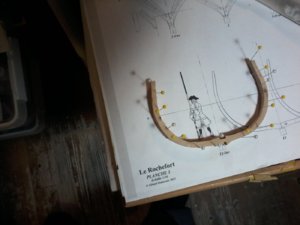
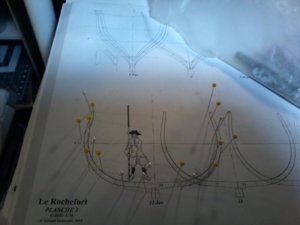
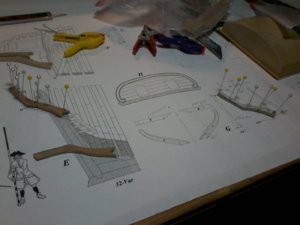
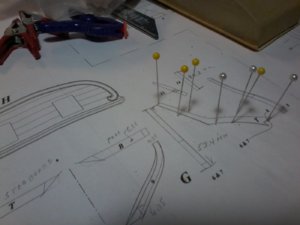
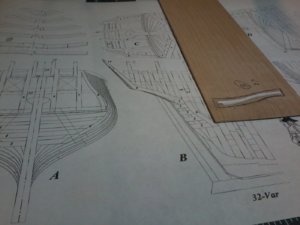
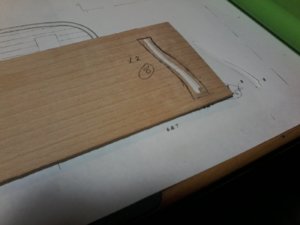
Thanks UWE and NIGEL, will follow your advice, I can see now the frames are getting better and better, if i get bored with making the frames or start having problems I will shift to just cutting out parts not putting them on the model, have to do some work room adjustments to make more room for the building slip to dry fit the frames. Don PS can UWE or NIGEL tell me where on the plans can i find some thickness of parts, probally my fault but can not find them in another post i listed parts that i had to assume thickness dimensions are they correct. THANKS FOR ALL THE HELP
-

Win a Free Custom Engraved Brass Coin!!!
As a way to introduce our brass coins to the community, we will raffle off a free coin during the month of August. Follow link ABOVE for instructions for entering.
-

PRE-ORDER SHIPS IN SCALE TODAY!
The beloved Ships in Scale Magazine is back and charting a new course for 2026!
Discover new skills, new techniques, and new inspirations in every issue.
NOTE THAT OUR FIRST ISSUE WILL BE JAN/FEB 2026
You are using an out of date browser. It may not display this or other websites correctly.
You should upgrade or use an alternative browser.
You should upgrade or use an alternative browser.
LE ROCHEFORT
- Thread starter donfarr
- Start date
- Watchers 37
-
- Tags
- ancre le rochefort
I do not understand completely what you are asking? What do you mean with "extended frame" (I guess you mean the top timber which is a little bit longer than the other half of the double frame)? Is it the part marked with the red arrows, what you mean?haveing a problem with fram No.2 on the frame plans it shows the extended frame facing the bow on planset No.4 it shows it facing the stern if I am correct in reading the plans picturems attached, maybe UWE or Gerad can help me out here or anyone else that has the plans
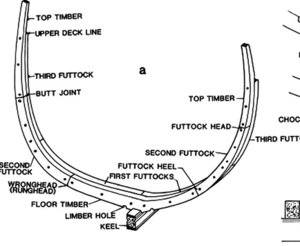
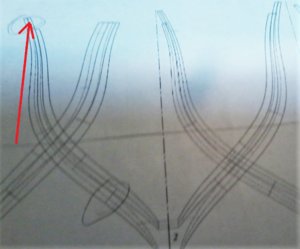
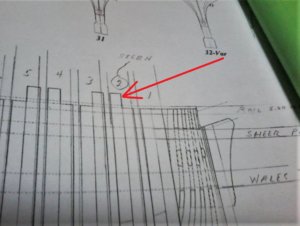
According the last photo, frame 1 is connected with the Hawse pieces and not frame 2 - but I have really now to study a little bit the drawing set
YES UWE THAT IS THE ONE I AM TALKING ABOUT. Don
the frames will get better when my new toy arrieves (DISK SANDER) so I will not do any more frames until it comes in, will do other items for a while, AS ALWAYS ALL COMENTS AND CRITISESMS ARE WELCOME THE ONLY WAY TO LEARN
THANK YOU MIKE MORE POSTS TOMORROW, WITH QUESTIONS AGAIN. THANKS AGAIN FOR THE HELP GUYS Don
- Joined
- Oct 23, 2018
- Messages
- 886
- Points
- 403

The frames looks goed. I think you get the flow, which is necessary to build such a model.
One suggstion: give a little bit timber on each side to have some wood for normally inaccuracies.
One suggstion: give a little bit timber on each side to have some wood for normally inaccuracies.
THANK YOU CHRISTIAN, As i needed to have a starting point, i cut the outboard side almost exact and left a little meat on the inboard side for dry fitting, any other sugestions would be gladly accepted. THANKS ALL. Don
- Joined
- Oct 23, 2018
- Messages
- 886
- Points
- 403

Don,
you glued the paper in the wrong direction on the timber sheet. So your part will be very fragible. You have to rotate it by 90 degrees.
you glued the paper in the wrong direction on the timber sheet. So your part will be very fragible. You have to rotate it by 90 degrees.
THANK YOU CHRISTIAN. Don
Yes! the grain should go over the longest length of the element - like the original shipwrights would have done itDon,
you glued the paper in the wrong direction on the timber sheet. So your part will be very fragible. You have to rotate it by 90 degrees.
THANKS GUYS DID IT THE RIGHT WAY, BTW UWE DID YOU GET A CHANCE TO CHECK FRAME No.2 AS TO WITCH PLAN TO USE. THANKS LOADS Don
Sorry, not until now - I will need the holidays to do so - I was very busy during the last daysTHANKS GUYS DID IT THE RIGHT WAY, BTW UWE DID YOU GET A CHANCE TO CHECK FRAME No.2 AS TO WITCH PLAN TO USE. THANKS LOADS Don
NOT A PROBLEM UWE, THANKS LOADS. Don
THANKS MIKE. Don


