Medieval Spanish Coca - AMATI 1:60 [COMPLETED BUILD]

Have a great day, everyone!
Thank you a lot, Heinrich; the credit goes to the solvent-based impregnating varnishes for wood, which give a good shade; I had used them for the normal windows:000_3656.JPG
000_3673.JPG 000_3665.JPG

Obviously, I don't put the final glossy paint on the ship!
Next step: the shrouds.
See you later!
Rodolfo
 

Attachments

  • 000_3673.JPG
    000_3673.JPG
    161.8 KB · Views: 4
Now I understand where that beautiful rustic finish comes from. Beautiful windows in what is obviously a beautiful house.
 
Yes, dear Heinrich, but maintenance is tiring...:)
Finally finished the shrouds; when attaching each shroud, I held the runner cable taut while the shroud itself was smeared with diluted vinyl glue to keep it straight:
100_2084 (2).JPG
It was quite difficult trying to show them in a neat, coplanar arrangement:

100_2096 (2).JPG

It is advisable to twist the cable that connects the upper block with the toggle until they are more or less perpendicular. But then, all things considered, it may not even be necessary to be very precise, which might even seem like a stretch. In the Nao of Matarò, they are not very neat... : 796010043_mat3.jpg.5175edd04eed5f89ff3b6faf1c6e5b38.jpg

100_2088 (2).JPG 100_2090 (2).JPG 100_2100 (2).JPG 100_2101 (2).JPG

It would seem to me that four shrouds at each side do a better visual effect, compared to the AMATI instructions:

100_1974 (2).JPG

The next step will be the sterncastle; see you soon!
Rodolfo

 
Last edited:
Dear friends,
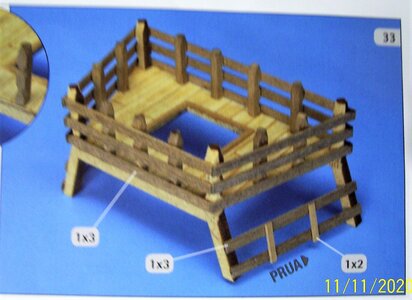
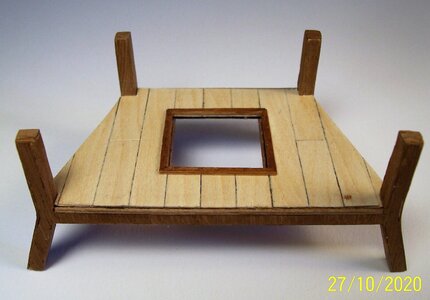
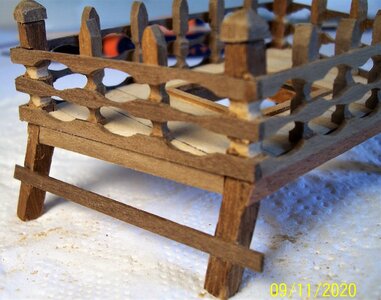
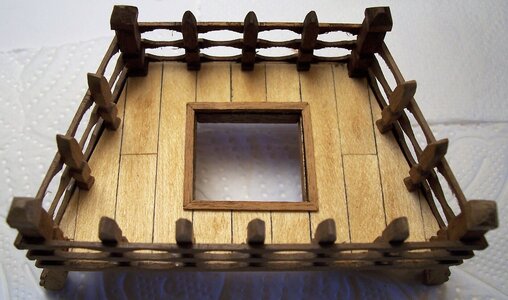
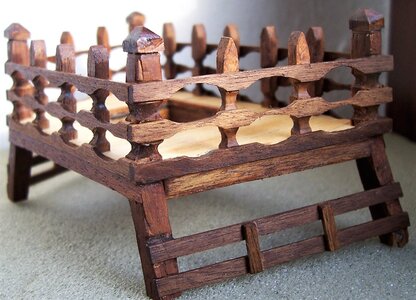
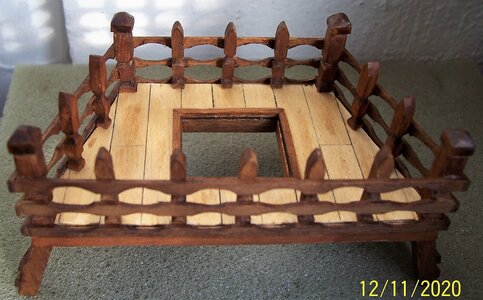
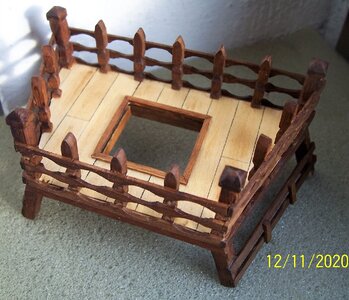
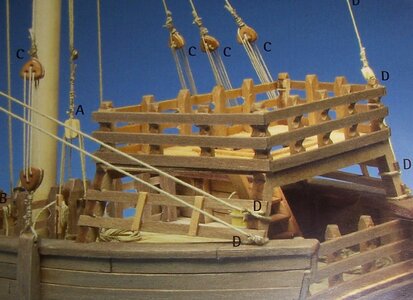
the sterncastle as shown in the AMATI instruction: 100_0672 (3).JPG

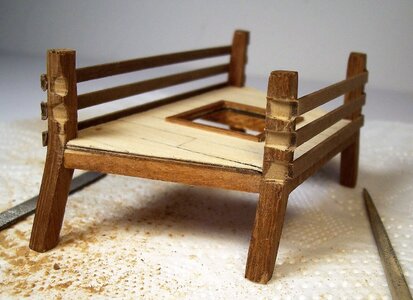
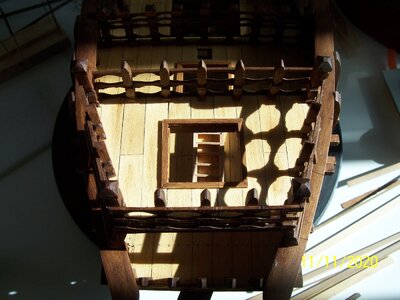
I preferred gluing walnut veneer on the frame, planking also the bottom, and adding a large frame to the opening:

alfaprima.jpgalfaseconda.jpg

The corner supports have to be shaped: alfaterza.jpg

B100_0658.JPG

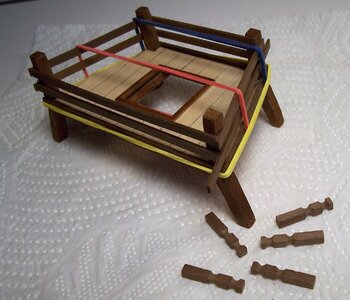
After we've to add the supports and file the strips:

C100_0662.JPGD100_0660.JPG
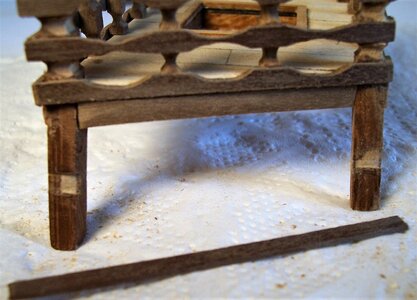
E100_0664.JPGG100_0670.JPGG100_0688.JPGH100_0693.JPG

I100_0694.JPG

In the end, all in all, I'm quite satisfied with the result, although it can be done better, especially adding third vertical support in the lower part.

See you soon!

Rodolfo
 
That stern castle looks exquisite. There is actually an uncanny resemblance between this ship and another favourite build of mine on Modelbouwforum - the Kamper Kogge.
 
The Kamper Kogge by Jan Zwart Verslagschrijvers - Modelbouwforum,.nl (Scratch-Build)

35-04-totaal.jpg

35-05-TotaalVanVoren.jpg

35-7-MetTonnen.jpg
 
Hi Heinrich, truly an interesting and well-built model, with excellent planking.
There is a remarkable resemblance to the 1242 seal ship from the Baltic city of Elbing, well known for its shipyards. Among other things, it is one of the earliest unambiguous depictions of the central rudder:sigillo di Elbing.png
 
This most interesting Rodolfo. I will send this information to @janzwart - the builder of the Kamper Kogge., I am sure that this will be of interest to him! Thank you very much!
 
Thank you, Heinrich, I am very happy to have been helpful.
The AMATI instructions recommend making four square incisions in the main rail, within which to insert the supports bases of the sterncastle itself: 000_3986.JPG

Since I doubt I have the ability to carve the main rail in a perfect way to fit the castle bases, I thought I would drill four holes in the bottom of them, into which I poured a little drop of two-component epoxy glue, so that it wouldn't dribble out at the end of the work. Then I positioned the castle so that the bases seemed to rest on the bulwark stanchions:

100_2155.JPG 100_2156 (2).JPG

100_2157.JPG 100_2159 (3).JPG100_2160.JPG100_2162.JPG100_2163.JPG
100_2166.JPG100_2167.JPG

There are some differences with the Nao of Matarò: in it, the castle is very close to the stern, narrower, and had three supports at the base:

Cocca di Matarò - poppa a destra.jpg Cocca di Matarò - poppa sinistra.jpg

It is clearly inside the stern railing. As the bulwark stanchions are not visible because the bulwarks have been planked, it is clear that the castle supports are in the gap between the inner and outer planking:

main deck nao Matarò.jpg
Unfortunately, in my model, I was forced into the solution described above by the initial approach of wanting to lengthen the deck aft (see post #13), combined with the insertion of false bulwark stanchions halfway between those protruding from the frames. At this point the alternative was to move the castle aft, making it lean on the main rail (not realistic without anything to support), or put it where it is now, giving the impression of bearing on the stanchions. I preferred the smaller evil.
Another solution might have been to add additional bulwark stanchions under the main rail, but space isn't too much and perhaps the result would not have been very pleasing to the eye.

With hindsight, I would make from scratch a stand-alone structure for the castle, with the main rail prepared with the appropriate slots for the supports; maybe other shipbuilders will solve better this problem...

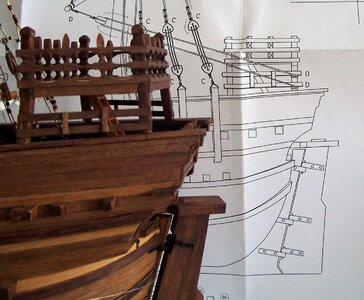
Finally, by examining a photo of the model in front of the drawing, however, we can see that the difference is not so great after all:
100_2172 (3).JPG
See you later!

Rodolfo
 
I still think that it looks exquisite Rodolfo. Sometimes it is just impossible to execute something as per the instructions. I also think that you are too hard on yourself to compare your build to the Nao of Matarò. The latter was clearly built from scratch and is therefore without the limitations that a kit sometimes imposes.
 
Thank you Heinrich for your kind words and thanks also to the ship modeller friends who encourage me with their comments.
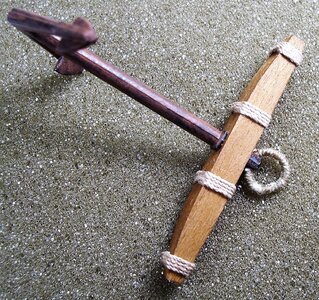
AMATI's anchors are these:
100_2257 (2).JPG
At the beginning of this work I had processed them to improve them, but the result was not very satisfactory:
Ancore 3j.jpg
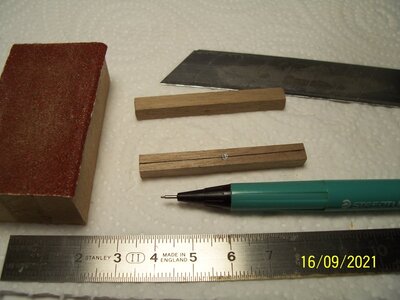
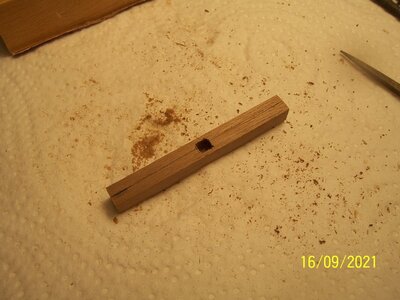
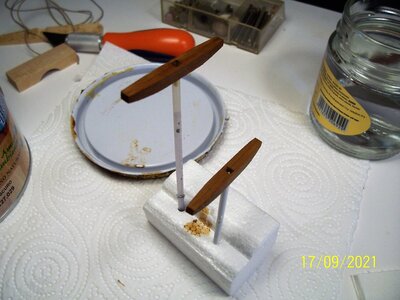
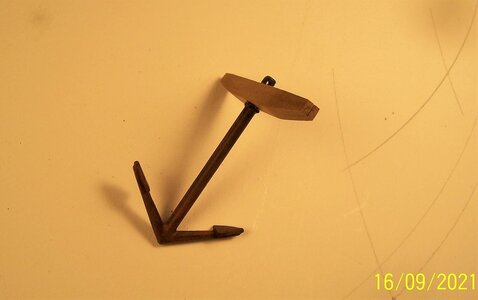
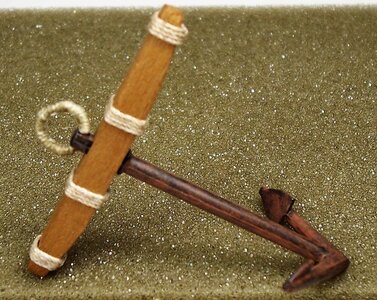
The wooden anchor stock is a single piece, instead of two side by side, the wood grain on the sides doesn't look realistic, the top and bottom grain is unnatural, for the bindings I used a rope that seems too thick and the palms have an unreal relief due to the mold joint. First of all I filed away the reliefs on the palms, then matte black and a little rust. Since I didn't have any 2.5 mm thick laths, I used a 5.1 x 5.2 lath, drilled it in the centre, incised in the middle and shaped it.

100_2186.jpg100_2188.jpg100_2204.jpg
b.JPG 100_2195.jpg

The bindings on the stock are made with a smaller diameter rope than on the previous anchors.
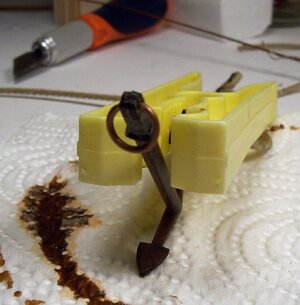
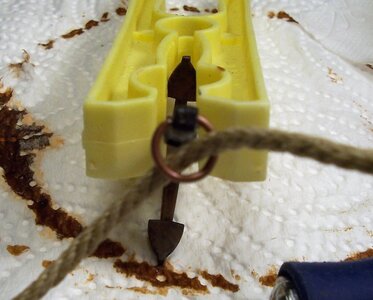
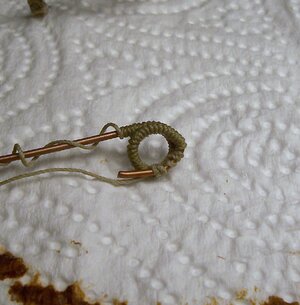
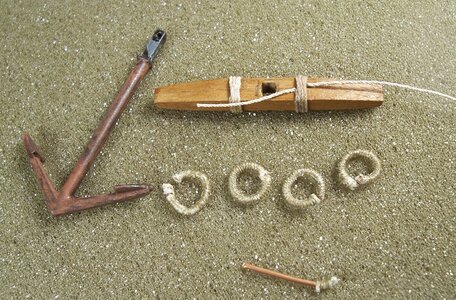
The original anchor ring seemed too narrow for the large cable supplied by AMATI, so I made a new one with a 1 mm brass rod, bent over a 4.85 mm diameter screw:
d.JPGe.JPGalfa.jpg

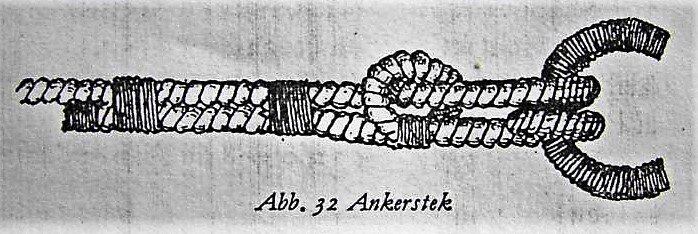
The larger diameter makes it possible to use this anchor knot, which seems to me to be very appropriate for the size and age of the ship (I can't remember where I saved it from, unfortunately...).
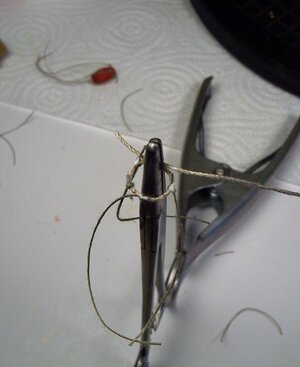
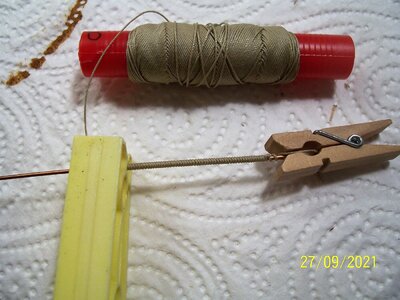
However, it is difficult to wrap the closed ring, so I preferred to wrap some 0.3 mm grey wire around the straight rod, pass a little film of instant cyanacrylate glue, let it dry and then make the bend. It's best to wrap plenty of wire to make several rings, as they can also come out wrong, especially the first ones:
f.JPGg.JPGh.JPG

All in all, at the end I think I have improved the appearance of this fairly important component:

x (1).jpgy (1).jpg

Next time: the anchor buoy.

See you soon!

Rodolfo
 
Most certainly, you have improved the appearance of the anchors. The wooden stock, in particular, looks much more realistic.
 
Thank you, Heinrich, and a warm welcome to every ship modeler!
The buoy. or anchor buoy, is used to indicate the point where the anchor is located, on the bottom:
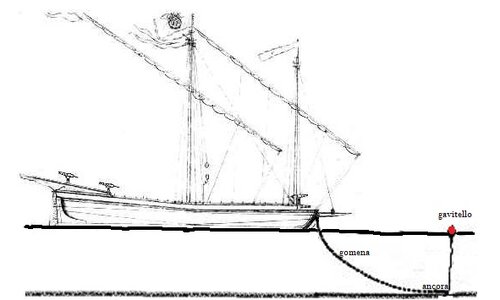
veliero all'ancora.jpg
Regarding the buoy, I had seen one with a hook on top, but then I followed these designs:
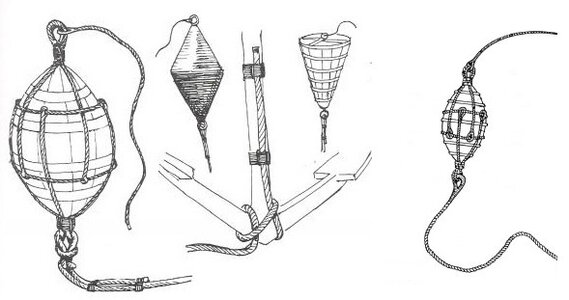
boa (1).jpg
Unfortunately, regarding the historical fidelity of anchor buoys on medieval ships, it is true that there seems to be no figurative documentation, at that time. But it is also true that these elements were probably considered uninteresting by the contemporaries and therefore neglected; moreover, they were also not very visible from the outside,
However, in the volume "Sailing Ship" - by E. K. Chatterton of 1909:
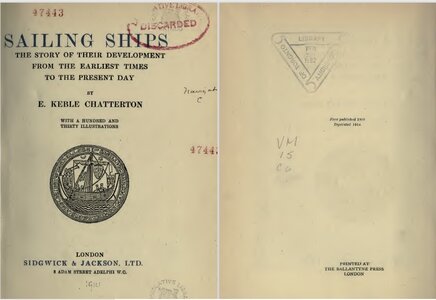
frontespizio.jpg

there are very interesting indications. On page 147 is written:
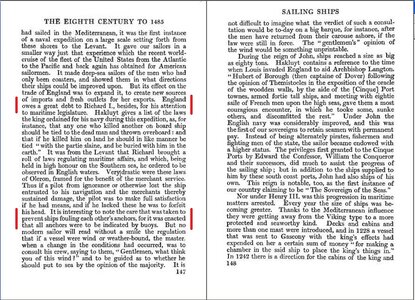
Buoy Sailing  pag.147.JPG

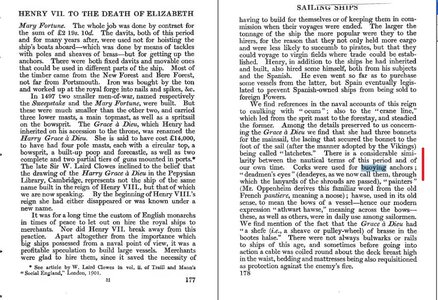
It is therefore stated that at the time of the crusade of Richard I there were already buoys used to signal the corresponding anchors. Moreover, on page 178, the phrase indicated between the red lines suggests the material with which the buoys were built:
Buoy Sailing pag.178.JPG
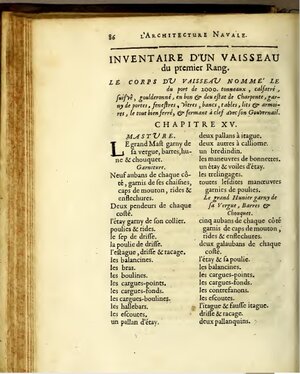
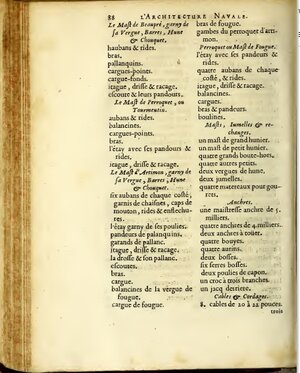
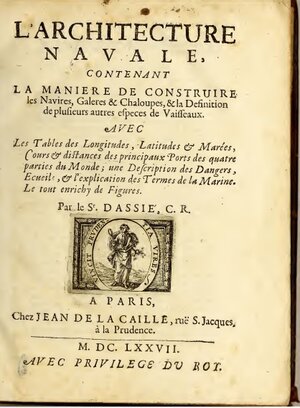
The fact that these details were probably considered of little interest is confirmed by the fact that in the volume "L'architecture Navale" by Dassié in 1677 there is a reference to anchor buoys, called "bouyes" (only one reference in more than three hundred pages, demonstrating the little interest of contemporaries). It is found in the inventory of a first-rate vessel, to which four buoys compete for seven anchors in total (under Anchors => quatre buoyes) :
architecture navale 2.jpg architecture navale 3.jpg

The anchor buoys are not even listed in the internal dictionary in this same volume: architecture navale 1.jpg
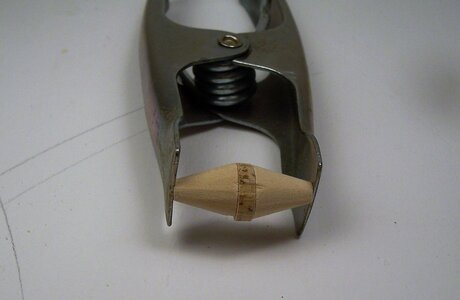
To make the anchor buoys I used the remainder of the 10 mm rod used for the mast. Not having the lathe, I used a method that I saw on an Italian forum: a pencil sharpener to make the two cones and a hacksaw to make the central disk:
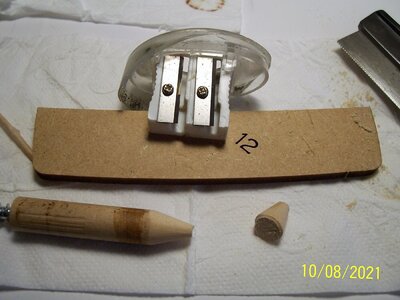
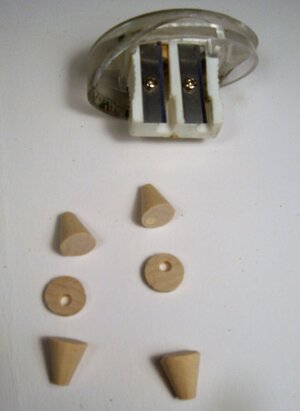
100_2079 (2).JPG100_2117 (2).JPG100_2118 (2).JPG

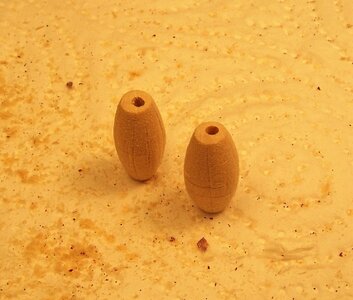
With a blade, we can make vertical and horizontal incisions. Then they need to be drilled at the ends to accommodate the rings:
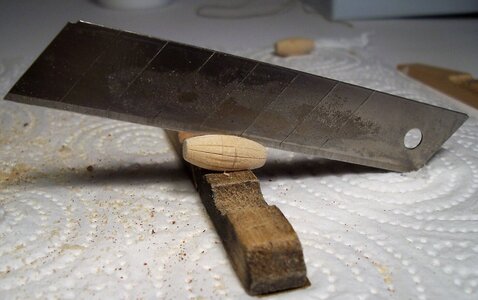
100_2121 (2).JPG 100_2123 (2).JPG

The dimensions seemed excessive and I proceeded to reduce and shape with sandpaper and drill until I got a result that seemed satisfactory:
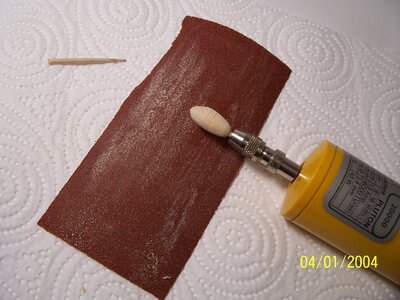
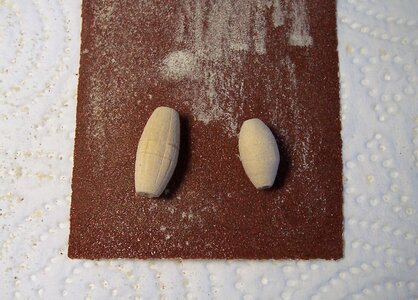
100_2137.JPG 100_2138 (2).JPG

Since it's something that needs to be visible to signal the anchor's position, I thought I'd color it matt red and then build the eyelets.
They can be made of metal (to be blackened) or rope, as is perhaps preferable:
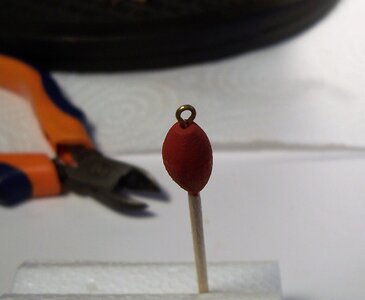
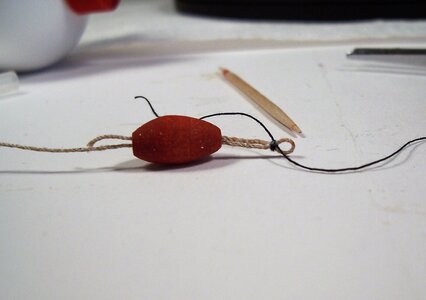
100_2139 (2).JPG 100_2142 (2).JPG

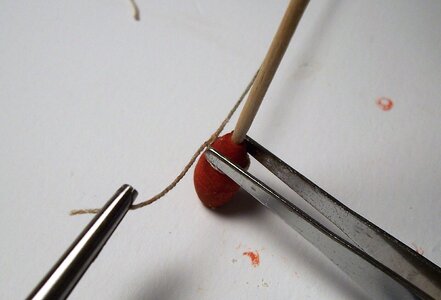
After that, you build around it that envelope of interlaced strings; it's a job that requires a lot of patience:100_2145 (2).JPG 100_2146 (2).JPG

and at the end we get our anchor buoy ready to be tied to the anchor:
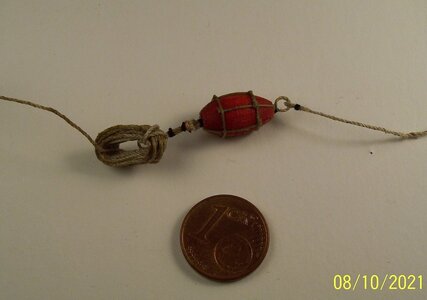
100_2240 (2).jpg

See you next post!

Rodolfo
 
Looking beautiful Rodolfo. Thumbsup I cant wait to see them installed on the ship!
 
Dear Friends,
finally, the first anchor with the anchor-buoy and the rope for the cathead has been placed:

100_2272 (2).JPG

100_2270 (2).JPG100_2271 (2).JPG100_2273 (2).JPG100_2274 (2).JPG
100_2279 (2).JPG100_2280 (2).JPG
100_2278 (2).JPG

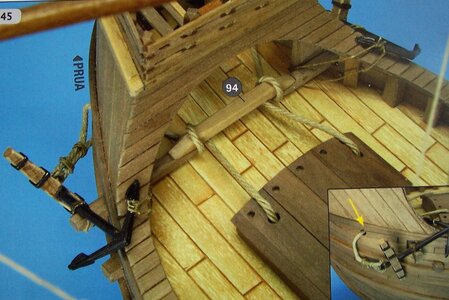
Even if it's not perfect, it's still an improvement compared to what "AMATI" suggested:

100_2284.JPG

Now it remains to do the other anchor, the top and the last current rigging tied on the yardarm.

Have a nice evening!

Rodolfo
 
Thank you for responding so quickly to my request Rodolfo! I did not have to wait long! It looks beautiful and is a HUGE improvement on the kit's suggestion.
 
Looking great!

I have always liked this ship, you're doing a great job building her.

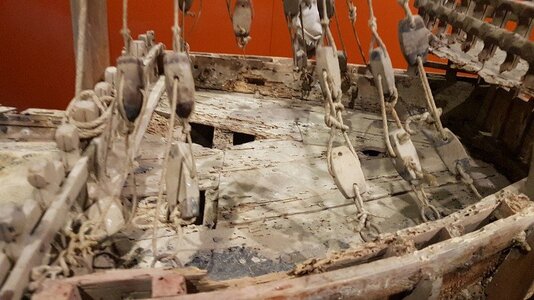
One question regarding the railing, I've always understood the decorations as being just the corners of the timbers trimmed off.

Apologies if I've misinterpreted.

Great work!

Peter

I mean like this:
IMG_20211109_155756.jpg
 
Back
Top