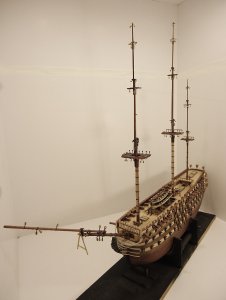
Re: OcCre Santisima Trinidad Build Log
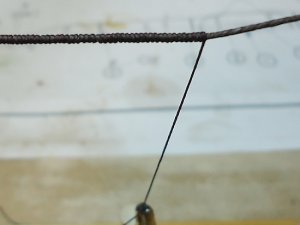
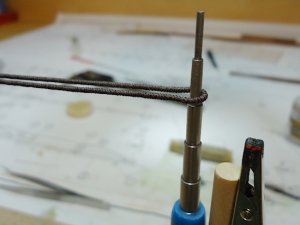
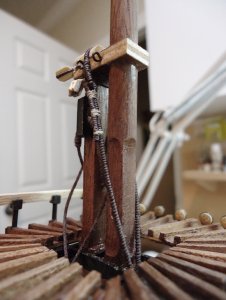
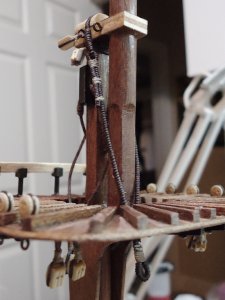
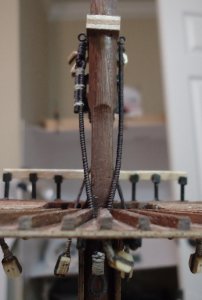
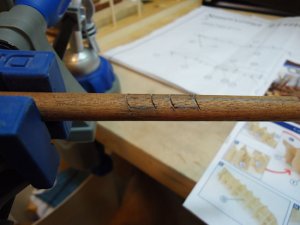
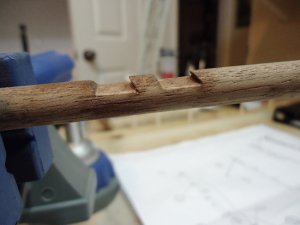
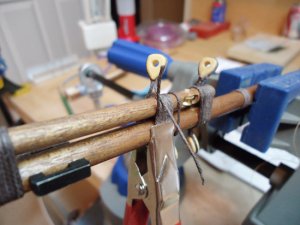
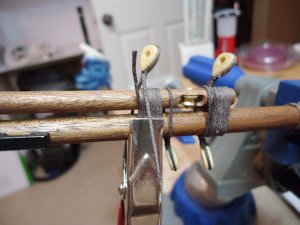
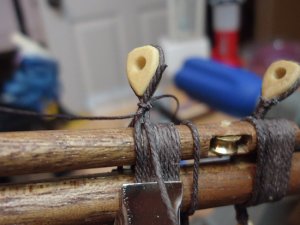
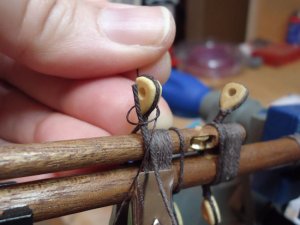
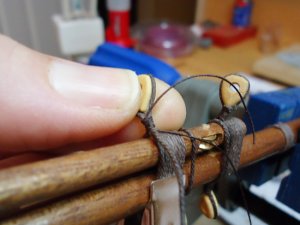
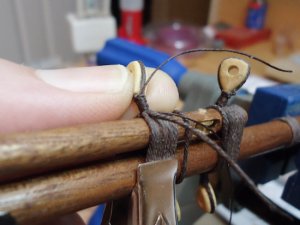
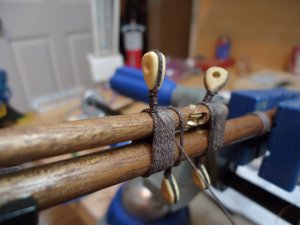
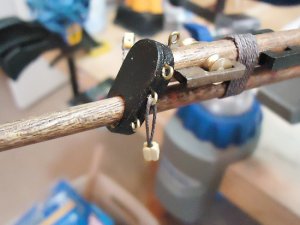
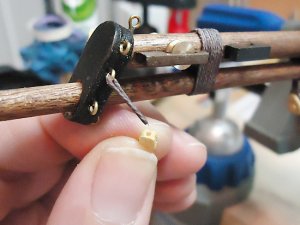
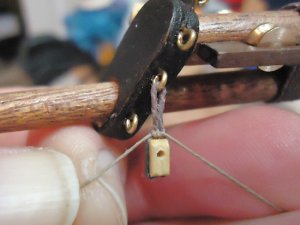
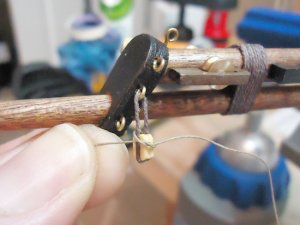
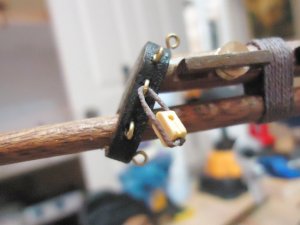
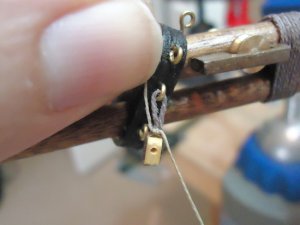
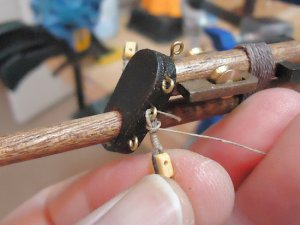
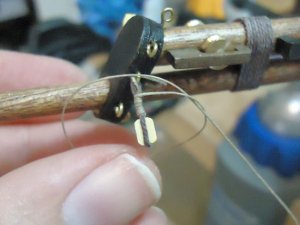
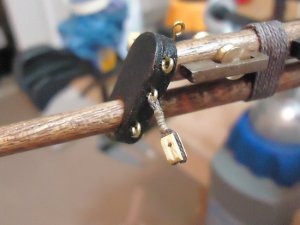
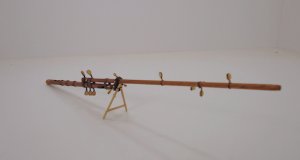
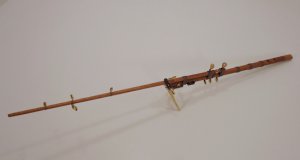
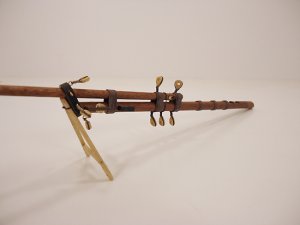
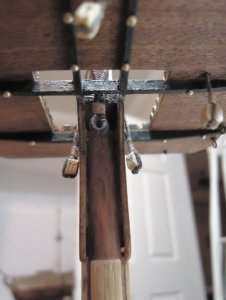
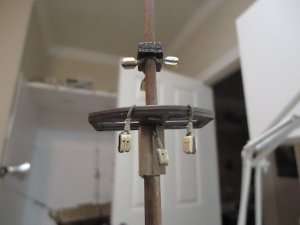
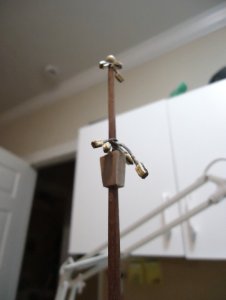
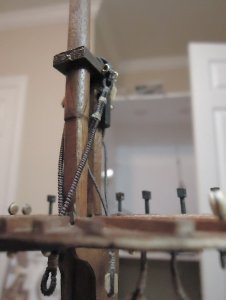
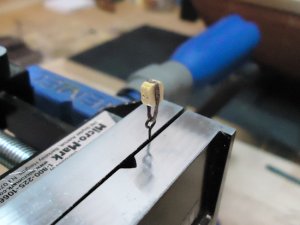
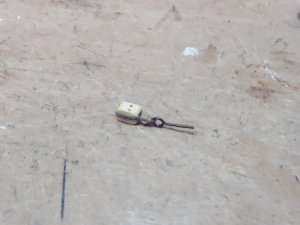
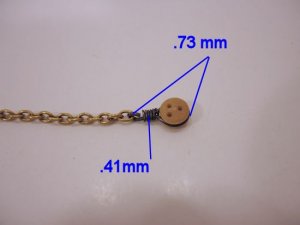
<t>I am not all that satisfied with it anyway. The loop that you see I was thinking that another loop of rope would pass through this opening. That other loop would be attached to the Yard. I think it is too big of a loop. My intentions were to follow the drawing above - but I see that I probably need to redo it. The sling that you see (with the loop) will actually support another rope that will pass through the loop you see. But I think like I said that the size is way out of proportion. <br/>
I plan to take a small break from the Mast for a couple of days and redo the sling.</t>
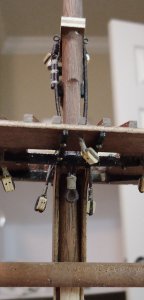