Soleil Royal- Re-engineering Artesania Latina's New Kit by NMBROOK

Last edited:
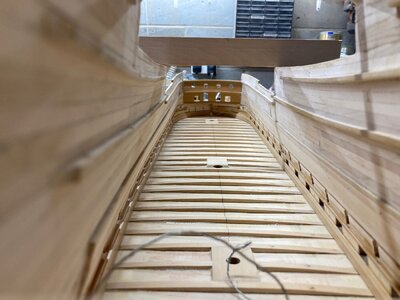
I have completed and faired the lining of the hull on the next deck up on the Starboard side so am now working on some of the "pretty" details as opposed to " first fix" joinery.

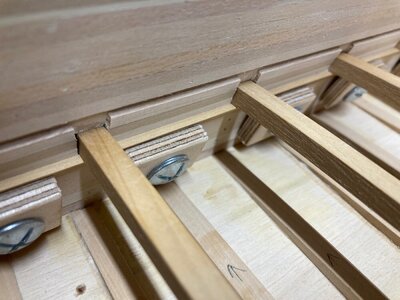
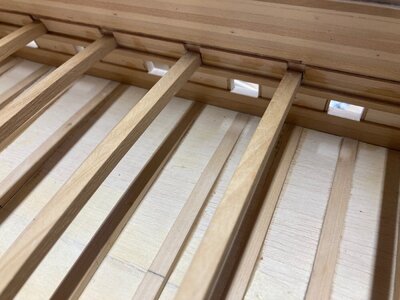
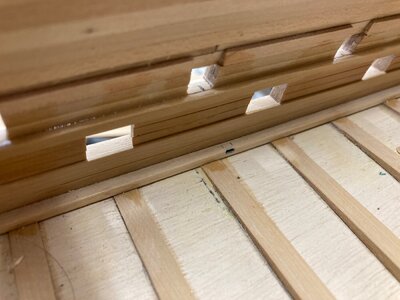
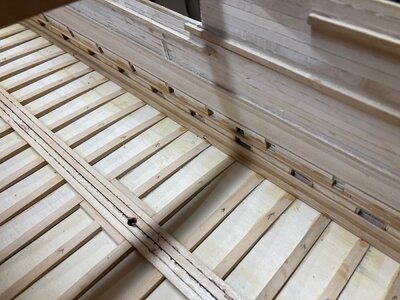
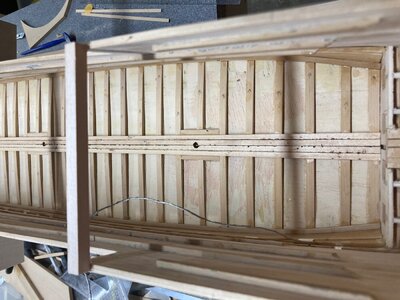
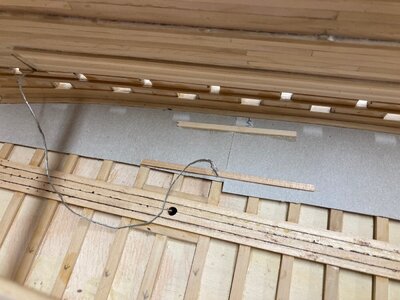
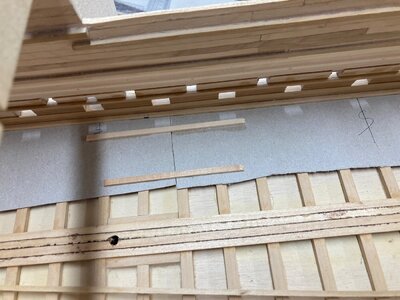
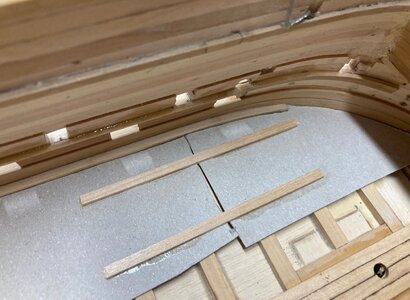
Firstly I am fixing the deck beam supports.The design is tweaked a little for strict historical accuracy in the these supports will comprise of two sections, one which is a none right angle triangle,The narrow 1mm wide "point" at the bottom meets the quick work and the 3mm wide top is angled to match the underside if the deck beam camber.The other section is a parallelogram which sits on top of the triangle and marries up with the underside of the deck planking and will be cut into pieces to fit between the deck beams.

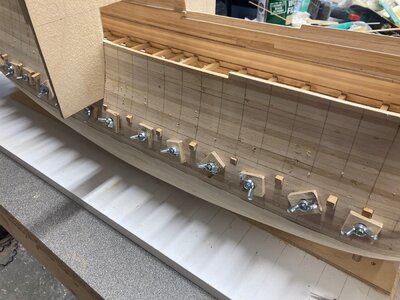
To install these I have made some little clamps allowing me to work through the gunports.I first set the deck beams temporarily in place then clamp the strip hard up against the deck beams underside.Thin CA glue is then run along the top of the joint between hull and support which wicks down into the joint.

Some may doubt how strong this is but when I fitted the first one in that I thought I could get away with not prebending the section at the bow and it snapped.Thinking I could get away with piecing it back together I clamped and glued it up.The following morning I was not happy with the repair so decided to chop the section out and have the join under a hanging knee.I had to carve the section away as it was impossible to break the join!

Kind Regards

Nigel

IMG_0545.jpgIMG_0546.jpgIMG_0547.jpg
 
Are the deck beams still loose, after the ledge glue-up? How do you prevent the glue not wicking into the beam mortises?

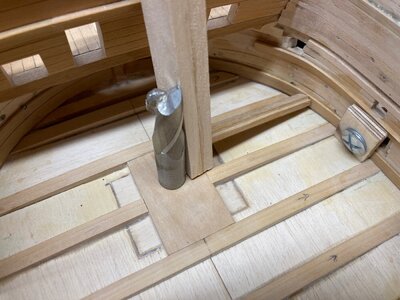
Very good question as I missed that out of the explanation.I slide each beam back in turn as I glue that area. ;)It is a long way down the road before the beams will be fixed, but they will be trial fitted countless times as I fit the interior out
 
Hi Nigel. Very meticulous work. I'm assuming you are using Thin CA and the same method as Dmitry Shevelev uses, yes? I have not tested the use of thin CA with anything other than smooth surface materials. Again, I'm assuming it adheres well?

Thanks,
 
Hi Ken to be honest I don't have a clue what glue Dmitry uses.I am using thin CA as it is nearly impossible to get the full piece clamped in position with glue on.If I use PVA it would have already skinned over by the time it was in place.If I used Epoxy it would be everywhere and I would have had to use that much Acetone to clean it up it would have attacked other glue joints.
These pieces are not structural, the strength comes from the housing joint for the deck beams however this glue is very strong if you have a decent surface area and the parts are of the correct absorbancy.If both faces were Pear which is highly absorbent,it would wick all the adhesive out of the join.One face is Boxwood and one Lime,because Box is not very absorbent,it allows the CA to form a full film inside the joint.

Kind Regards

Nigel
 
With the deck clamps in place I used exactly the same homemade clamps and glue technique to fit the Spirketting albeit with some improvisation at the bow to hold things in place.

I have not represented any end to end joints in any of these parts as they will be covered by dummy frame riders and hanging knees.

Next job is to add the hawse holes and breast hook before continuing on to the quick work.

Kind Regards

Nigel

IMG_0548.jpgIMG_0549.jpgIMG_0550.jpgIMG_0551.jpg
 
REGARDING CA GLUE, BOY I HATE THAT STUFF EVEN USING MEDIUM THICK WHEN I HAVE TO TO USE CA AT ALL IT ALWAYS LEAVE A SHINNEY SPOT I USE IT TO STRENTGHTEN PVA JOINTS THAT NEED REINFORCING BUT BOY IT CAN LEAVE A MESS, BEST TO USE WHERE HIDDEN, JUST ME . GOD BLESS STAY SAFE ALL DON
 
REGARDING CA GLUE, BOY I HATE THAT STUFF EVEN USING MEDIUM THICK WHEN I HAVE TO TO USE CA AT ALL IT ALWAYS LEAVE A SHINNEY SPOT I USE IT TO STRENTGHTEN PVA JOINTS THAT NEED REINFORCING BUT BOY IT CAN LEAVE A MESS, BEST TO USE WHERE HIDDEN, JUST ME . GOD BLESS STAY SAFE ALL DON
Agree with you Don but depends on what finish you put on.

I have not had an issue if using it on Boxwood and Ebony when finished in Matt spirit based polyurethane

Kind Regards

Nigel
 
HI NIGEL WHAT BRAND DO YOU USE. GOD BLESS STAY SAFE YOU AND YOURS DON

Don,I use Zap exclusively and use thin, medium and thick depending on the job.I never use accelerator, this can make a brittle glue even more brittle plus can cause discolouration,OK on a plastic model that is painted, not good on timber with a clear finish.

Kind Regards

Nigel
 
Lovely work, and clever clamp blocking of the spirketting, at the foremast! It really is amazing to me how straight and stable the hull remains after removing the bulkheads.

With the third layer of the lime inside it is like what we call in Yorkshire as being "as strong as a brick privy" (the outside toilets that were a common feature of Terraced back to back houses in years gone by) ROTFROTF It is also still really light, not like Sovereign which I need a crane to liftROTF
 
Don,I use Zap exclusively and use thin, medium and thick depending on the job.I never use accelerator, this can make a brittle glue even more brittle plus can cause discolouration,OK on a plastic model that is painted, not good on timber with a clear finish.

Kind Regards

Nigel
Hey, I also introduced ZAP to my glue collection as a gel. It works very well in some tricky jobs.
 
NIGEL, WHAT BRAND OF POLY DO YOU USE OVER CA,OR HOW DO YOU GET A FINISH WITH OUT THE SHINNY SPOTS. GOD BLESS STAY SAFE ALL DON
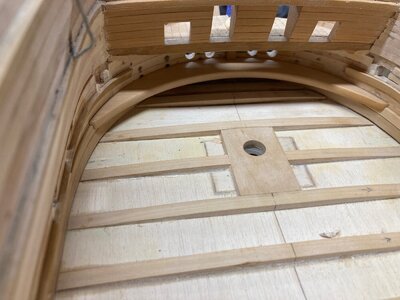
Now I doubt this will help as it is a UK brand, but Ronseal diamond hard SPIRIT based.They make an Acrylic version, but I rarely use Acrylic,preferring the original smelly stuff.Look for a high VOC content on the back of the tin.It also sprays well, thinned with white spirit,I sprayed Royal Caroline with this using a spray gun with 0.8mm tip.

Any pooling of the glue will give a glossy surface, this is easily removed with fine steel wool or scotch bright pad.I have some fine 3M scotch bright pads left over from painting cars,These invariably last longer than steel wool.I am using these on this build as I have no steel wool left.They can be cut to any size with old scissors as they are only about 8mm thick.Don't work about any darker colour left from the glue, the spirit based varnish darkens the wood to the same tone ;)

Hope this helps

Nigel
 
OK then, bit of an update

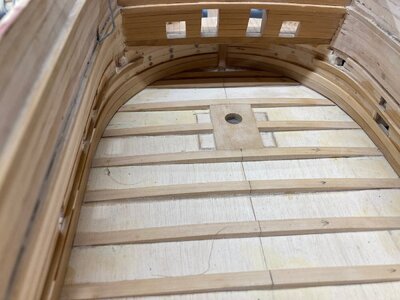
I drilled the hawse holes to the dimensions in the instructions believe it or not.These need to be as Artesania intended as they just miss a support for the bow rail assembly which I am keeping reasonably stock as they did a good job of this IMHO.I first soaked the hull inside and out with thin CA where the holes were to minimise splintering.They were drilled from the outside using a 1mm drill then the hull was stood on it's bow and the holes opened up from the inside using my cordless drill.My reasoning is that any breakout can easily be repaired at this stage on the outside, on the inside not so.They are a little off but are oversize as they will be lined with aluminium tube to represent the lead lining which will be bonded in exactly the right place.

I created a template and made the Breast hook out of a single piece of boxwood.In reality, this was made out of three pieces but given this will be virtually impossible to see when the model is finished,I chose the easy option.One thing apparent from trial fitting,I need to plank the deck before fitting this item.

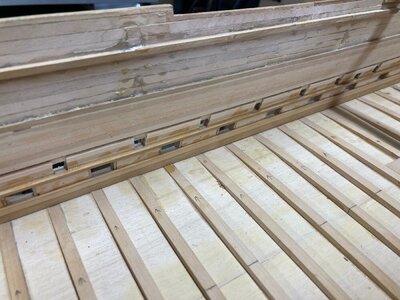
So I have started work on the deck which will be in 2mm thick maple with boxwood bing strakes and waterways.

I have fitted the first four central planks in one length as there are raised hatches that will be fitted later so there would have not been visible but joins.Caulking is taken care of with an acrylic chocolate colour artist pencil on one edge.This is softened and sealed when the would glue is applied to the planks edge and oozes out of the joint a little.The result looks very messy until the deck is scraped/sanded.

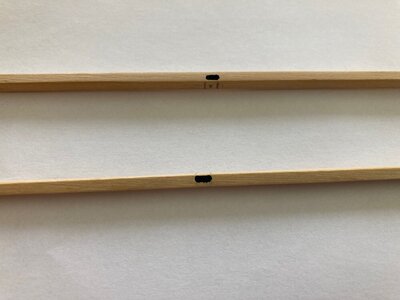
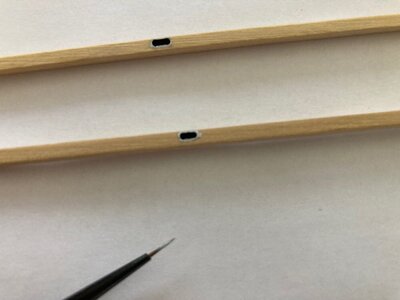
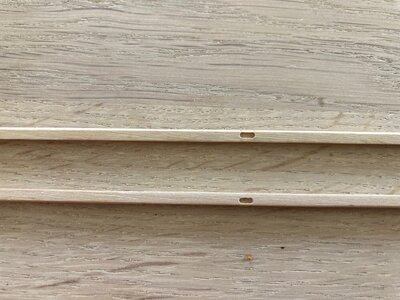
My next job is the waterways which are built up from two sections and are thicker than the deck at 3mm.The outer pieces have the holes for the deck drains.These were marked and cut using a 1mm milling cutter.I have painted the complete slot matt black and gone around the outside edge with matt aluminium to represent the lead lining.This excess paint on the top face is then scraped off.How much of this will be seen,I don't know, but at least I have shown them.
These are now fitted and I now need to make the inner ones which will need to be spiled from 3mm Boxwood sheet.When these are in place I can then develop my plank widths as they are all tapered.

Kind Regards

Nigel

IMG_0553.jpgIMG_0554.jpgIMG_0555.jpgIMG_0556.jpgIMG_0557.jpgIMG_0558.jpgIMG_0559.jpg
 
Next is what is described in the UK as a "Blue Peter moment" (kids tv show where they showed you how to make things out of toilet rolls and stick backed plastic)ROTF

I made a full then card template for the outside profile of the next section of waterway and marked the centre of the scarf joins.It will comprise of four separate pieces.The last section I fitted was one piece as in reality it was separate pieces that fit between the frame riders


IMG_0560.jpgIMG_0561.jpgIMG_0562.jpg

Kind Regards

Nigel
 
Back
Top