Soleil Royal- Re-engineering Artesania Latina's New Kit by NMBROOK

Hi Nigel,

Do you know if the colouring used for the veneer is UV resistant?
I know with a lot of dyes UV resistance is a problem if they are not pigmented.

Schmincke has a series of pigmented ink called aero colour which are UV resistant.

Hi Maarten

The varnish I am using has UV protection in it. The red bulwarks on my Sots is the same product and is the same colour as when I fitted it ten years ago so no concerns

Kind Regards

Nigel
 
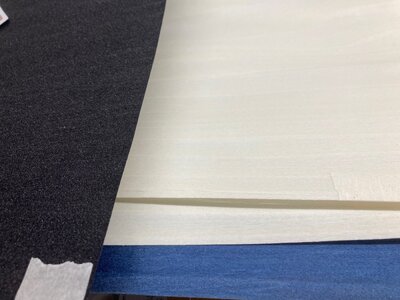
My Veneer has landed.Not easy to photograph as the sheets are large.Took one pic with the three colours on top of one another.The black looks speckly but isn't, it is just dust:rolleyes: The white isn't brilliant white which is good but I will have to be careful what finish I put on this otherwise it will become too off white and start to look cream.

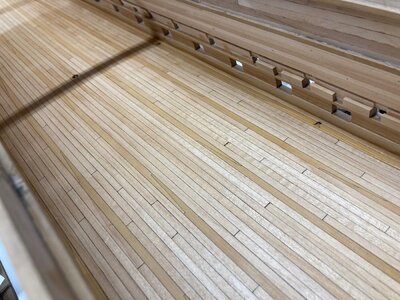
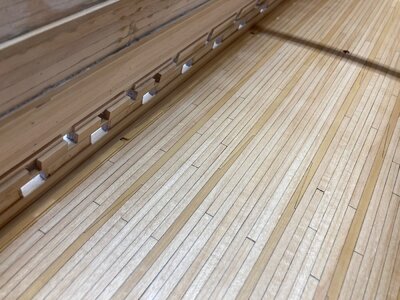
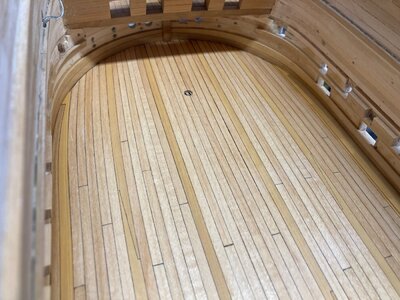
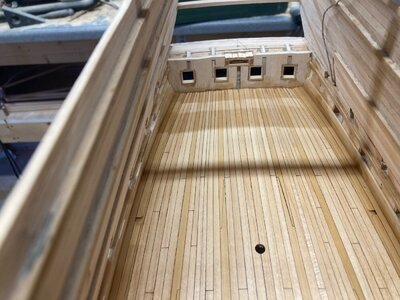
The never ending task of planking the deck has been completed.It has been sanded and polished and has a coat of matt poly on it.There will be a few light coats of varnish put on this with rubbing down between.This is easier to do now before I start fitting out.

Kind Regards

Nigel

IMG_0634.jpgIMG_0629.jpgIMG_0630.jpgIMG_0631.jpgIMG_0632.jpg
 
My Veneer has landed.Not easy to photograph as the sheets are large.Took one pic with the three colours on top of one another.The black looks speckly but isn't, it is just dust:rolleyes: The white isn't brilliant white which is good but I will have to be careful what finish I put on this otherwise it will become too off white and start to look cream.

The never ending task of planking the deck has been completed.It has been sanded and polished and has a coat of matt poly on it.There will be a few light coats of varnish put on this with rubbing down between.This is easier to do now before I start fitting out.

Kind Regards

Nigel

View attachment 334613View attachment 334614View attachment 334615View attachment 334616View attachment 334617
Brilliant.
 
Ahoy!

Just some pictures post Varnish.This item will need fully assembling before fitting to make life easier.One thin single coat of spirit based Poly applied with an artist brush.This is my plan for all the boxwood.The brown tint from the UV protection in the varnish will give the timber a nice caramel colour.

Kind Regards

Nigel

View attachment 331799View attachment 331800View attachment 331801

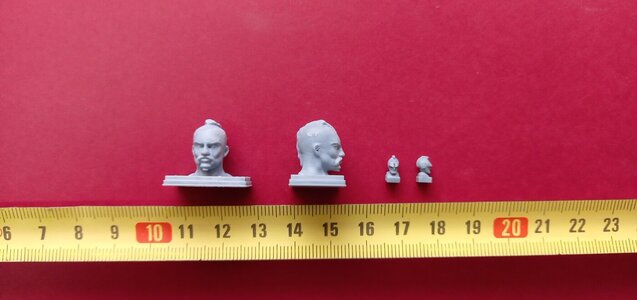
@Nigel - The sculpture of the head is the first class. My 3D Print is not so good as your sculpture. :-(

HEAD.jpg

Below our tentative tests of gun port decors in the scale 1/65. ;)

DEC.jpg
 
Ahoy!


@Nigel - The sculpture of the head is the first class. My 3D Print is not so good as your sculpture. :-(

View attachment 334858

Below our tentative tests of gun port decors in the scale 1/65. ;)

View attachment 334859

Thanks Kris

Those decors look really fine.Are they 3D print? They look rather familiar, are they Saint Philippe?

Kind Regards

Nigel
 
Beautiful deck - and beautiful decor elements
Very good work by both of you :cool:
 
Thanks Guys

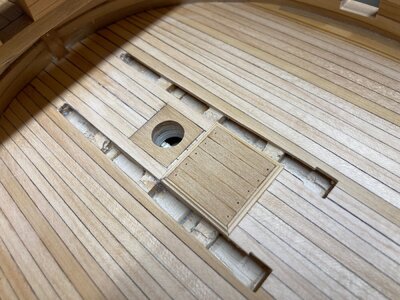
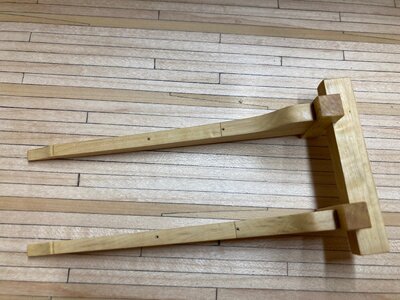
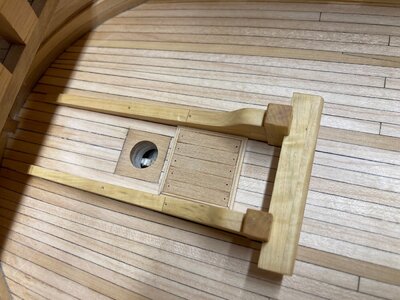
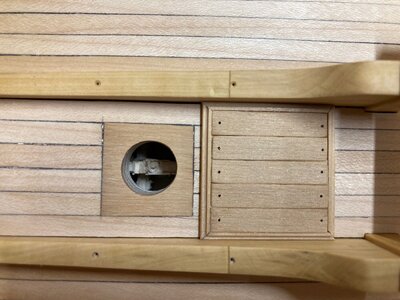
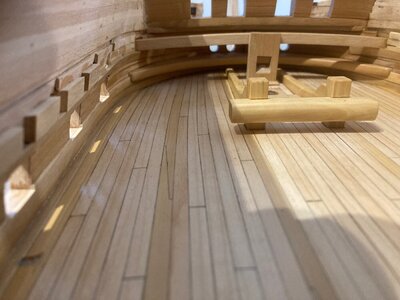
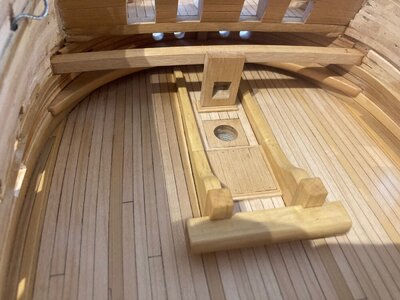
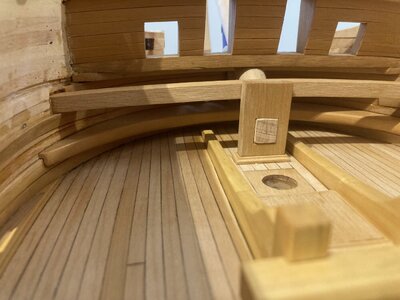
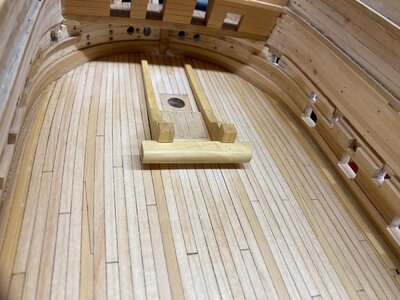
I am currently flitting around doing various jobs on the gun deck.I have assembled the forward bitts and cut the deck to suit.These bitts tie in with the structure below so don't want to look " stuck on the top".The perimeter of the cut outs will receive the brown acrylic pencil before the Bitts are glued in place.I have also added a hatchway between.There are no drawings to work from so I am going with details seen on other French vessels of this type and period.
The various holes are to take ironmongery later on after final varnishing.

Kind Regards

Nigel

IMG_0639.jpgIMG_0640.jpgIMG_0641.jpgIMG_0642.jpgIMG_0643.jpg
 
So crispy and clean! You have even micro-sunk the entry for your bolt heads, to avoid the possibility that errant wood fibers will raise the bolt head higher than the surface. As always, incredible attention to the smallest details. The main bitts look truly up to the task!
 
Thanks again Guys :)

Kurt I think that the UV protection is just a free precaution.I am using Poly on this model anyway so it is just a case of which Poly.

Yesterday was one of those days I would describe as being " on one " and I got quite a bit done, not even stopping for lunch ROTF

Jobs accomplished;

Fitted Breasthook
Stood on my head and finished the planking inside of the bow:rolleyes:
Opened up Hawse holes in new planking
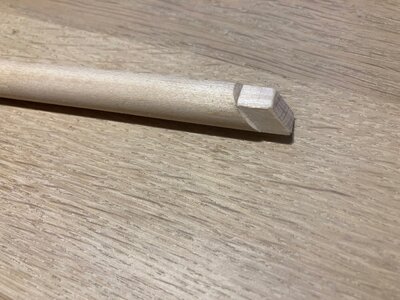
Cut and morticed Bowsprit step
Cut the Tenon on the bowsprit
Fitted Bowsprit step and deck beam
Permanently fitted the forward Bitts

Kind Regards

Nigel
IMG_0645.jpgIMG_0647.jpgIMG_0648.jpgIMG_0650.jpg
 
Back
Top