Soleil Royal- Re-engineering Artesania Latina's New Kit by NMBROOK

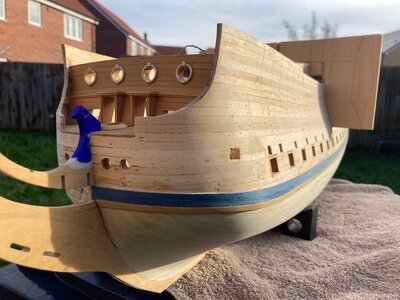
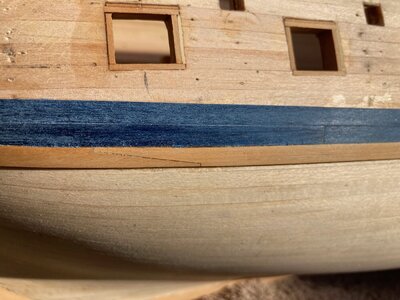
Carrying on with the larger jobs for now.I first assembled one of the lower Wale out of six sections of boxwood scarped together.These are assemble off the model as I find it gives a smoother run.

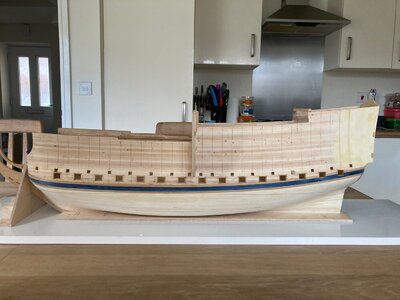
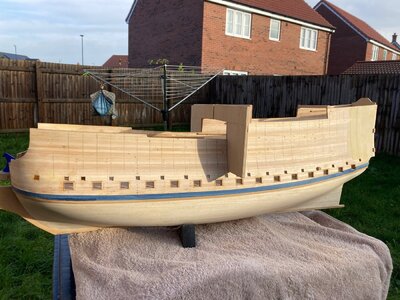
After much experimentation with a temporary batten to determine the run, in particular the sheer, the wale was bonded in place.Then I placed 0.6mm box veneer above this to give me a height of 10mm, equal to the width of planking between the lower Wales. This was then planked in the blue veneer.Serious spilling was required on everything in the vicinity of the bow due to the extreme inward slope running down.

I have also started planking the transom above the decorative rail, still mountains of work to do in this area before the stern post goes on.

Everything is still very much in the rough.

Kind Regards

Nigel
IMG_0710.jpgIMG_0711.jpgIMG_0712.jpgIMG_0713.jpgIMG_0714.jpg
 
My jaw hit the floor with a loud thud and hit my finger.your ship is as grand as the pyramid of Cheops.
 
Not much of a post, but I felt to show how the Wales are prepped before fitting to the model.

Individual sections, six in this case are scarped together to form the wale off the model.The sections are glued together with Aliphatic clamped to the edge of a bench with clear food wrap underneath to stop them bonding to the bench.The face that goes to the model has all the pencil marks on.Of particular note is the shaped section that goes around the bow.This is cut from flat sheet as it is beyond edge bending due to the inward slope of the bow geometry.The upper main Wale will not be as exaggerated as the slope is not so severe.

Kind Regards

Nigel

IMG_0717.jpgIMG_0718.jpgIMG_0719.jpgIMG_0720.jpgIMG_0721.jpg
 
Nothing major to update, but I am slowly moving in the correct direction.

Port upper main wale fitted
Starboard Lower main wale fitted
Waterline position marked.
Lower transom planked with my first go at splicing planks.One side has crept slightly lower than the other but this will be barely noticeable with the stern post fitted.

Kind Regards

Nigel

IMG_0727.jpgIMG_0728.jpgIMG_0729.jpgIMG_0730.jpgIMG_0731.jpg
 
This really looks great - super clean! When you eventually get to the topcoat, these colors will really pop!

One nice detail that AL got right is that the wing transom is correctly placed above the stern chase ports.
 
Thanks again Guys, I have come to the conclusion that now most of the "first fix joinery" is out of the way, There will be just a lot of "little" posts

I fabricated the stern post out using a boxwood core skinned with four different veneers to match the stern. The post is not glued to the model yet and is riding a little high in the pics, but does fit so all the colour demarcations do actually line up with the transom.I do have a touch of remedial work to do to the hull profile around where the radius joins the deadwood to refine the symmetry before I glue the post in place.

Kind Regards

Nigel

IMG_0732.jpgIMG_0733.jpgIMG_0734.jpgIMG_0735.jpg
 
The white veneer looks as though it will have a pleasingly off-white appearance, which is exactly what’s called for.

Yes Marc, I don't know how, but processing gives an almost perfect Weathered appearance. I suspect it is sanding deposits from the black veneer. I may have to polish the hull with white spirit and the black sawdust to get the same effect on the large expanse of the lower hull. Either way, this was by pure chance but it looks really good in the flesh.

Kind regards

Nigel
 
Back
Top