-

Win a Free Custom Engraved Brass Coin!!!
As a way to introduce our brass coins to the community, we will raffle off a free coin during the month of August. Follow link ABOVE for instructions for entering.
-

PRE-ORDER SHIPS IN SCALE TODAY!
The beloved Ships in Scale Magazine is back and charting a new course for 2026!
Discover new skills, new techniques, and new inspirations in every issue.
NOTE THAT OUR FIRST ISSUE WILL BE JAN/FEB 2026
You are using an out of date browser. It may not display this or other websites correctly.
You should upgrade or use an alternative browser.
You should upgrade or use an alternative browser.
the Colonial Schooner Hannah in 1/48 [COMPLETED BUILD]
- Joined
- Nov 2, 2020
- Messages
- 7
- Points
- 23

Dear sir:
Do you have blueprints for this particular ship?
Confirm.
Much oblige.
John
Do you have blueprints for this particular ship?
Confirm.
Much oblige.
John
Hello John,
you can contact @Winston, you can PM him, he is the authorize reseller for Harold Hahn's plans
Hahn Plans - Model Ship Builder
you can contact @Winston, you can PM him, he is the authorize reseller for Harold Hahn's plans
Hahn Plans - Model Ship Builder
Canoe21
Lawrence
Hello Shota, Have you tried to click on the links that I posted the other day. I figured that they would be of a great help to you.
Regards Lawrence
Regards Lawrence
- Joined
- Apr 20, 2020
- Messages
- 6,242
- Points
- 738

yes, thank you very muchHello Shota, Have you tried to click on the links that I posted the other day. I figured that they would be of a great help to you.
Regards Lawrence
- Joined
- Apr 20, 2020
- Messages
- 6,242
- Points
- 738

- Joined
- Apr 20, 2020
- Messages
- 6,242
- Points
- 738

Thank you very much dear friend,Magnificent craftsmanship.
Some day I’ll reach that level of expertise. LOL
I have no doubt that you will reach higher levels as well. There are dear friends here who will be happy to support the learning process
Hi Daniel, wow thats really taking shape.
.
.
- Joined
- Apr 20, 2020
- Messages
- 6,242
- Points
- 738

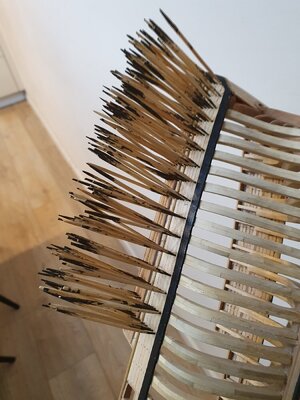
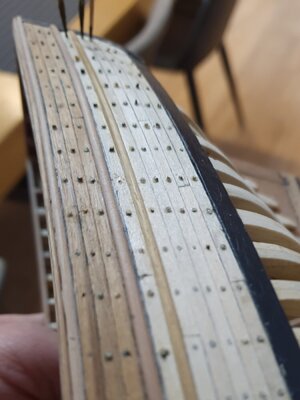
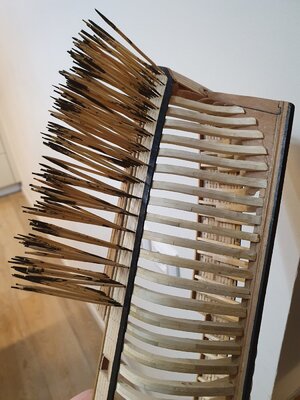
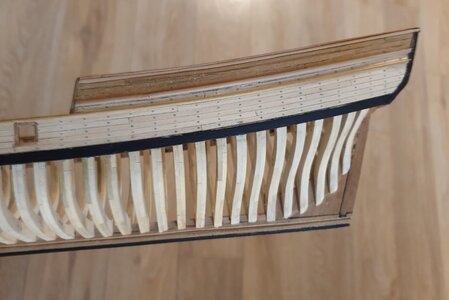
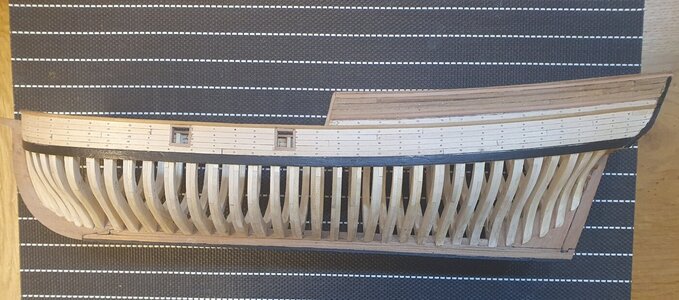
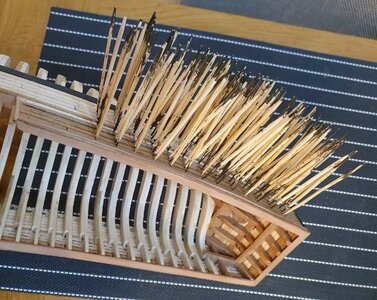
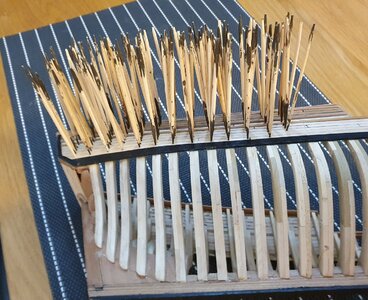
Hello dear friends
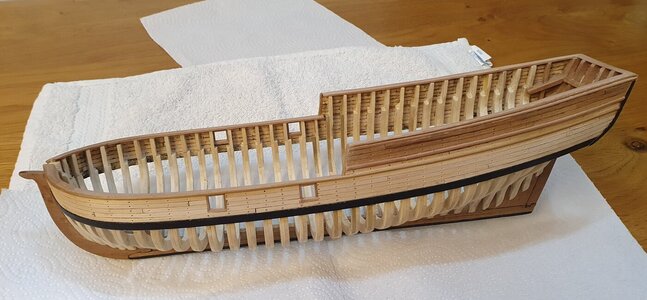
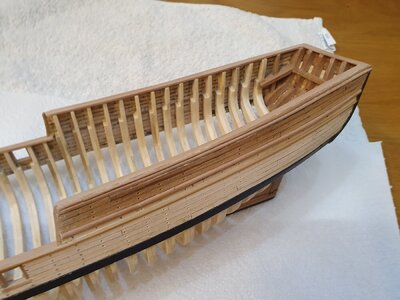
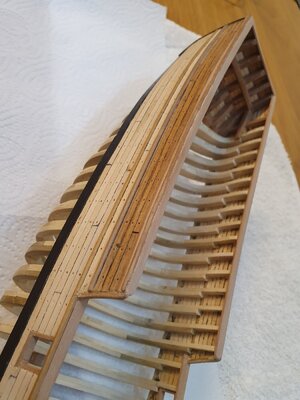
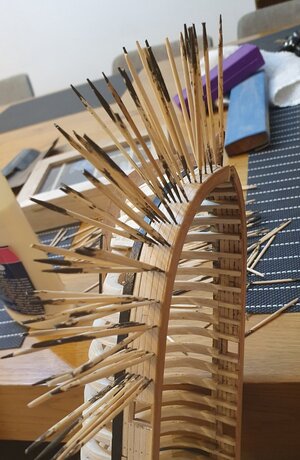
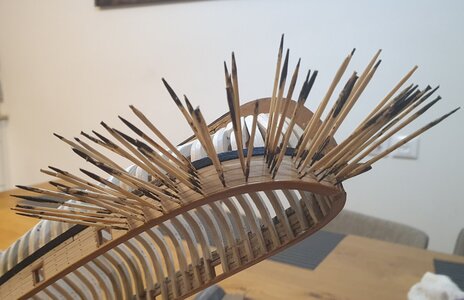
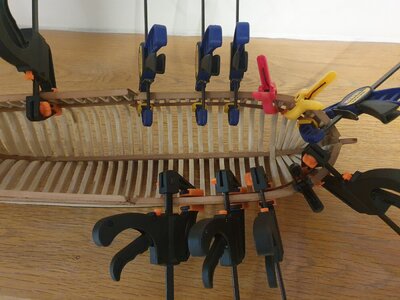
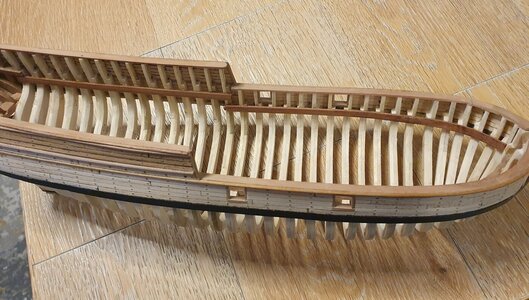
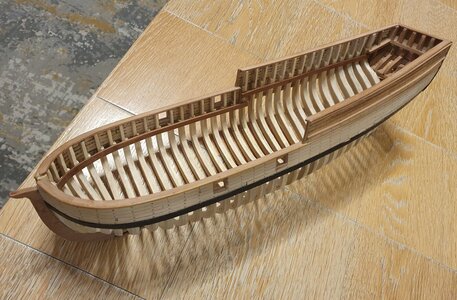
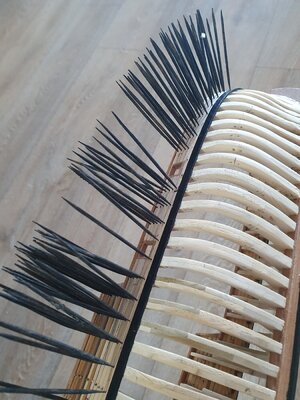
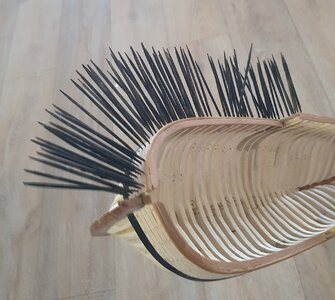
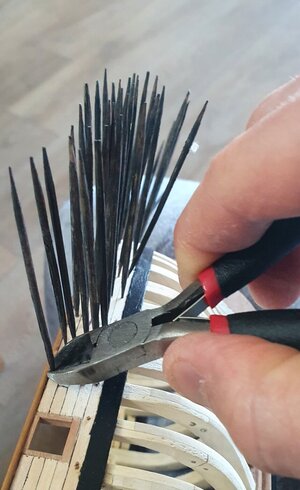
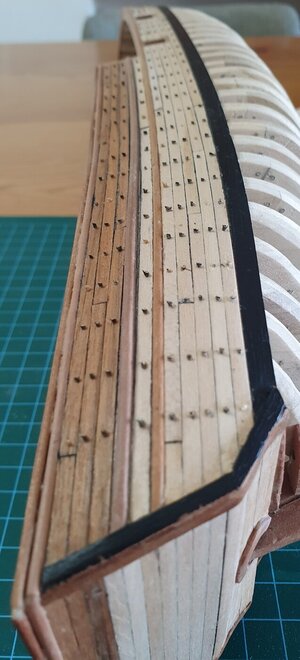
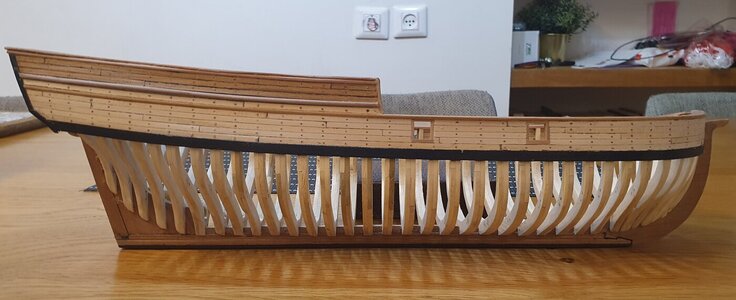
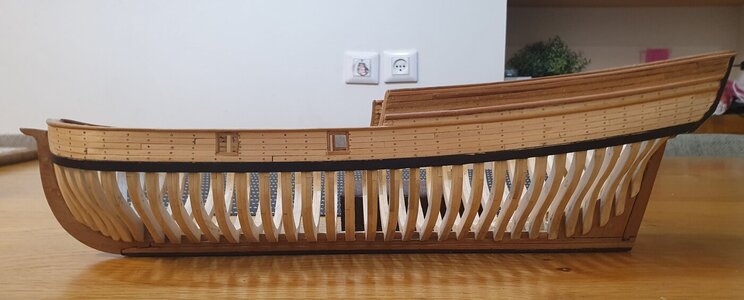
Today I continued and even finished with the installation of the painted toothpicks designed to simulate the pegs / wooden nails that attached the planking to the sides of the ship. Today I used new drugs that were painted black.
Attaches pictures of the process and the result on both sides of the ship.


- Joined
- Apr 20, 2020
- Messages
- 6,242
- Points
- 738

good evening dear friends
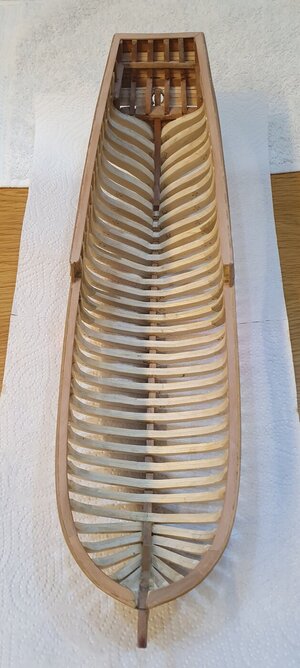
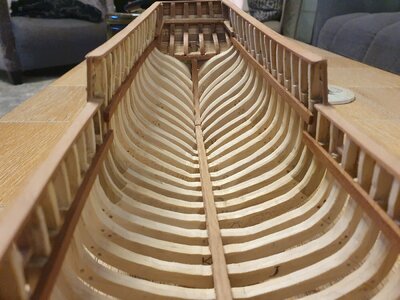
After several days of Rest, I returned to the model. There are stages in the construction process of the model in which you disconnect to accumulate fresh forces, especially after intense days or weeks in construction or after prominent stages in the formation of the ship.
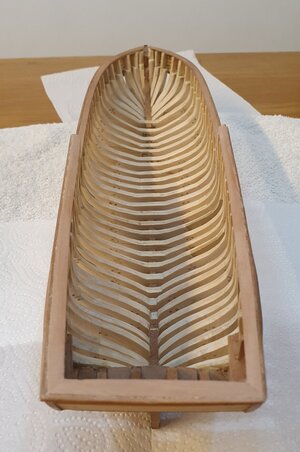
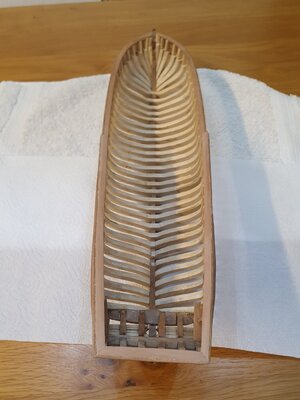
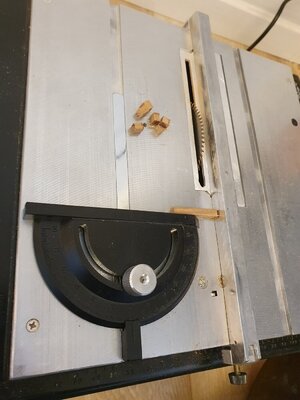
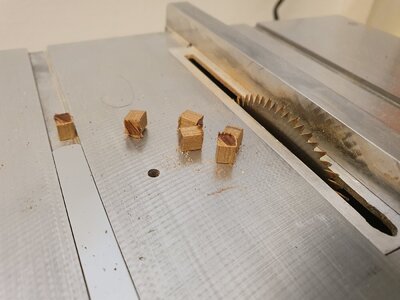
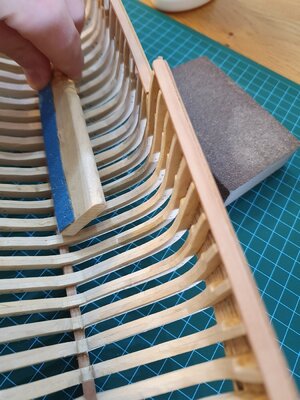
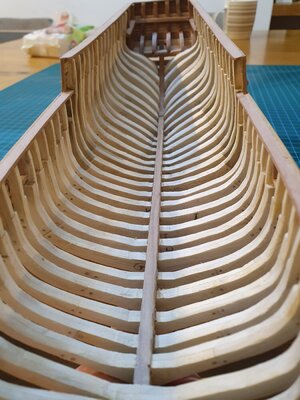
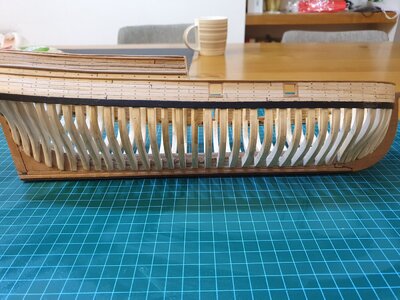
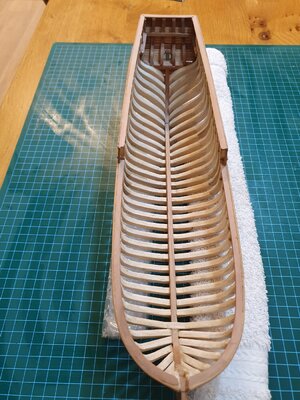
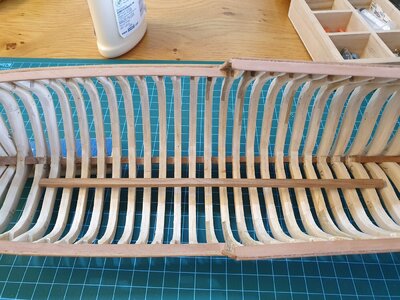
So today I finished building the keel of the ship in its interior. I sawed down 0.6 cm thick blocks, then inserted them between the frames
of the ship. I sanded the inside to create a uniform height to where the keel top board would be inserted. After about 4 hours of work the process ended with a satisfactory result.
May we all have a pleasant and enjoyable weekend


looking good
- Joined
- Apr 20, 2020
- Messages
- 6,242
- Points
- 738

good evening dear friends
Today I started the process of preparing the Deck Beams for the lower deck and bow.
In the first stage I have to make 8 beams about 4 millimeters wide.
First I chose cherry wood boards, I sawed it to moisture about 11 inches long.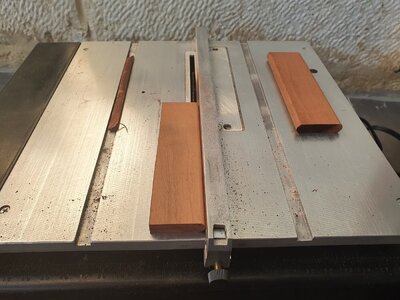
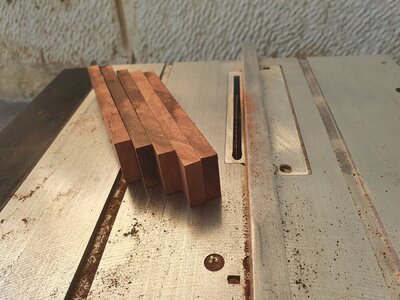
I then marked the profile of the beam which is slightly arched. For this purpose I used two sanders, the first of proxxon.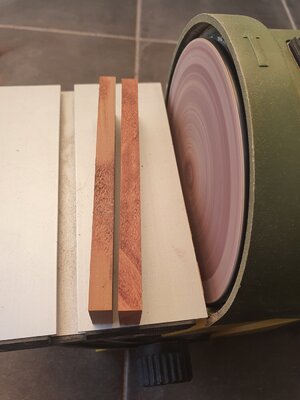
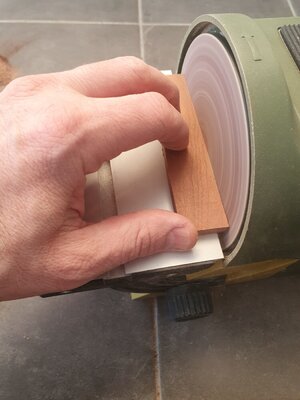
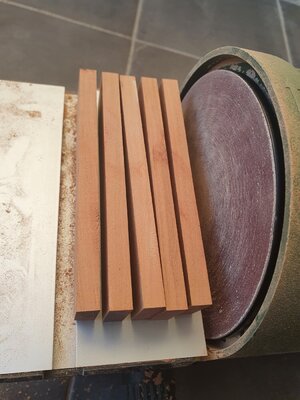
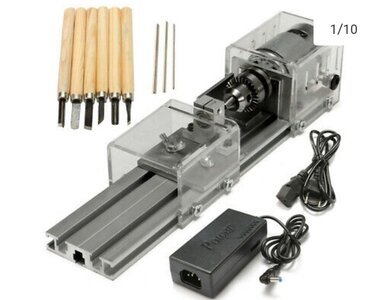
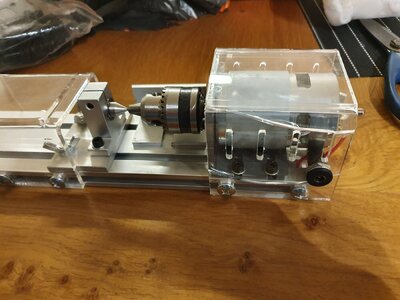
The second sander is a new purchase of mine that turned out to be very successful, referring to HANDHELD SPINDLE SANDER- Wen's.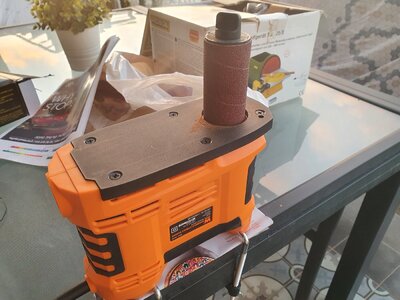
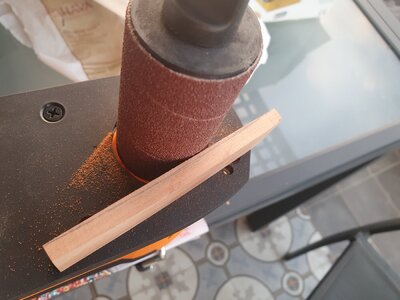
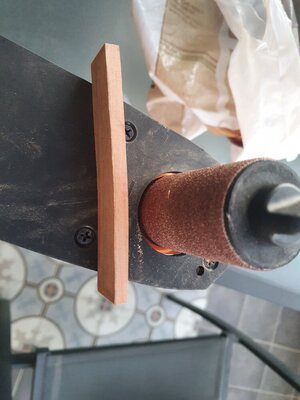
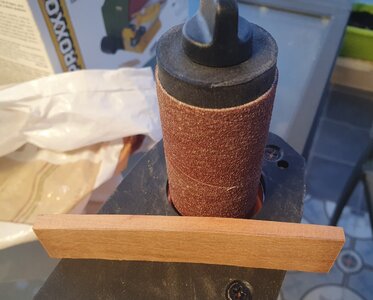
after that I sliced the shaped board, which I also sanded to the required thickness. Overall I was able to produce 3 Deck Beams.
For the first time I am quite pleased with the result.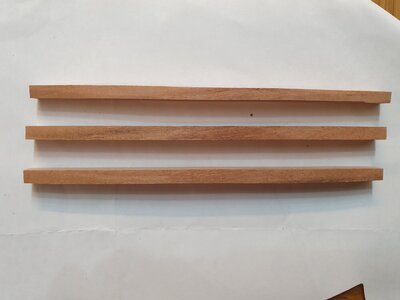

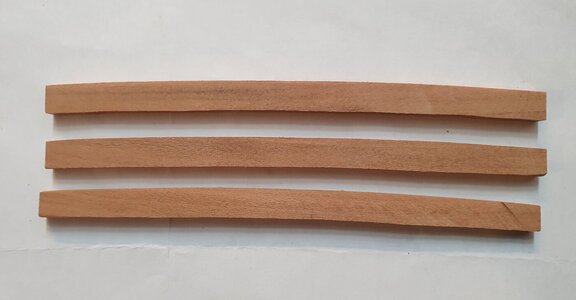
Wishing all of us a happy and enjoyable weekend and to friends from China we wish a happy new year
Today I started the process of preparing the Deck Beams for the lower deck and bow.
In the first stage I have to make 8 beams about 4 millimeters wide.
First I chose cherry wood boards, I sawed it to moisture about 11 inches long.


I then marked the profile of the beam which is slightly arched. For this purpose I used two sanders, the first of proxxon.


The second sander is a new purchase of mine that turned out to be very successful, referring to HANDHELD SPINDLE SANDER- Wen's.


after that I sliced the shaped board, which I also sanded to the required thickness. Overall I was able to produce 3 Deck Beams.
For the first time I am quite pleased with the result.


Wishing all of us a happy and enjoyable weekend and to friends from China we wish a happy new year
You are making huge progress in scratch building, the beams look very good, and the portable spindle sander does a great job.
Kurt Konrath
Kurt Konrath
OK, this may be a silly question but other than razor blade and sanding is there a tool to sharpen the end of toothpicks that have had ends cut off once so they can be reused over again until too short!
Kurt, I don't think the razor blade would be a good tool for the above-mentioned job. the 'end-point' must be as round as possible otherwise when you will cut flush with the deck, the treenail will not be round. The sanding disk will be a far better tool. The idea should be similar to a pencil sharpener...One of the efficient ways is to use rotary tools. Tight toothpick in the chuck, turn ON, and touch the end with sandpaper. It will be perfectly round.OK, this may be a silly question but other than razor blade and sanding is there a tool to sharpen the end of toothpicks that have had ends cut off once so they can be reused over again until too short!

