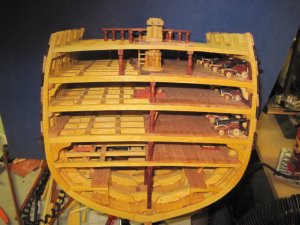
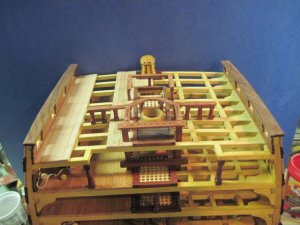
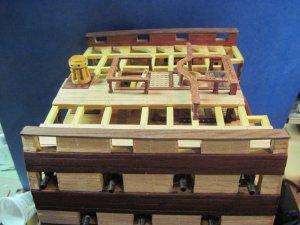
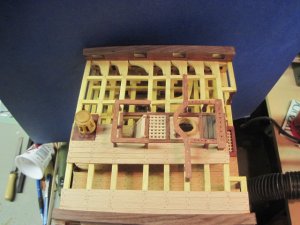
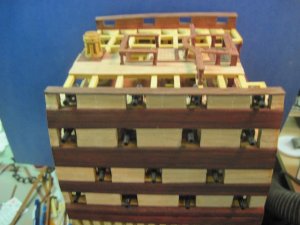
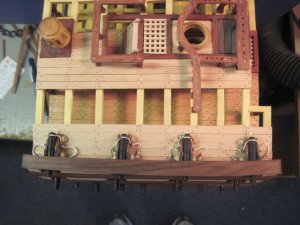
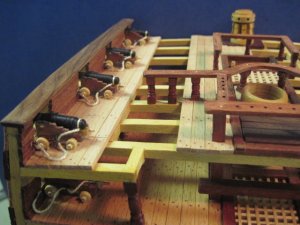
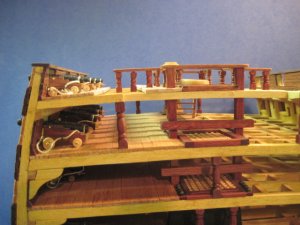
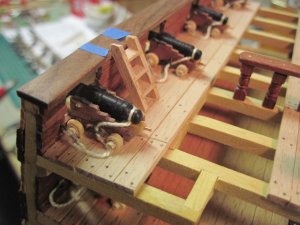
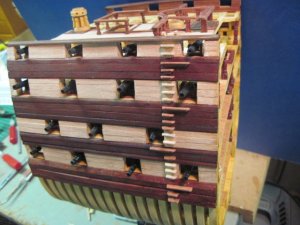
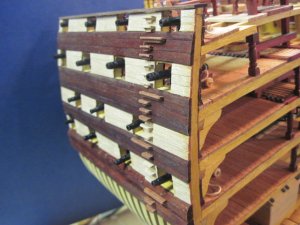
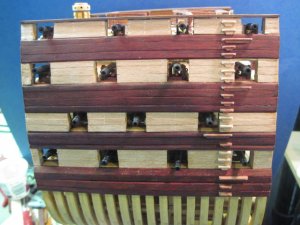
As usual brilliant work. :handgestures-thumbup:
-

Win a Free Custom Engraved Brass Coin!!!
As a way to introduce our brass coins to the community, we will raffle off a free coin during the month of August. Follow link ABOVE for instructions for entering.
-

PRE-ORDER SHIPS IN SCALE TODAY!
The beloved Ships in Scale Magazine is back and charting a new course for 2026!
Discover new skills, new techniques, and new inspirations in every issue.
NOTE THAT OUR FIRST ISSUE WILL BE JAN/FEB 2026
You are using an out of date browser. It may not display this or other websites correctly.
You should upgrade or use an alternative browser.
You should upgrade or use an alternative browser.
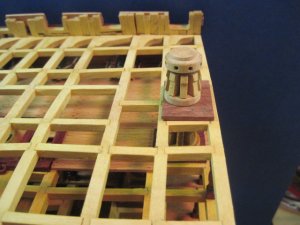
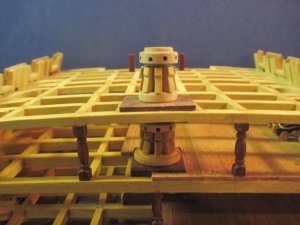
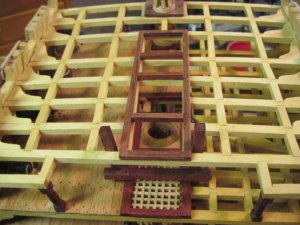
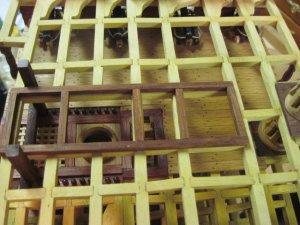
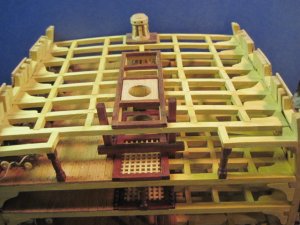
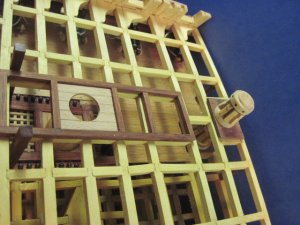
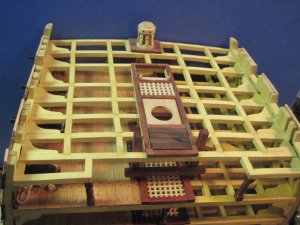
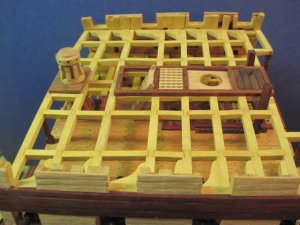
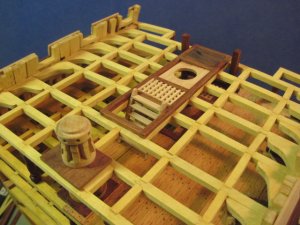
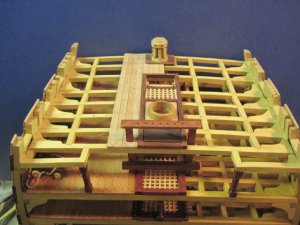
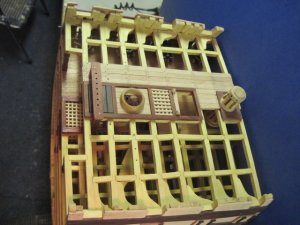
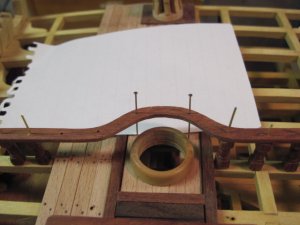
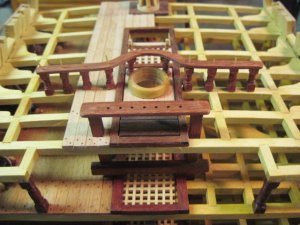
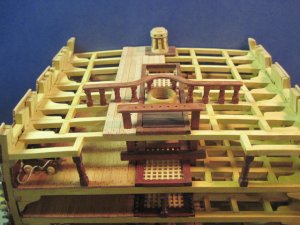
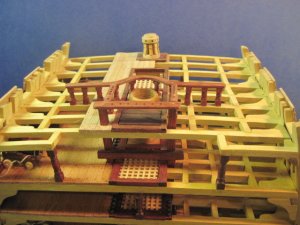
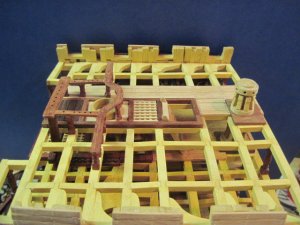
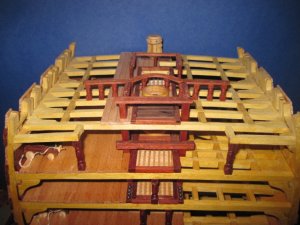
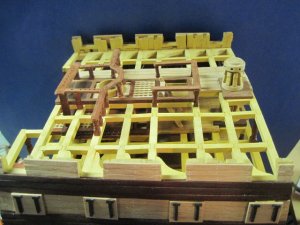
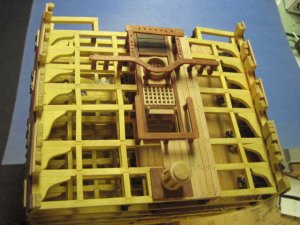
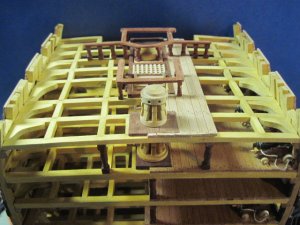
USS Pennsylvania (1837) Cross Section Scale: 1:64 [COMPLETED BUILD]
- Thread starter Mike41
- Start date
- Watchers 6
-
- Tags
- completed build
Beautiful work, always a pleasure. :handgestures-thumbup:
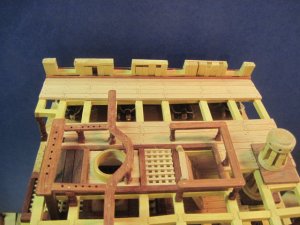
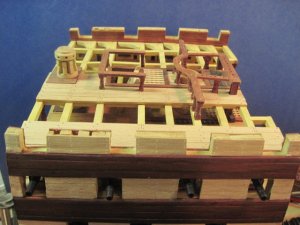
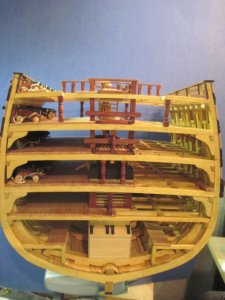
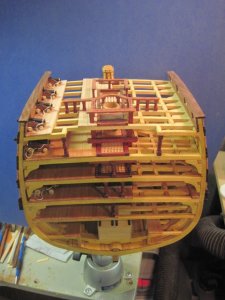
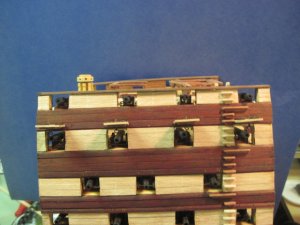
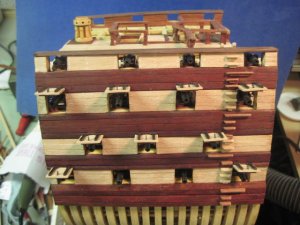
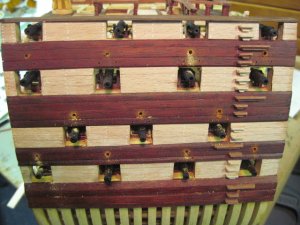
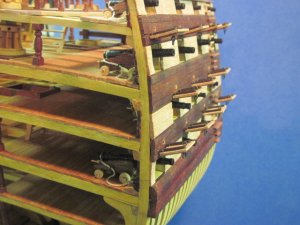
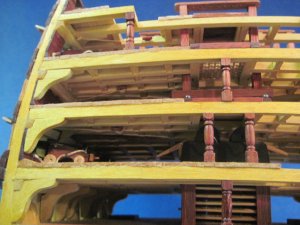
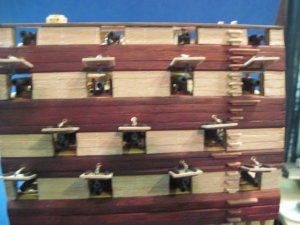
I was always thinking to use these redish types of woods on my future models but when I think about that they are turning brown in a few years just puts me down,but still looks great on your cross section ,just fantastic build.
- Joined
- Aug 10, 2017
- Messages
- 1,706
- Points
- 538

Hi Zoltan,
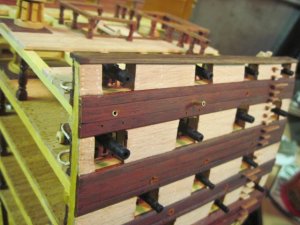
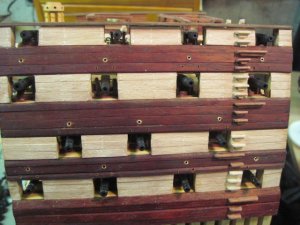
Even though most woods darken with age there remains a color contrast that I find pleasing to the eye. The old ship models found in museums were built with local materials and painted or stained to add color. We now have access to several hundred varieties of wood to choose from with a varied color pallet.
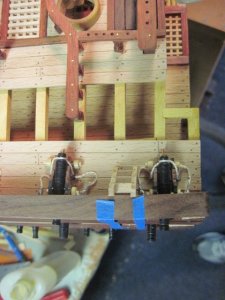
I haven’t had any problems mixing different woods. I use the same wood for most structural components and different wood for trim, deck items etc.
Try adding some reddish wood to one of your models and see how well it ages.
Mike
coming along nicely mike when do we get to see you start the 1/24th scale full ship ))
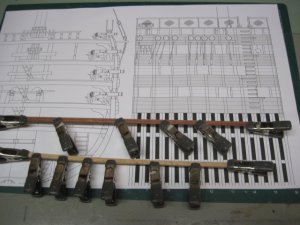
Are you using a CAD program for your plans?
That's a nice looking model Mike. I like your wood choices. They contrast nicely and the scale is just right as well. Again, I'm very impressed with your skills. Good job.
Take care,
Bob
Take care,
Bob
- Joined
- Aug 10, 2017
- Messages
- 1,706
- Points
- 538

Thanks Bob,
I like to use different colored woods to sharpen the contrast between the various parts and pieces. I guess paint does the same thing but I am not very good at painting. I get more paint on me than the model.
Mike
I like to use different colored woods to sharpen the contrast between the various parts and pieces. I guess paint does the same thing but I am not very good at painting. I get more paint on me than the model.
Mike


