YUANQING BLUENOSE - Don Robinson

And there's more:

IMG_4036.JPG
Moving on to the keelson pieces 48, 49, and 50. The notches need to be squared up. Yeh more char!!
IMG_4042.JPG
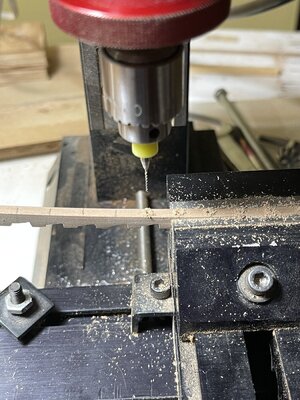
Drilling holes for the nails

IMG_4044.JPG
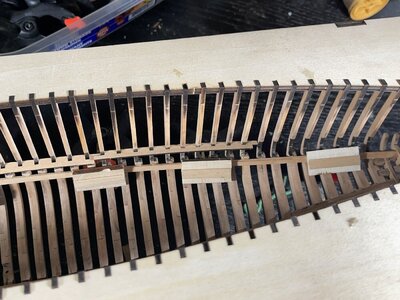
Gluing pieces in place using garden tie to hold in place, works good but be careful removing as I found out later. Using zip ties as @Dean62 would work better but I did not have any small enough.
IMG_4052.JPGIMG_4062.JPG
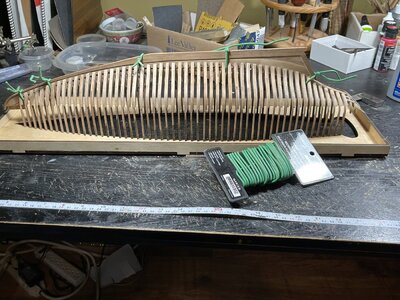
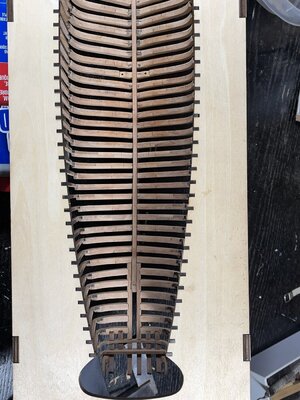
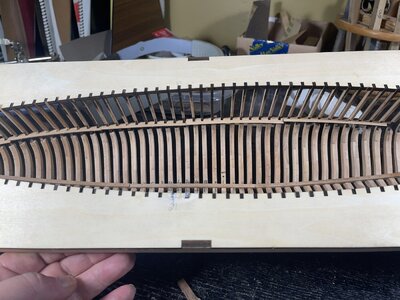
Installing pieces 24-29, do not glue these are just temporary. This is a step where more char needs to be removed and it is quite fiddly work(there are better words to describe this but are banned from the forum!!). I was initially going to skip this step but @Dean62 convinced me it was worth the headache. It does help line up the frames for the next step coming.
IMG_4061.JPG
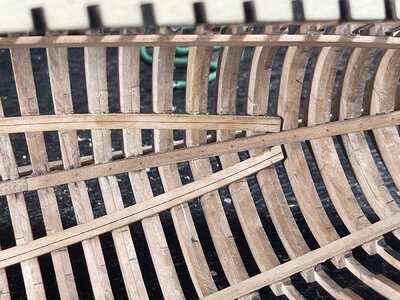
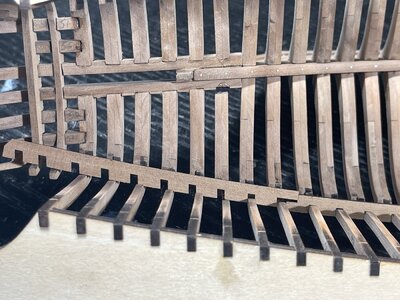
Things were going too smooth for too long so this happened. As you can see this piece does not have chance of ever fitting, and if you look close one frame even broke loose while trying to fit it. When the time comes new pieces will need to be made. I'm not sure what is to fault here but I can assure you it was one of those "walk away" moments:mad:;)Beer

IMG_4064.JPG
getting ready to glue in pieces 102 and 103
IMG_4066.JPG
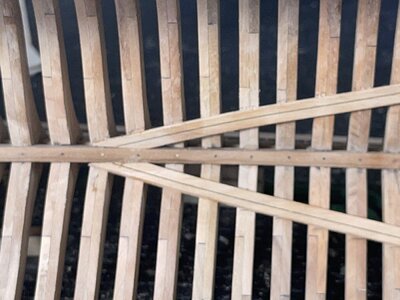
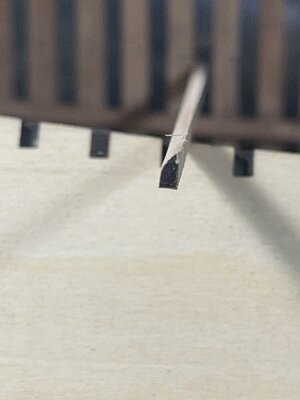
showing the taper required at the stern
IMG_4067.JPG
IMG_4068.JPG
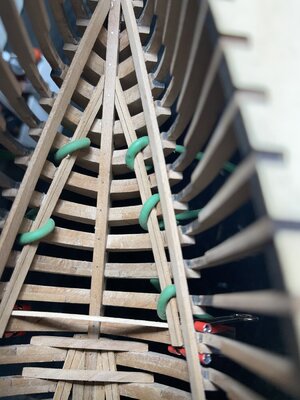
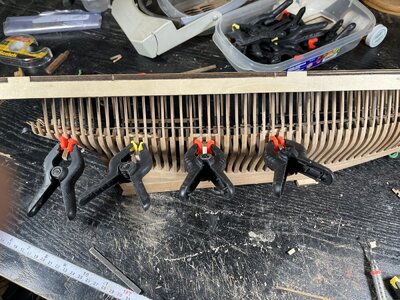
Inside view of the clamp devices I used
IMG_4072.JPG
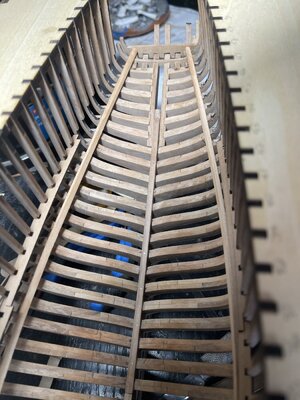
Completed with no mishaps!!:pThumbs-Up
 
The last part for today, I promise!:p

IMG_4073.JPG
Pieces 135 installed, mainly just cleaning char off edges here

IMG_4074.JPG

IMG_4075.JPG
Be sure to leave a 4 mm overhang as there will be a beam resting on this later.

IMG_4077.JPG
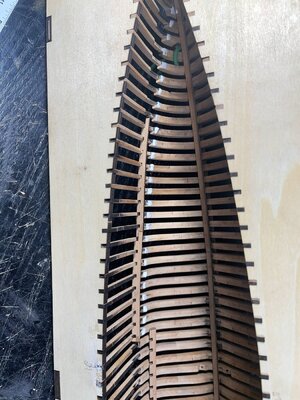
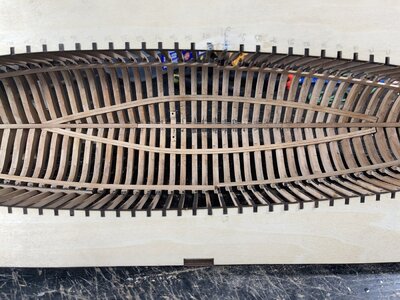
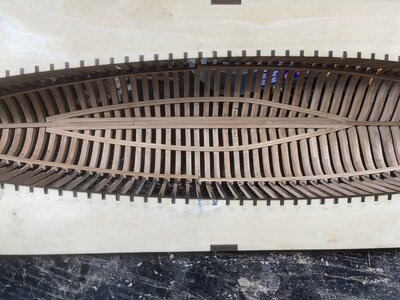
Two planks need to be installed on either side of the keelson, these are the same as the hull planks found wrapped in a bundle. And yes, there is more char to be removed on these also!! HAHAHA You will notice in the central part a little bit of a rise in the planks, do not worry about this it is actually meant to be like this to help later on.

IMG_4079.JPG
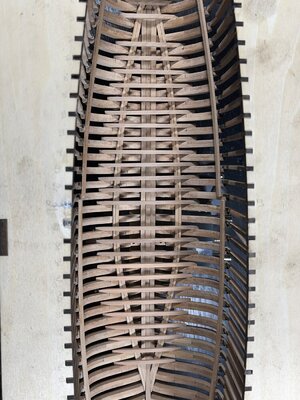
Here the floor beams are installed 75-101 a little time consuming removing char but relatively easy step. Note that there is a frame skipped between beams 76 and 77 and 90 and 91 these two frames do not get floor timbers.

IMG_4078.JPG
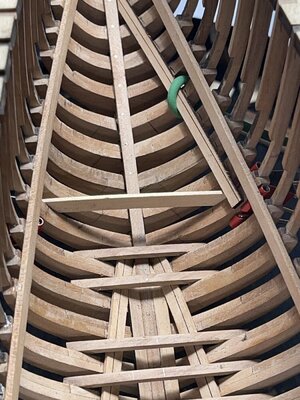
Attaching pieces 136. This part of page eleven was missed in the translated instructions so just be aware. The cross piece you see temporarily clamped is there to help keep piece 136 at the proper height for the gluing. To get the proper height I went back to the template for frame 12 and cut a piece of card to the exact length then used that to position the temporary cross piece.

IMG_4080.JPG
Before was a dry fit now the actual gluing


IMG_4082.JPG
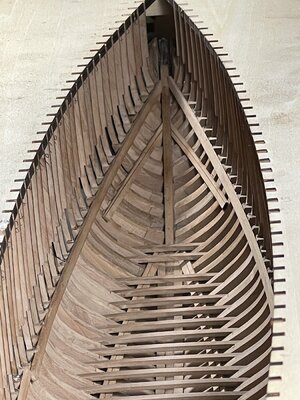
And this is how it looks today.
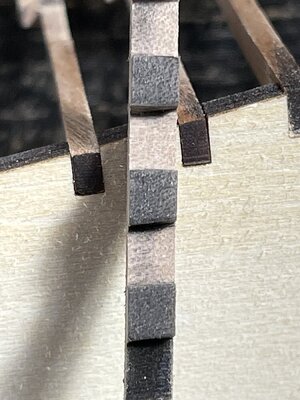
Note, I have to be honest for those who may be following I have made a mistake here and that is on pieces 136 the ones just installed at the bow and on pieces 135 the two pieces the floor beams are resting on. On all of these pieces I forgot to bevel the top edges. The top ones I may try to remove and correct but the lower ones I will leave as I cannot see where it will affect things too much. If anyone asks my answer will be artistic license!;) So pay attention to this and do not follow in my steps.
Thanks so much for following I hope You enjoyed!:pBeer
 
The last part for today, I promise!:p

View attachment 218298
Pieces 135 installed, mainly just cleaning char off edges here

View attachment 218299

View attachment 218300
Be sure to leave a 4 mm overhang as there will be a beam resting on this later.

View attachment 218301
Two planks need to be installed on either side of the keelson, these are the same as the hull planks found wrapped in a bundle. And yes, there is more char to be removed on these also!! HAHAHA You will notice in the central part a little bit of a rise in the planks, do not worry about this it is actually meant to be like this to help later on.

View attachment 218302
Here the floor beams are installed 75-101 a little time consuming removing char but relatively easy step. Note that there is a frame skipped between beams 76 and 77 and 90 and 91 these two frames do not get floor timbers.

View attachment 218303
Attaching pieces 136. This part of page eleven was missed in the translated instructions so just be aware. The cross piece you see temporarily clamped is there to help keep piece 136 at the proper height for the gluing. To get the proper height I went back to the template for frame 12 and cut a piece of card to the exact length then used that to position the temporary cross piece.

View attachment 218304
Before was a dry fit now the actual gluing


View attachment 218306
And this is how it looks today.
Note, I have to be honest for those who may be following I have made a mistake here and that is on pieces 136 the ones just installed at the bow and on pieces 135 the two pieces the floor beams are resting on. On all of these pieces I forgot to bevel the top edges. The top ones I may try to remove and correct but the lower ones I will leave as I cannot see where it will affect things too much. If anyone asks my answer will be artistic license!;) So pay attention to this and do not follow in my steps.
Thanks so much for following I hope You enjoyed!:pBeer
You’re making good progress Don! Looking great! Those bevels are so the cross beams sit level. They will still sit level on the edges, but less surface area to glue and height will be higher. You will still be ok! ;)
 
You’re making good progress Don! Looking great! Those bevels are so the cross beams sit level. They will still sit level on the edges, but less surface area to glue and height will be higher. You will still be ok! ;)
I have the ones at the bow off and bevelled ready to be reinstalled. I have looked over the plans and the beams at the bottom and just don't think it is worthwhile trying to dismantle all of that, the side of the frames allowed plenty of gluing surface so it is staying as is. Mine will just look a little more decorative than others with the laser lines showing!:p:)
 
Method two of filler block construction:

View attachment 218238
Now for those of you who tend to over sand, drop and break and generally screw things up here is how to fix things. Go through your scrap frame billets, I hope you saved them if not skip this process and go to liquor cabinet! Using table saw cut strips to width then to length and laminate together. Next is to cut the groove on the inside, this is done free hand so please no partying before attempting this!

View attachment 218252
Top line is showing the final size I want and the bottom line shows where the curve or taper is going to start

View attachment 218250
shaping has begun using belt sander

View attachment 218251
Final shaping done, new block on the left and the old on the right. Final sanding and shaping will be done inside.
I have pictures of final product installed on ship but I seem to have lost them. I'll go look for them and be back, good chance I left them by the vodka bottle. :p ROTF
I get finger cramps thinking about and watching holding the small pieces for filing/sanding which is not assisted by my dry old fingers. Nice work. Rich
 
I get finger cramps thinking about and watching holding the small pieces for filing/sanding which is not assisted by my dry old fingers. Nice work. Rich
The amount of sanding required is one thing but then combine that with every piece being hardwood makes the job somewhat tedious to day the least. The end results will still put a smile on your face and make it all worthwhile. :)
 
Don you have made superb progress. Sometimes a project like this requires gritting the teeth - and coupled with a few walk-aways and a few shots of Vodka - an endless amount of perseverance. But like you said - when finished, the sense of accomplishment is great and then comes to the savor the moment! Well done, my friend! :) Thumbsup
 
Back
Top