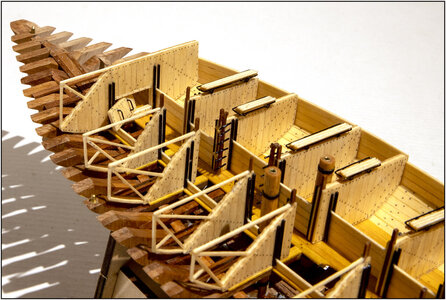
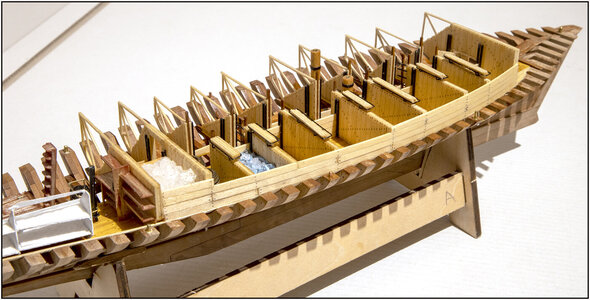
YUANQING BLUENOSE - Peter Voogt [COMPLETED BUILD]

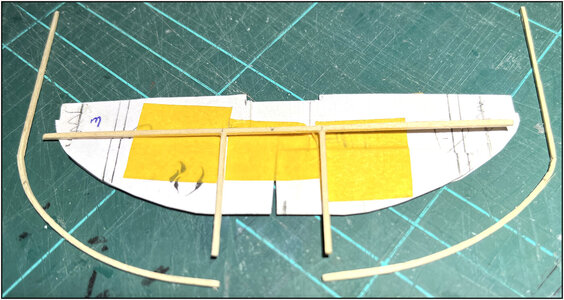
Started making a paper mold:
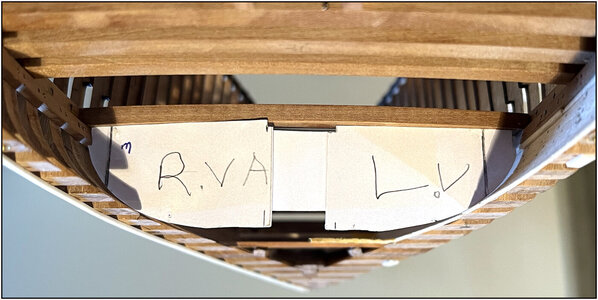
454 End.jpg

Use the plank bender to bend the outer edge of the beams and let them dry in place:
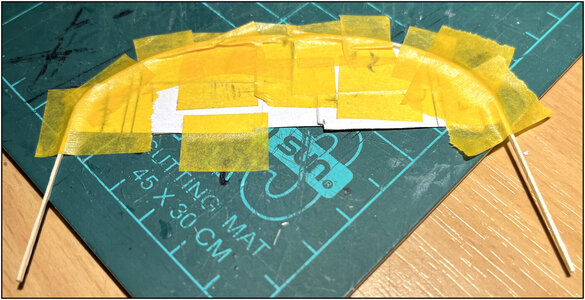
455 End.jpg

The base:
456 End.jpg
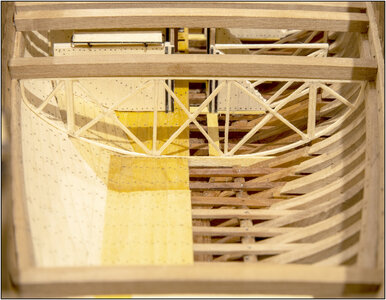
Because the ends of the top beam are bent downwards to get camber, 2 uprights were made in the middle.

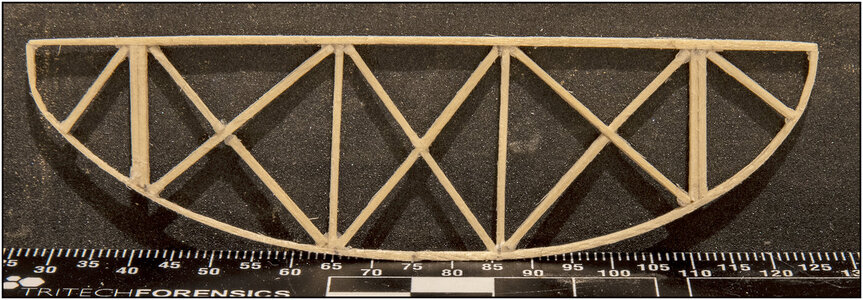
On the mold the frame with all beams assembled:"
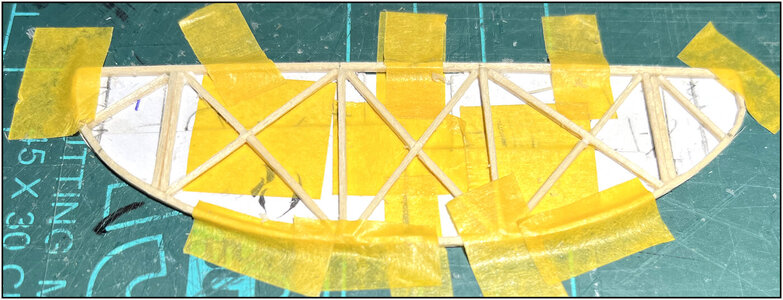
457 End.jpg
Now let the wood glue dry well before I can cut the frame free from the paper mold and fit into the hull under the deck beam.
All in all a productive day. :)
Regards, Peter
 
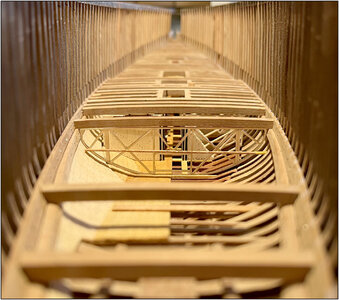
The rear 2 clamps also fitted. Then 4 more deck beams were made to measure and attached:
View attachment 251405
This clearly gave even more firmness to the hull.

Continued sawing up to the last cut:
View attachment 251406

The jig in which the frames are attached, turned up a bit:
View attachment 251407

The ‘below the waterline’ part could be pushed forward:
View attachment 251408

And ‘above the waterline’ part free:
View attachment 251409

The bottom back on the temporary stand:
View attachment 251410

The waterline model:
View attachment 251411

And merged again:
View attachment 251412

Regards, Peter
An incredible feat Peter Thumbsup
 
Hi Peter, I have caught up with your entire build just now, from the very beginning. What a journey! You certainly have taken everything to a new level and I admire your innovation and attention to detail. It gets more and more interesting all the time and, like everyone else watching this thread, I look forward to each new instalment of your progress, your next fish hold, your choice of fish (smelly or not), and of course your impending cycle tour, which sounds just as interesting and exciting. Well done Thumbsup
 
An incredible feat Peter Thumbsup
Hi Peter, I have caught up with your entire build just now, from the very beginning. What a journey! You certainly have taken everything to a new level and I admire your innovation and attention to detail. It gets more and more interesting all the time and, like everyone else watching this thread, I look forward to each new instalment of your progress, your next fish hold, your choice of fish (smelly or not), and of course your impending cycle tour, which sounds just as interesting and exciting. Well done Thumbsup
Hi Mark. Thanks for walking through my build-log, your likes and your reply’s. Indeed, it is a journey, with a lot of chapters open. Still not even written, but I have the overal picture in mind. And with the sports I can blow off the steam. :)
Regards, Peter
 
Great job Peter! That could hold a lot of fish! ;)
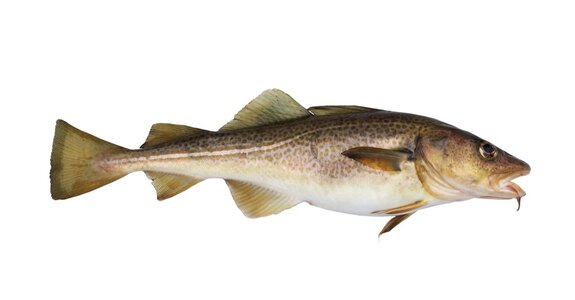
Thanxs Dean. From time to time I am looking for some better ‘scaled salmon’. You former suggestion will become a little pricey. For the outside fishing they have also small baitfish, but not the correct size. And also not cheap. But I have enough time and the FishHold remain accessible.
-> Keep Talking <- and perhaps somebody finds the ‘bingo’. Stephen Hawking’s also has find al lot of answers. :):D
Regards, Peter
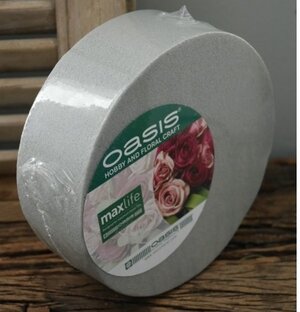
I would carve them out of styrofoam and paint. ;)
 
I was also thinking about something like that. This is also a option:
View attachment 271293
But my paint skills are not that mutch ........
Regards, Peter
You don’t have to get fancy at this scale. Just paint white, and add a little silver on the upper half, then add an eye with paint. Without an airbrush, you can do the fade from silver to white by dabbing the brush with a small amount of silver along the line between the two colors. This will make a gradual change in color. Almost like dot shading. Or get a silver paint pen and dot shade the transition.
Because the fins aren’t that fancy, they should be fairly easy. Start with maximum thickness of the body to cut outer profile. Then file or carve the fins to final thickness. Then add curve to body.
You can do it! ;)
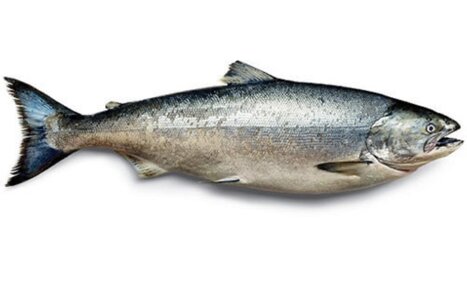
Take this picture and print it to scale, and use as a pattern for outer profile. ;)
View attachment 271310
Thanxs Dean, for thinking with me. :)
Regards, Peter
 
Last edited:
Not much to report, I only had some time to build in the evening .......... but I'm happy with the result that came from under the tape. After some fitting, sanding, fitting, sanding:
458 End.jpg
To the left is will be completely planked and to the right comes the the descending nibbling. That's where the bars come into the picture, so they will be refurbished a bit further.
On the left I also applied the beams because the planks also have to have a substrate to glue on.
By the double uprights, the ears will be cut.

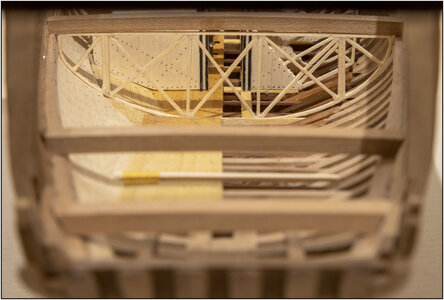
It fits under the deck beam and follows the curve of the hull nicely:
459 End.jpg
The underside rests against an upright plank fitted against the raised floor on the stringers

Another view from the rear. Just nice to get it on the picture. Here I am with the lens against the back of the jig:
460 End.jpg
Regards, Peter
 
Aha…a little more work. ;)
Haha ...... you know very well, there is always more work. Like with your wall panels and coat of arms.
I am already adjusting that frame for the back wall of the FishHold. Because next comes the MainCabin. For the construction of this I already have to take this into account with this wall. And that, in my view, resulted in a nice find. I hope to show some pictures of that tomorrow. Not that I want to make it more exciting than it is, but I want to show some results.
Regards, Peter
Looking forward to it! ;)
 
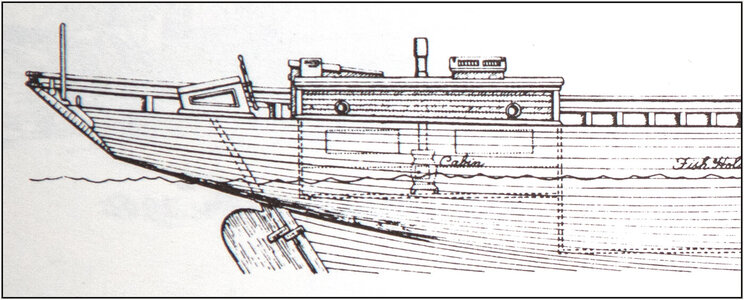
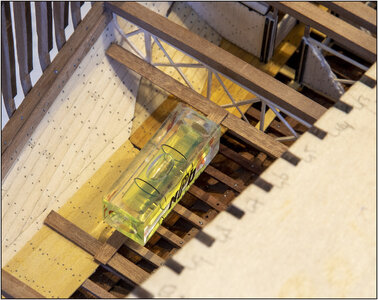
Yet another between step. It occurred to me that the floor of the Cabin will soon be horizontal, in accordance with the Saga drawings. Then there is a space between this floor and the floor on the Springers:
461 Saga-Cabin.jpg
Given the limited space, this will be best used.
So there must be a hatch somewhere. It's as easy as that hatch provides a passage through which you can crawl. That hatch is therefore placed in the partition wall of the FishHold.

To be able to determine the size of that hatch a bit, I first need to know where and how the floor of the Cabin will run. Because of the construction of the YQ model, there are some differences that I have to take into account:
-Saga: floor below the waterline, in the model that will not work;
-Saga: stir the same below the waterline on the floor level, on the model almost on the waterline.

First I took some measurements as a starting point:
Humans were slightly smaller 100 years ago. If I assume 1.75 m / 5.74 ', then that is on scale: 24.3 mm / 0.96 ".
The Cabin was also used by Captain Angus. A "little man" in his own right. But he wanted a little bit of luxury. I will make the Cabin 1.90 mtr / 6.23 '. That will be 26.4mm / 1.04”.

The roof of the cabin is also horizontal in the drawings. The outside walls on the deck are therefore slightly wedge-shaped in relation to the deck. So are the walls of the kit.
The highest side is 12.8mm / 0.50”.
So I still have to go down at least 13.6 mm / 0.54” from the deck. And then of course they shouldn't bump their heads on the deck beams.

Then I arrive at this starting point in the model:
462 Saga-Cabin.jpg
463 Saga-Cabin.jpg

Made the recess for the hatch in the frame under the floor beam.
464 Saga-Cabin.jpg

Now i can go cover the wall.
Regards, Peter
 
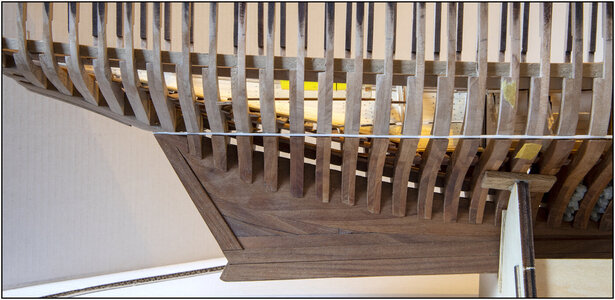
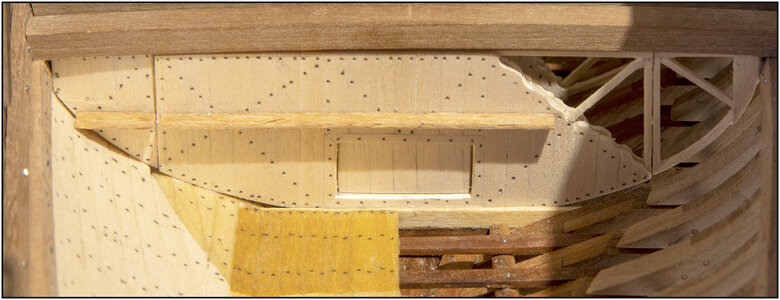
The wall fitted with planks, guides for the bulkheads and the hatch:
465 wall.jpg
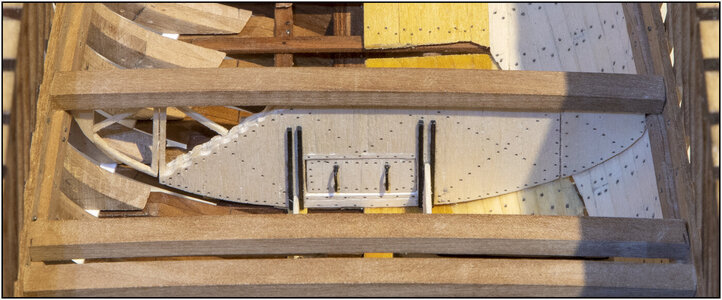
And the side that faces the cabin. With the 1st floor beam for the cabin, the hatch and the 2 cut ‘ears’:
466 wall.jpg

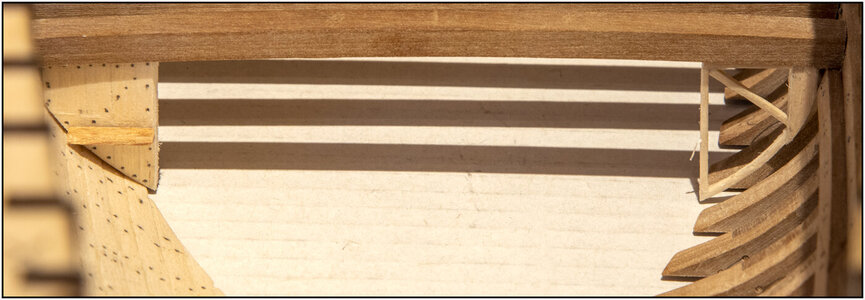
And it works again. When the two parts are taken apart, the ‘ears’ remain:
467 wall.jpg

Placed the wall:
468 wall.jpg

Everything in the linseed oil:
469 wall.jpg
The hatch can of course open:
470 wall.jpg

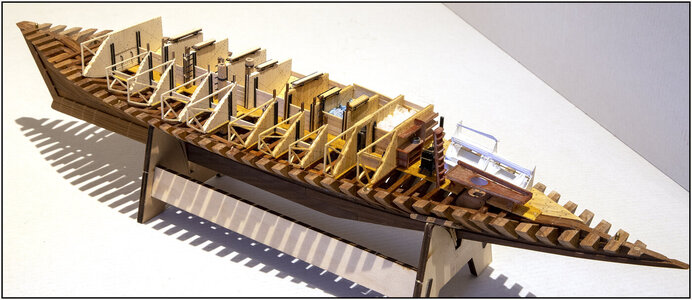
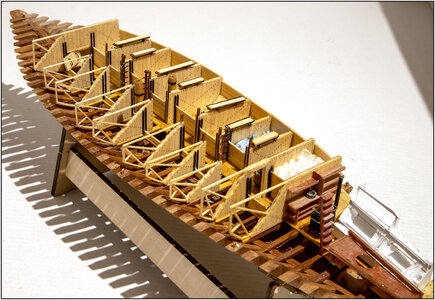
The compartments are continuous along the entire inside wall. But that is with both hull parts on top of each other. You don't see much of that. And the between wall’s also has no ‘ears’.
When both parts are shown cut-away, I think the FishHolds on the outside are a bit strange. Something is not right then.
That's why I made a back wall:
471 wall.jpg

Another chapter closed.
Regards, Peter
 
Last edited:
Back
Top