Very nice! Captains quarters on the horizon!The wall fitted with planks, guides for the bulkheads and the hatch:
View attachment 271584
And the side that faces the cabin. With the 1st floor beam for the cabin, the hatch and the 2 cut ‘ears’:
View attachment 271585
And it works again. When the two parts are taken apart, the ‘ears’ remain:
View attachment 271586
Placed the wall:
View attachment 271587
Everything in the linseed oil:
View attachment 271588
The hatch can of course open:
View attachment 271593
The compartments are continuous along the entire inside wall. But that is with both hull parts on top of each other. You don't see much of that. And the between wall’s also has no ‘ears’.
When both parts are shown cut-away, I think the FishHolds on the outside are a bit strange. Something is not right then.
That's why I made a back wall:
View attachment 271596
Another chapter closed.
Regards, Peter
-

Win a Free Custom Engraved Brass Coin!!!
As a way to introduce our brass coins to the community, we will raffle off a free coin during the month of August. Follow link ABOVE for instructions for entering.
-

PRE-ORDER SHIPS IN SCALE TODAY!
The beloved Ships in Scale Magazine is back and charting a new course for 2026!
Discover new skills, new techniques, and new inspirations in every issue.
NOTE THAT OUR FIRST ISSUE WILL BE JAN/FEB 2026
- Home
- Forums
- Ships of Scale Group Builds and Projects
- Bluenose PoF Group Build
- Bluenose Group Build Logs
You are using an out of date browser. It may not display this or other websites correctly.
You should upgrade or use an alternative browser.
You should upgrade or use an alternative browser.
YUANQING BLUENOSE - Peter Voogt [COMPLETED BUILD]
- Thread starter Peter Voogt
- Start date
- Watchers 74
You are right, Dean. The thinking has started as well as the first step.Very nice! Captains quarters on the horizon!
Regards, Peter
I am always told to think ahead when building model ships, but with the complexities of the design you have taken on Peter, it seems you really need to think ahead. It's looking great thoughYet another between step. It occurred to me that the floor of the Cabin will soon be horizontal, in accordance with the Saga drawings. Then there is a space between this floor and the floor on the Springers:
View attachment 271579
Given the limited space, this will be best used.
So there must be a hatch somewhere. It's as easy as that hatch provides a passage through which you can crawl. That hatch is therefore placed in the partition wall of the FishHold.
To be able to determine the size of that hatch a bit, I first need to know where and how the floor of the Cabin will run. Because of the construction of the YQ model, there are some differences that I have to take into account:
-Saga: floor below the waterline, in the model that will not work;
-Saga: stir the same below the waterline on the floor level, on the model almost on the waterline.
First I took some measurements as a starting point:
Humans were slightly smaller 100 years ago. If I assume 1.75 m / 5.74 ', then that is on scale: 24.3 mm / 0.96 ".
The Cabin was also used by Captain Angus. A "little man" in his own right. But he wanted a little bit of luxury. I will make the Cabin 1.90 mtr / 6.23 '. That will be 26.4mm / 1.04”.
The roof of the cabin is also horizontal in the drawings. The outside walls on the deck are therefore slightly wedge-shaped in relation to the deck. So are the walls of the kit.
The highest side is 12.8mm / 0.50”.
So I still have to go down at least 13.6 mm / 0.54” from the deck. And then of course they shouldn't bump their heads on the deck beams.
Then I arrive at this starting point in the model:
View attachment 271581
View attachment 271582
Made the recess for the hatch in the frame under the floor beam.
View attachment 271583
Now i can go cover the wall.
Regards, Peter

Brilliant!The wall fitted with planks, guides for the bulkheads and the hatch:
View attachment 271584
And the side that faces the cabin. With the 1st floor beam for the cabin, the hatch and the 2 cut ‘ears’:
View attachment 271585
And it works again. When the two parts are taken apart, the ‘ears’ remain:
View attachment 271586
Placed the wall:
View attachment 271587
Everything in the linseed oil:
View attachment 271588
The hatch can of course open:
View attachment 271593
The compartments are continuous along the entire inside wall. But that is with both hull parts on top of each other. You don't see much of that. And the between wall’s also has no ‘ears’.
When both parts are shown cut-away, I think the FishHolds on the outside are a bit strange. Something is not right then.
That's why I made a back wall:
View attachment 271596
Another chapter closed.
Regards, Peter
I am always told to think ahead when building model ships, but with the complexities of the design you have taken on Peter, it seems you really need to think ahead. It's looking great though
Thanxs, Mark.Brilliant!
The advantage is that I've been working on the FishHold for 'a while'. All the time to think ahead. And then a 'last minute change'.
Regards, Peter
Then you slept a night on it .....
You have written that the space between the 2 floors is for storage .......
Then you should also be able to store. Getting started again:
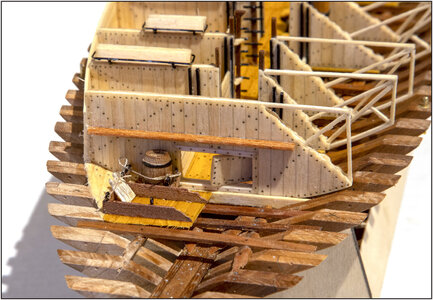
Some bulkheads against which goods can be stored. With lashing eyes so that everything does not slide back and forth.
The hatch on this side now also has nails.
Yes, that barrel can go through the hole on its side.
Most of the photos I took without a background. Then you don't have much reference to the size of the model you are building.
I'm almost done for the bottom part. I build the Cabin in the upper part.
To conclude this part:
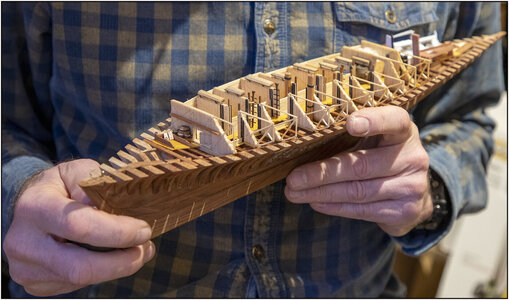
Inspired by the old advertisements of a Dutch beer brand from the east of the country. At the end, it showed the craftsman with his tools.
Regards, Peter
You have written that the space between the 2 floors is for storage .......
Then you should also be able to store. Getting started again:

Some bulkheads against which goods can be stored. With lashing eyes so that everything does not slide back and forth.
The hatch on this side now also has nails.
Yes, that barrel can go through the hole on its side.
Most of the photos I took without a background. Then you don't have much reference to the size of the model you are building.
I'm almost done for the bottom part. I build the Cabin in the upper part.
To conclude this part:

Inspired by the old advertisements of a Dutch beer brand from the east of the country. At the end, it showed the craftsman with his tools.
Regards, Peter
Thanxs Stephan. 'Size does(n't) matter'!Yes this is small. Nice work what you let us seen by so far.

Regards, Peter
...that's not what 'She' saidThanxs Stephan. 'Size does(n't) matter'!


Haha ....... but you know, Jim ....... 'She will take it back someday'...that's not what 'She' said
- Joined
- Aug 8, 2019
- Messages
- 5,566
- Points
- 738

I have very big hands...that's not what 'She' said
Haha ....then special you have to google on 'Tweezers' .....I have very big hands
 (but not for your Admiral)
just switching the subject, and speaking about the Tweezers. I found a really good quality of different shapes and endnotes. They are from reputable brand DSPIAEHaha ....then special you have to google on 'Tweezers' .....(but not for your Admiral)
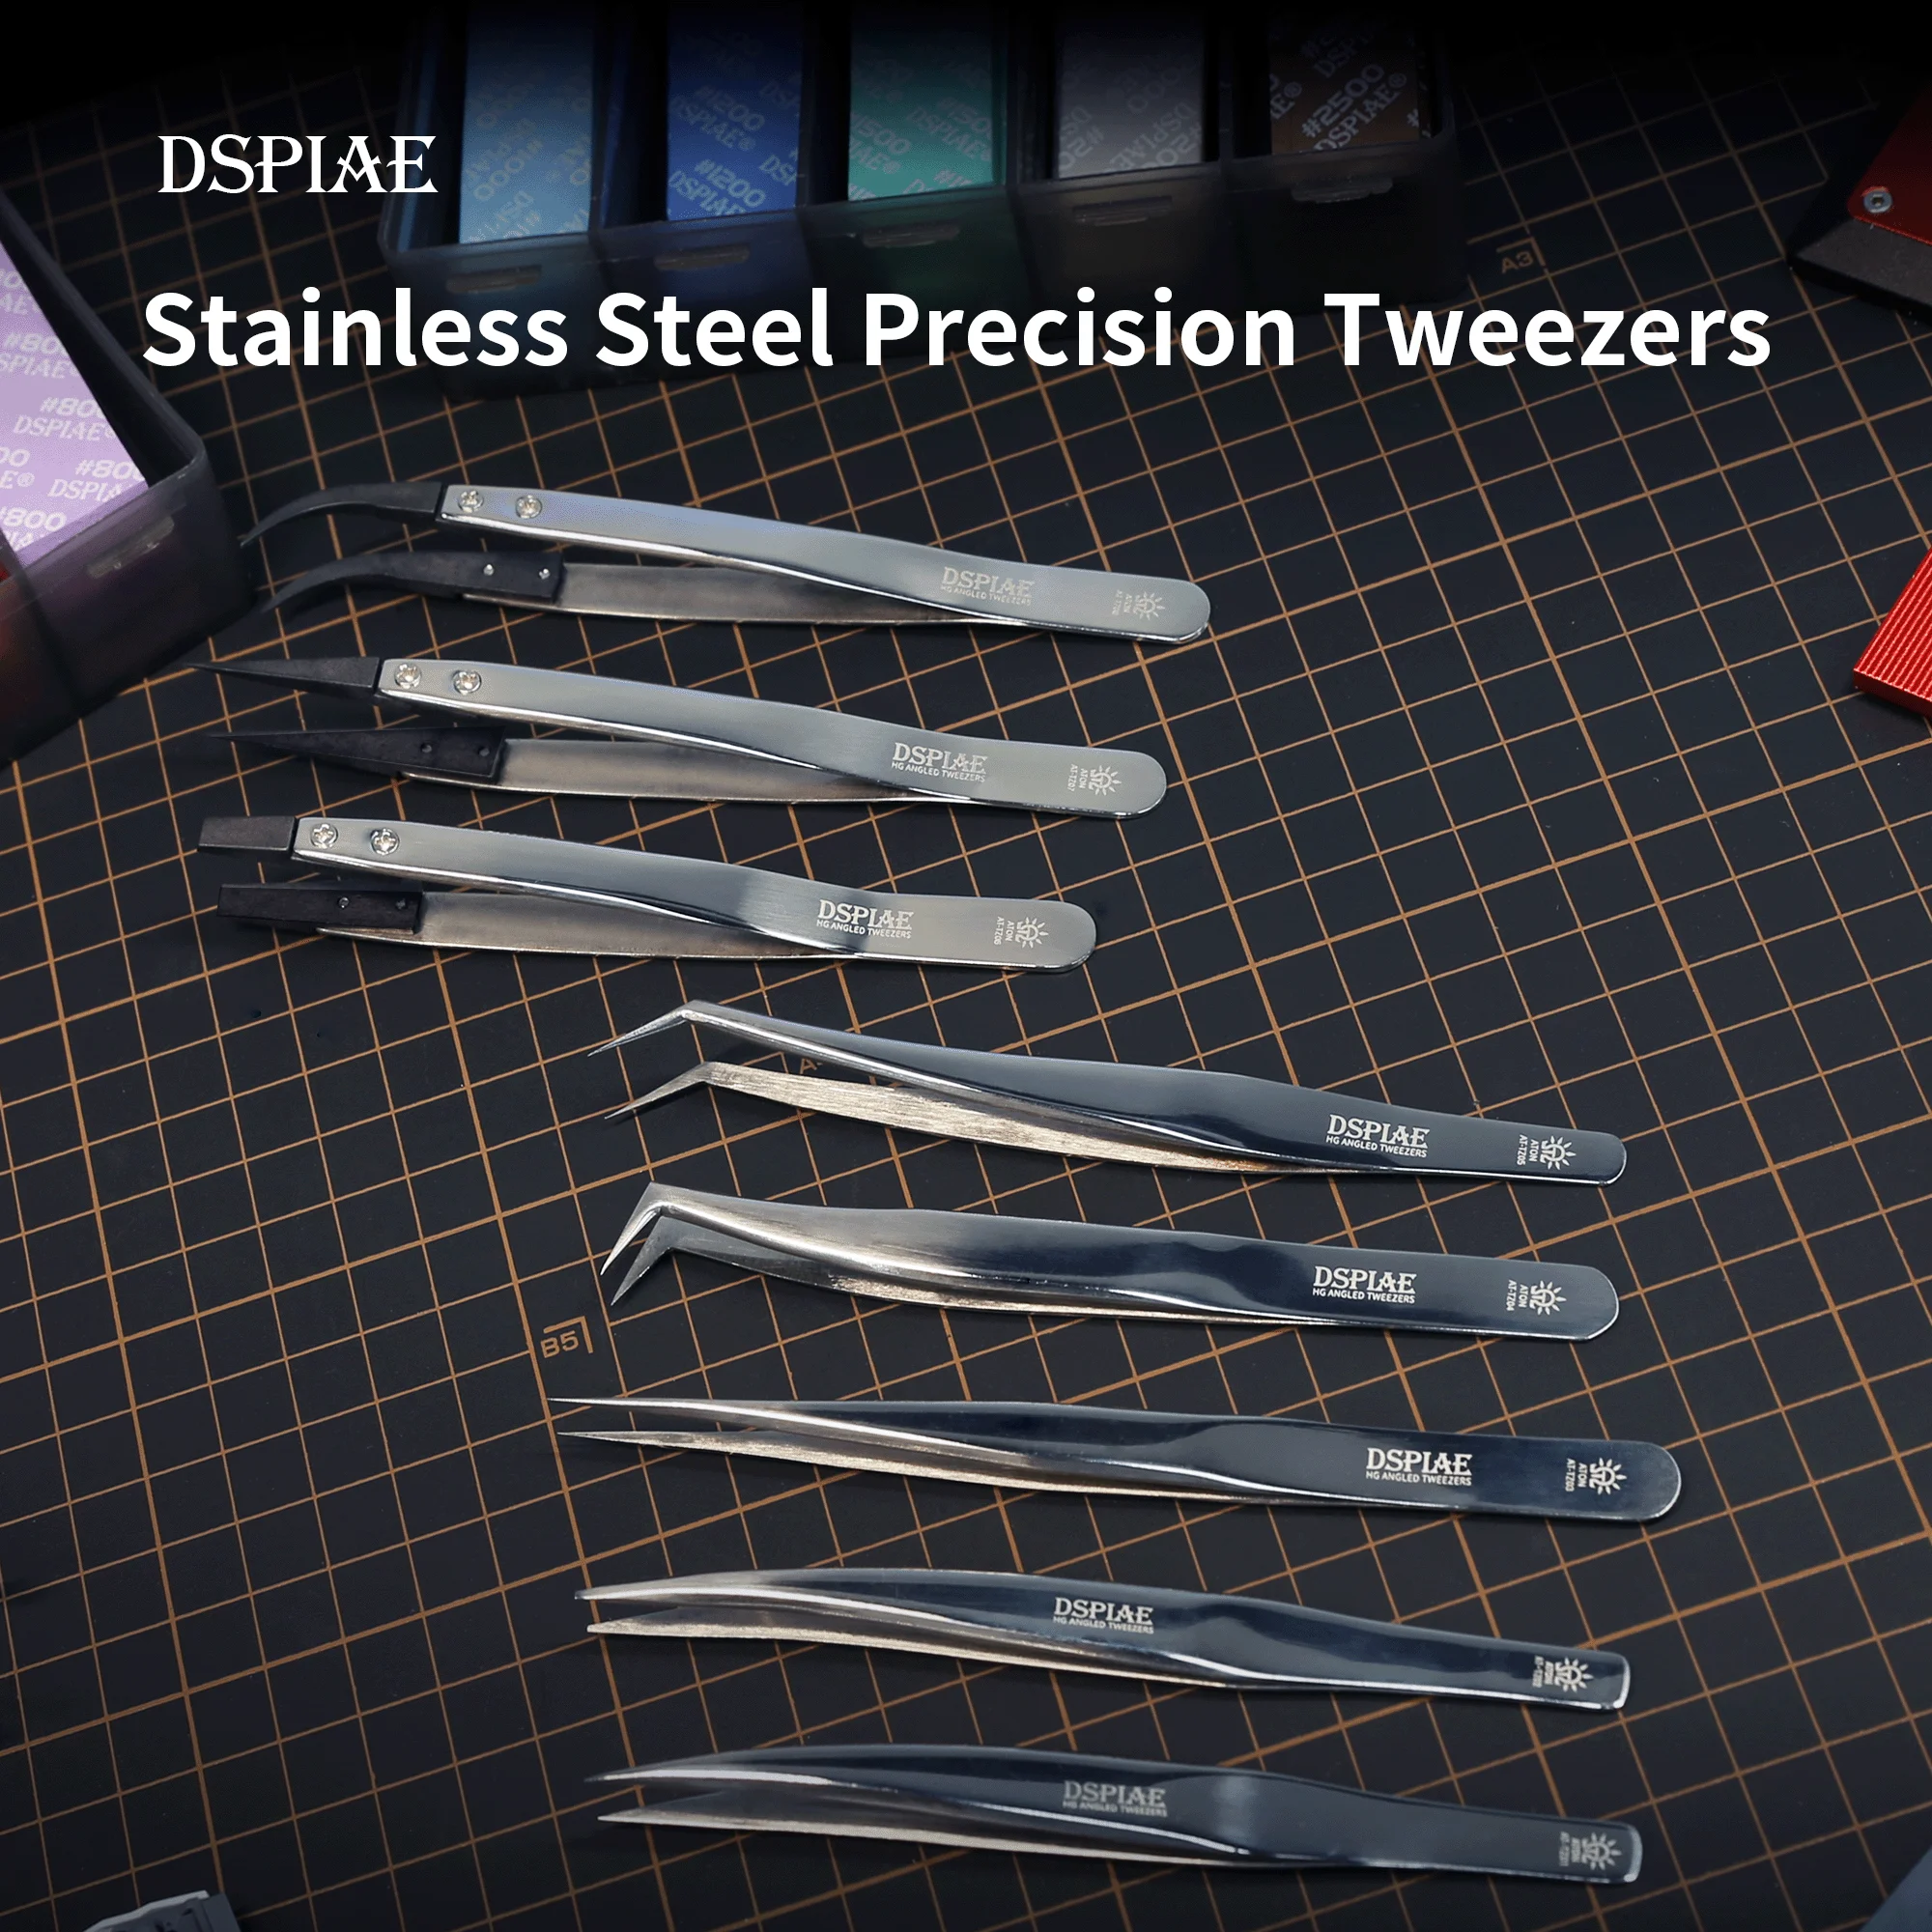
4.45US $ 21% OFF|Dspiae At-tz01~08 Stainless Steel Precision Tweezers Gundam Military Model Making Hobby Tool - Hand Tool Sets - AliExpress
Smarter Shopping, Better Living! Aliexpress.com

I ordered some...
Some of them has a very nice shape.just switching the subject, and speaking about the Tweezers. I found a really good quality of different shapes and endnotes. They are from reputable brand DSPIAE

4.45US $ 21% OFF|Dspiae At-tz01~08 Stainless Steel Precision Tweezers Gundam Military Model Making Hobby Tool - Hand Tool Sets - AliExpress
Smarter Shopping, Better Living! Aliexpress.comwww.aliexpress.com

I ordered some...
I use this one very often:
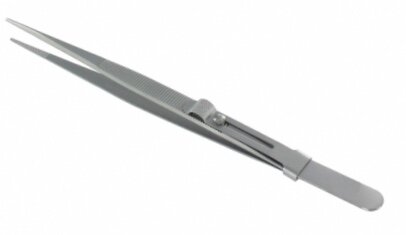
You can clamp the item with it.
Regards, Peter
- Joined
- Aug 8, 2019
- Messages
- 5,566
- Points
- 738

I use these a lot. Got 2 sets. One still sharp as a needle and one set I sand the tops round.
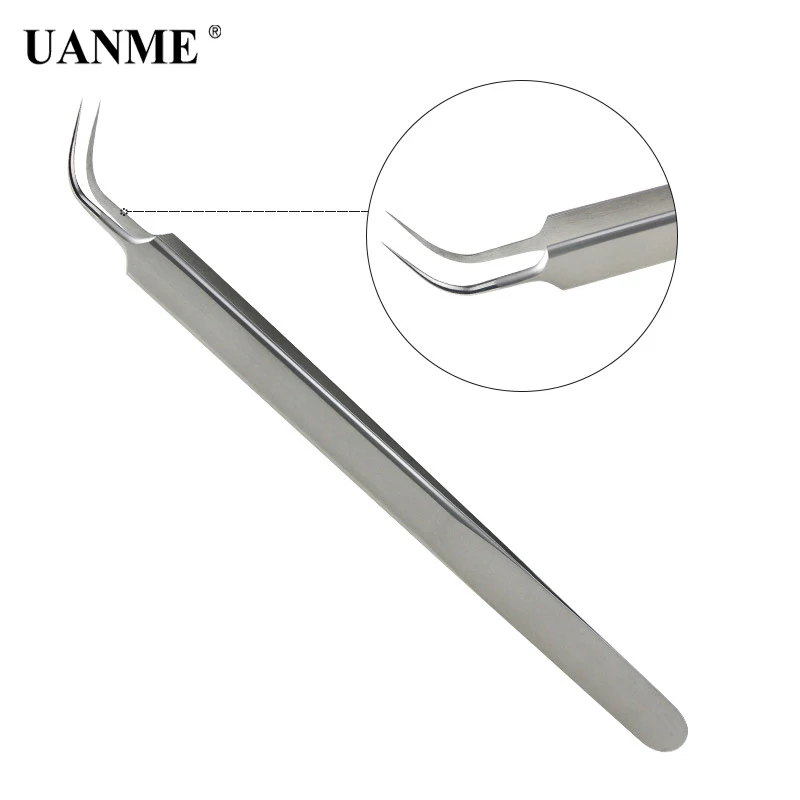
 nl.aliexpress.com
And another tool I use a lot is thes one to cut rope

 nl.aliexpress.com

2.66US $ 19% OFF|UANME Precisie Pincet Rvs Gebogen Pincet 3D/6D Volume Wimper Extension Beste Kwaliteit Fan Lash Pincet|Industriele Pincet| - AliExpress
Smarter Shopping, Better Living! Aliexpress.com

3.05US $ 39% OFF|12.5Cm Oogheelkundige Chirurgie Schaar Platte Handvat Eye Micro Schaar Roestvrij Staal/Titanium|Ooglid Hulpmiddel| - AliExpress
Smarter Shopping, Better Living! Aliexpress.com
- Joined
- Oct 28, 2018
- Messages
- 760
- Points
- 403

Inspired by the old advertisements of a Dutch beer brand from the east of the country. At the end, it showed the craftsman with his tools.
Regards, Peter
The music is missing Peter
Craftsmanship is Mastery
(Without advertising )
Good Job
- Joined
- Sep 3, 2021
- Messages
- 5,190
- Points
- 738

Breathtakingly beautiful music...The music is missing Peter
Craftsmanship is Mastery
(Without advertising )
Good Job

Composed by Clous van Mechelen.
Last edited:

