Instructions video #27 Part 1
Lots to do in this video so again I’ll split it into 2 or 3 parts.
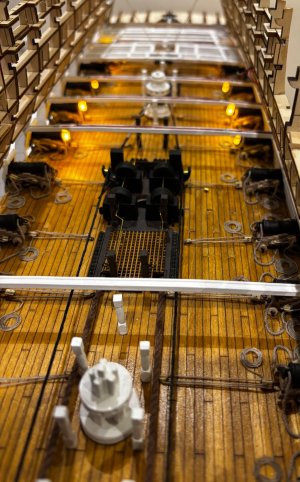
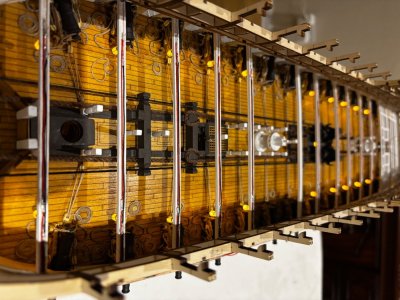
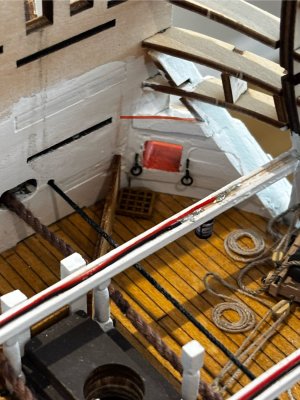
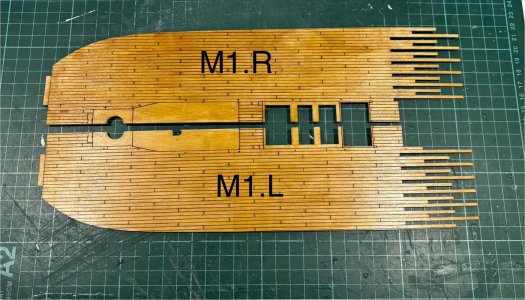
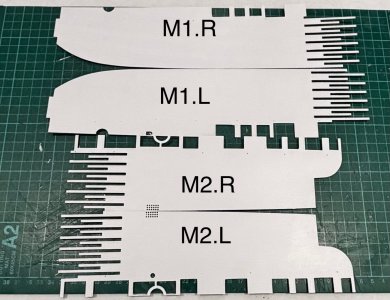
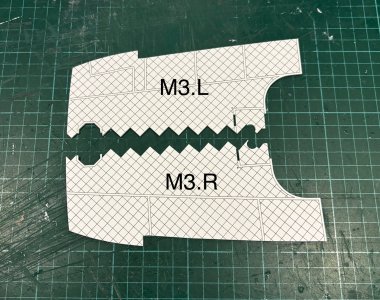
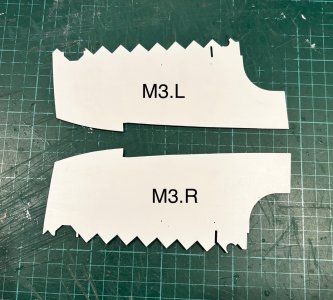
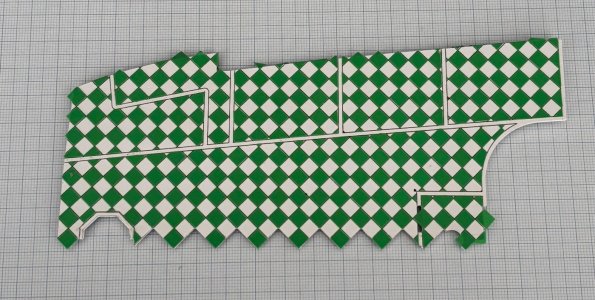
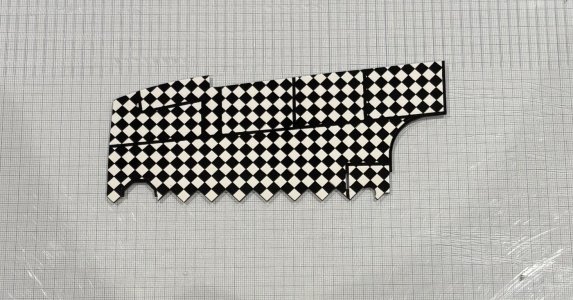
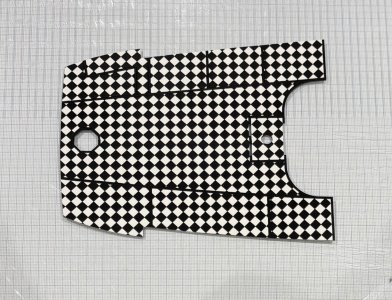
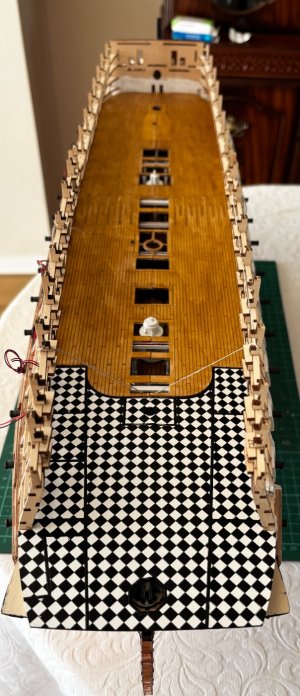
In this first part I prepare and fit the middle gun deck. This deck consists of 6 sections, 2 at the bow end, 2 mid deck and 2 at the stern. The bow and mid sections are treated as normal with stain to the upper side and white paint to the bottom surface, but the 2 stern sections present us with a new challenge. The top sides are laser scored with a chequerboard effect and we are required to make a black and white tiled effect on the upper surface.
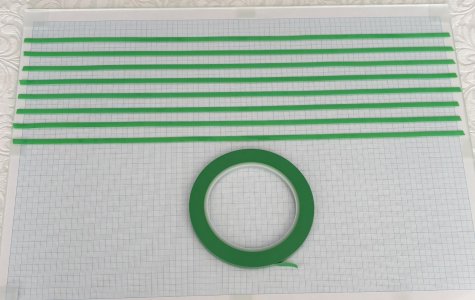
The instructions just say to cut 5mm squares of masking tape, I guess there are several ways to do this, but I’ll explain how I did it. I would think that whatever method you adopt it’s a good shout to start with a roll of 5mm wide masking tape. Believe me, I did search online to see if I could buy pre cut 5mm squares of masking tape but without success, I found plenty of 10mm squares and 5mm octagons (go figure)
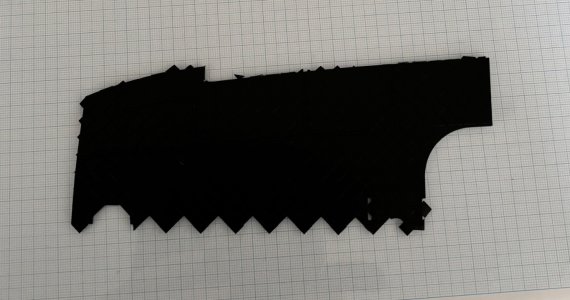
I started by painting both sides of the deck sections white.
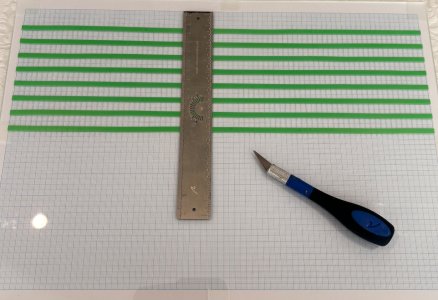
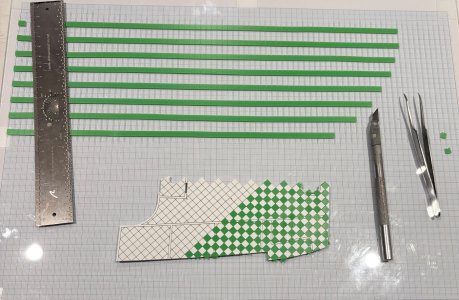
Coincidentally,I already had in my possession a book of A3 graph paper marked out in 5mm squares, which gave me an idea. I bought a A3 sheet of clear Perspex and taped the graph paper beneath it. I then laid the tape onto the Perspex following the horizontal lines of the graph paper beneath it, then a ruler and sharp blade to cut the tape down the vertical lines.
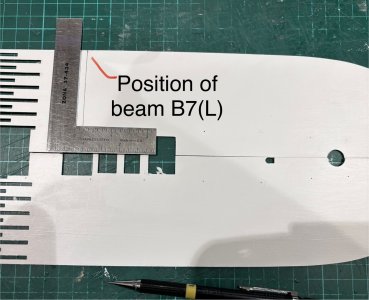
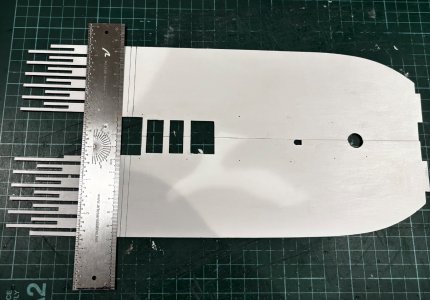
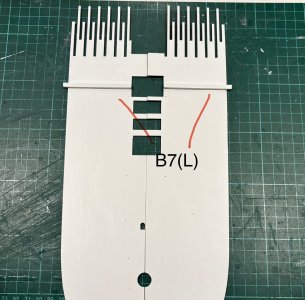
Several hour later, all the squares were in place. The instruction video only showed the builder trimming the squares along the bottom short edge of the deck pieces, but as you get further in the video it is evident that he has trimmed around all the other lines across the deck surfaces. I thought these lines were to define positions of cabin walls as on the orlop deck so it would not be necessary to do this as it would be covered by the walls, but checking forward a couple of videos revealed there are no cabins on this deck, so I did do all the trimming, it makes the chequerboard effect look off in places but I guess there’s a reason for it. My guess is that this kit is showing this deck “cleared for action“ with the cabin partitions removed. Next I dry fit the deck pieces and mark the position of beam 7 on the underside, then, using a set square on the centre line of the deck, mark and fit the beam 7 pieces. Finally I fix all the deck pieces into position.
Well, that was long and drawn out, just like fitting all those little squares in place
View attachment 546583
View attachment 546584
View attachment 546585
View attachment 546586
View attachment 546587
View attachment 546588
View attachment 546589
View attachment 546590
View attachment 546591
View attachment 546592
View attachment 546593
View attachment 546594
View attachment 546595
View attachment 546596
View attachment 546597
View attachment 546598


