• Win a Free Custom Engraved Brass Coin!!!
    As a way to introduce our brass coins to the community, we will raffle off a free coin during the month of August. Follow link ABOVE for instructions for entering.

Artesania Latina Anatomy of Lord Nelson’s HMS Victory 1805

I love your build Alan, but the kit company seemed to take shortcuts. It is not a matter what I think for anyone else, but following the various builds helps any one of us when it comes to make a choice on future builds. A time will come when I have to give up scratch building and following builds like yours is a huge help to me and others when it comes to choosing a kit. Some look good out of the box but others like yours may actually be a better choice if it is possible to do some modifying on our own. I truly appreciate seeing all the builds. :)
Allan
 
Alan,

In my next life I might take the huge challenges that you are taking with this superb build. Kudos to you indeed!!

AL really went all out for this commercially produced kit - must have taken them years to, in the aggregate, create/develop this fabulous model ship kit;
Then have all the1000s of bits come together as "one" for expert builders such as yourself.....Fabulous.

So enjoy following along. You are doing superb work..

Cheers,
 
Instructions video #26 Completed

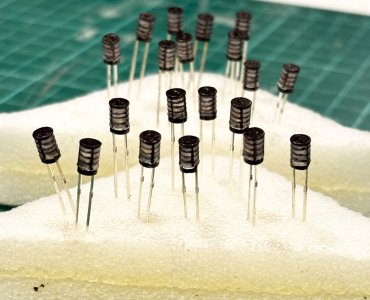
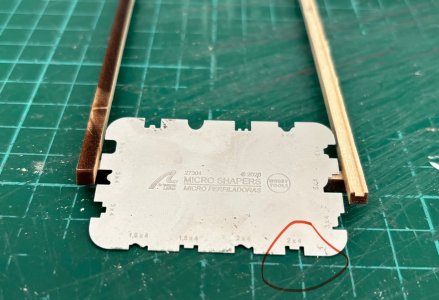
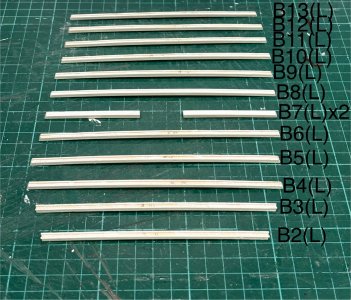
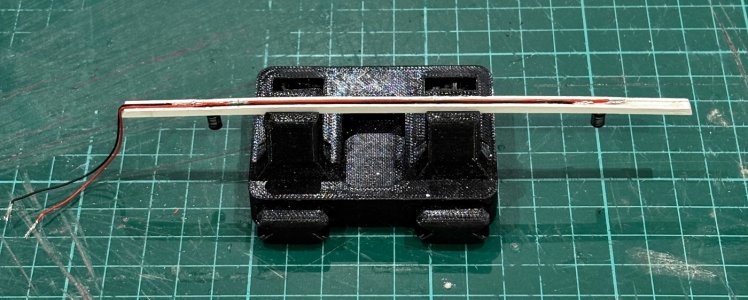
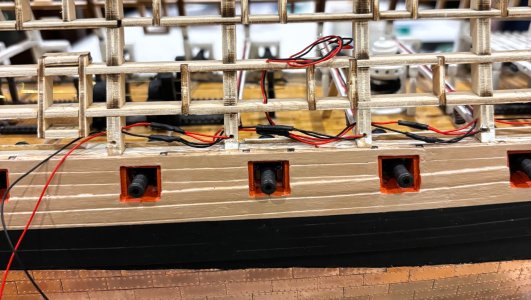
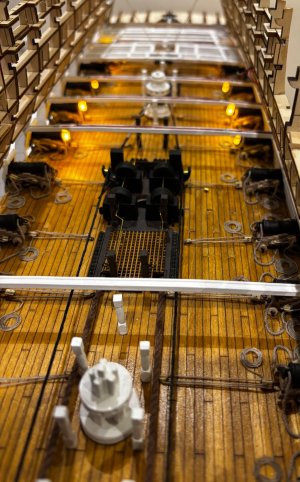
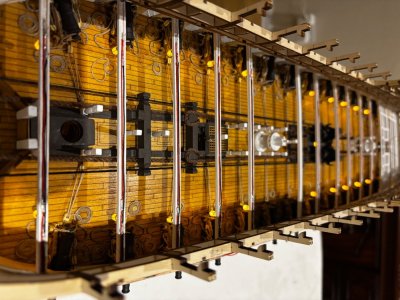
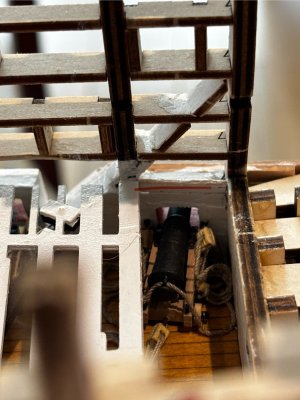
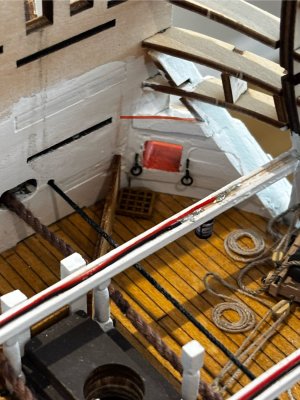
After a nice holiday break I resume the build. In video #26 I prepare and paint the beams that support the middle gun deck and install the LED lanterns, using the groove created to lay the wiring into. Connect all the wiring and test LED’s. Finally in this video I use cut down pieces of WS3 wood strip, painted white to infill the spaces between the beams up to their top level. Note : Beam #7 is not fitted at this stage

IMG_3221.jpeg

IMG_3295.jpeg

IMG_3303.jpeg

IMG_3331.jpeg

IMG_3332.jpeg

IMG_3333.jpeg

IMG_3334.jpeg

IMG_3337.jpeg

IMG_3360.jpeg

IMG_3361.jpeg

IMG_3362.jpeg
 
Alan
Your work is awesome and it is helping me with my build of this model. You are way ahead of me but I review your posts when ever I gave a question. Keep up the good work
Dave
 
Hi Alan,

this is great. I am learning so much from you and the building of the HMS Victory from AL. Keep up the good work and I look forward to new pictures and progress from you.
 
Just started this kit and from the video instructions I’ve seen It looks a very detailed build As the construction videos are on their website I won’t be doing a build log as such but will post progress pics probably at the end of each construction video completion

View attachment 487591

View attachment 487592

View attachment 487593

View attachment 487594
be verycareful to clean the glue of the joints
Ita a superb kit but in my opinion the planks for the hull and inner structure are far too THICK
It is very difficult to get them flat especially at the stern and for parts of the ship
If you look at tghe chap who is building the kit for us They do not lie flat
 
Instructions video #27 Part 1

Lots to do in this video so again I’ll split it into 2 or 3 parts.
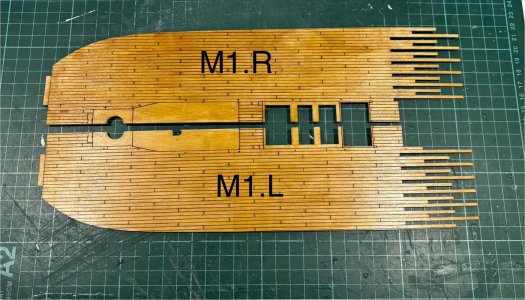
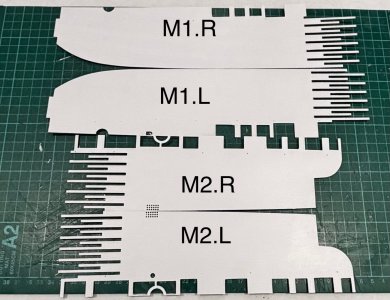
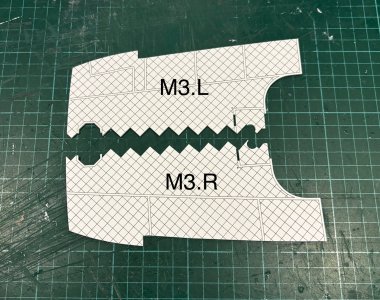
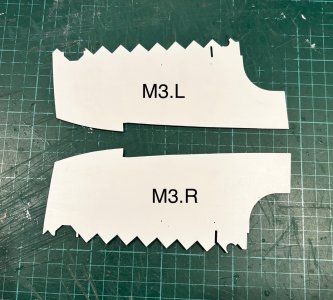
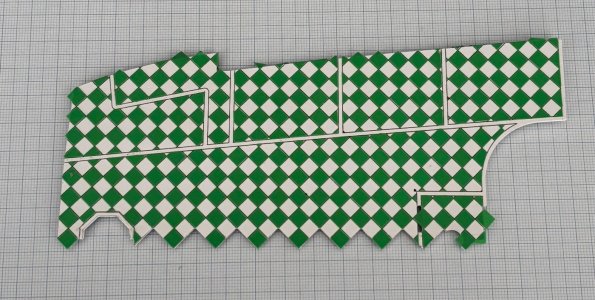
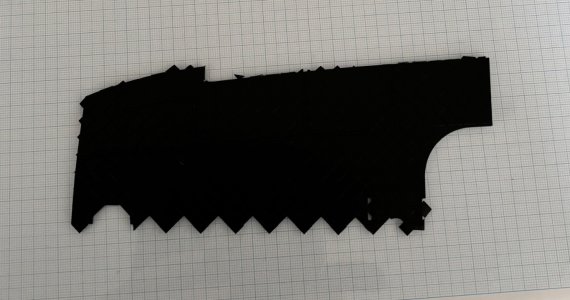
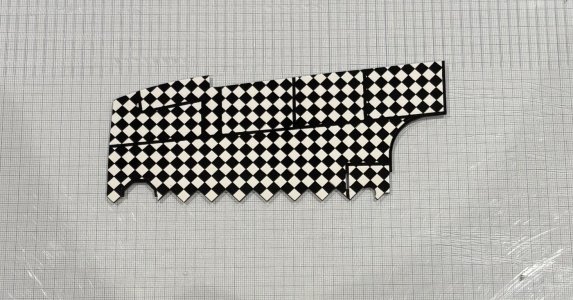
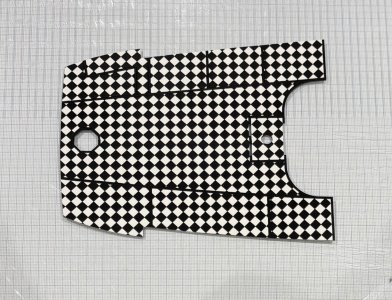
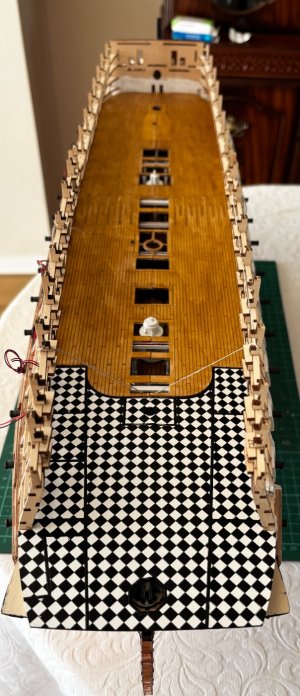
In this first part I prepare and fit the middle gun deck. This deck consists of 6 sections, 2 at the bow end, 2 mid deck and 2 at the stern. The bow and mid sections are treated as normal with stain to the upper side and white paint to the bottom surface, but the 2 stern sections present us with a new challenge. The top sides are laser scored with a chequerboard effect and we are required to make a black and white tiled effect on the upper surface.
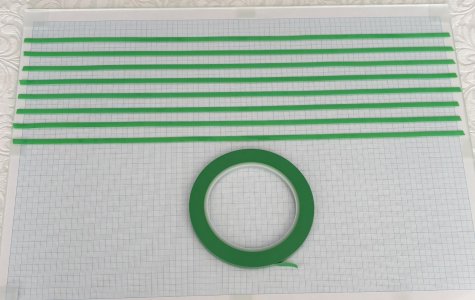
The instructions just say to cut 5mm squares of masking tape, I guess there are several ways to do this, but I’ll explain how I did it. I would think that whatever method you adopt it’s a good shout to start with a roll of 5mm wide masking tape. Believe me, I did search online to see if I could buy pre cut 5mm squares of masking tape but without success, I found plenty of 10mm squares and 5mm octagons (go figure)
I started by painting both sides of the deck sections white.
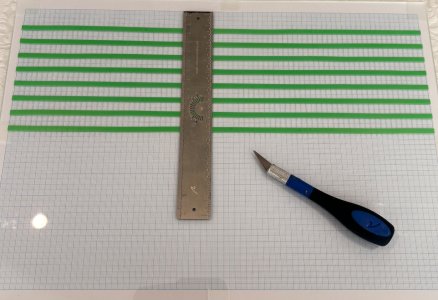
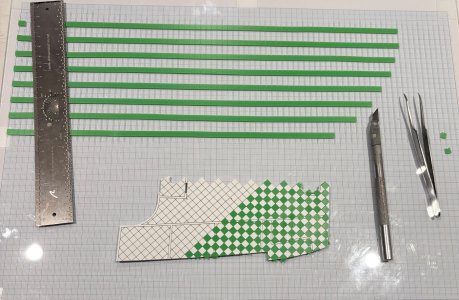
Coincidentally,I already had in my possession a book of A3 graph paper marked out in 5mm squares, which gave me an idea. I bought a A3 sheet of clear Perspex and taped the graph paper beneath it. I then laid the tape onto the Perspex following the horizontal lines of the graph paper beneath it, then a ruler and sharp blade to cut the tape down the vertical lines.
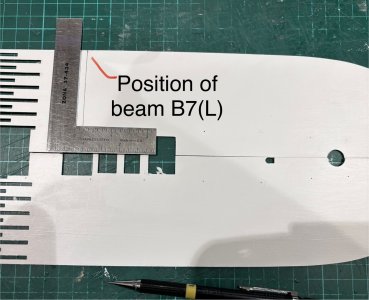
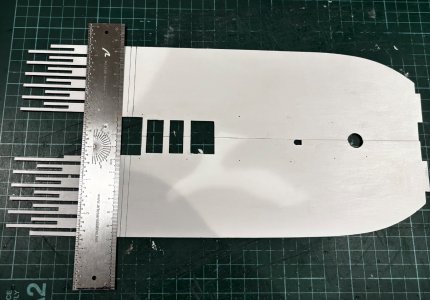
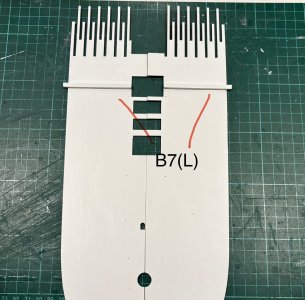
Several hour later, all the squares were in place. The instruction video only showed the builder trimming the squares along the bottom short edge of the deck pieces, but as you get further in the video it is evident that he has trimmed around all the other lines across the deck surfaces. I thought these lines were to define positions of cabin walls as on the orlop deck so it would not be necessary to do this as it would be covered by the walls, but checking forward a couple of videos revealed there are no cabins on this deck, so I did do all the trimming, it makes the chequerboard effect look off in places but I guess there’s a reason for it. My guess is that this kit is showing this deck “cleared for action“ with the cabin partitions removed. Next I dry fit the deck pieces and mark the position of beam 7 on the underside, then, using a set square on the centre line of the deck, mark and fit the beam 7 pieces. Finally I fix all the deck pieces into position.
Well, that was long and drawn out, just like fitting all those little squares in place

IMG_3363.jpeg

IMG_3368.jpeg

IMG_3369.jpeg

IMG_3370.jpeg

IMG_3372.jpeg

IMG_3373.jpeg

IMG_3377.jpeg

IMG_3380.jpeg

IMG_3381.jpeg

IMG_3385.jpeg

IMG_3386.jpeg

IMG_3387.jpeg

IMG_3388.jpeg

IMG_3389.jpeg

IMG_3391.jpeg

IMG_3392.jpeg
 
Last edited:
Hey Alan, :D

Really beautiful work and very well done. Thumbs-Up
That was an incredible amount of effort. It's great that you put so much effort into it. We can only learn from that. Allow me to ask a question, though: Why didn't you use a water-soluble film, print on it, and then apply it to the surface? As far as I know, the Victory also had a kind of film applied to the floor that simulated the checkerboard pattern.

By the way: great photos!!
Didn’t even think of that to be honest, just followed the instructions. Be interesting to see how that turns out if you or someone else does it Thumbsup
 
Hey Alan,

I used foil for the first time on my dinghy and it looks fantastic. The foil I use is only suitable for laser printers. It is burned directly onto the foil medium. This means that there will be no smudging of the ink. The disadvantage is that I can't produce white with the transparent medium. That's why, just like you, I have to paint the deck white first for the Victory. Then I can apply the foil with the black tiles to the deck. Take a look at my dinghy.

View attachment Beiboot Athena.mp4
 
Just a thought, not sure this has been tried before. The checker pattern was actually painted canvas rather than tiles. Has anyone drawn the pattern with CAD and printed on silk span and glued it to the deck? I tried it with bond paper years ago and it worked really well but I wonder if silkspan that is made like a silkspan sail and then "painted" with the pattern would look more realistic than paper.
Allan
 
Hey Alan,

I used foil for the first time on my dinghy and it looks fantastic. The foil I use is only suitable for laser printers. It is burned directly onto the foil medium. This means that there will be no smudging of the ink. The disadvantage is that I can't produce white with the transparent medium. That's why, just like you, I have to paint the deck white first for the Victory. Then I can apply the foil with the black tiles to the deck. Take a look at my dinghy.

View attachment 546723
That looks really good Gunther
I only have inkjet printer so that wouldn’t work for me. I have made decals in the past with decal paper that you can get in white to overcome not being able to print in white
 
Instructions video #27 Part 1

Lots to do in this video so again I’ll split it into 2 or 3 parts.
In this first part I prepare and fit the middle gun deck. This deck consists of 6 sections, 2 at the bow end, 2 mid deck and 2 at the stern. The bow and mid sections are treated as normal with stain to the upper side and white paint to the bottom surface, but the 2 stern sections present us with a new challenge. The top sides are laser scored with a chequerboard effect and we are required to make a black and white tiled effect on the upper surface.
The instructions just say to cut 5mm squares of masking tape, I guess there are several ways to do this, but I’ll explain how I did it. I would think that whatever method you adopt it’s a good shout to start with a roll of 5mm wide masking tape. Believe me, I did search online to see if I could buy pre cut 5mm squares of masking tape but without success, I found plenty of 10mm squares and 5mm octagons (go figure)
I started by painting both sides of the deck sections white.
Coincidentally,I already had in my possession a book of A3 graph paper marked out in 5mm squares, which gave me an idea. I bought a A3 sheet of clear Perspex and taped the graph paper beneath it. I then laid the tape onto the Perspex following the horizontal lines of the graph paper beneath it, then a ruler and sharp blade to cut the tape down the vertical lines.
Several hour later, all the squares were in place. The instruction video only showed the builder trimming the squares along the bottom short edge of the deck pieces, but as you get further in the video it is evident that he has trimmed around all the other lines across the deck surfaces. I thought these lines were to define positions of cabin walls as on the orlop deck so it would not be necessary to do this as it would be covered by the walls, but checking forward a couple of videos revealed there are no cabins on this deck, so I did do all the trimming, it makes the chequerboard effect look off in places but I guess there’s a reason for it. My guess is that this kit is showing this deck “cleared for action“ with the cabin partitions removed. Next I dry fit the deck pieces and mark the position of beam 7 on the underside, then, using a set square on the centre line of the deck, mark and fit the beam 7 pieces. Finally I fix all the deck pieces into position.
Well, that was long and drawn out, just like fitting all those little squares in place

View attachment 546583

View attachment 546584

View attachment 546585

View attachment 546586

View attachment 546587

View attachment 546588

View attachment 546589

View attachment 546590

View attachment 546591

View attachment 546592

View attachment 546593

View attachment 546594

View attachment 546595

View attachment 546596

View attachment 546597

View attachment 546598
WHY are you staining the decks
Hundreds of Seamen Holy Stonned the declks ae they where exactly the same colour as the natural wood
Even know they are very light
Love your Checker Boad effect
I have up when i saw the joints in the deck
If anyone in Britain wants to carry on with mine i will do a deal
The decks are just a personal choice. I did try to get a greyish finish and tested it on the underside of the orlop deck, but I wasn’t happy that I would achieve a consistent good finish overall
I agree with you about the deck joints but don’t give up. I’m trying different methods of joining them and I hope by the time I get to the upper decks I will achieve a better finish
Alan
 
Back
Top