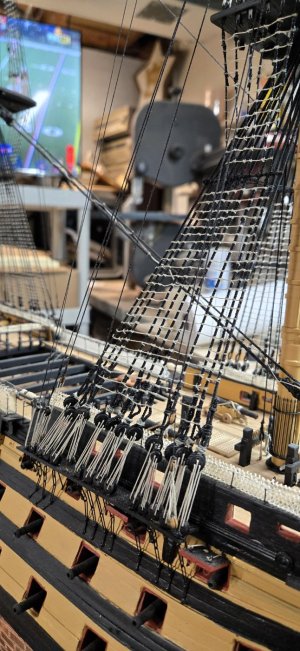
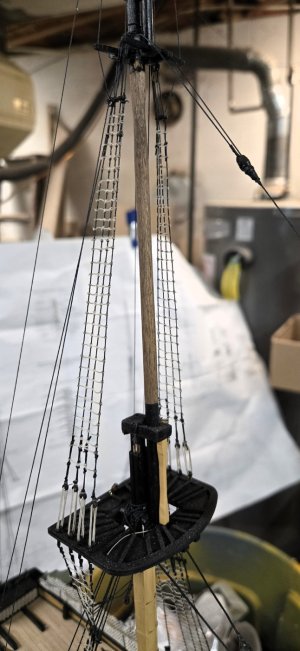
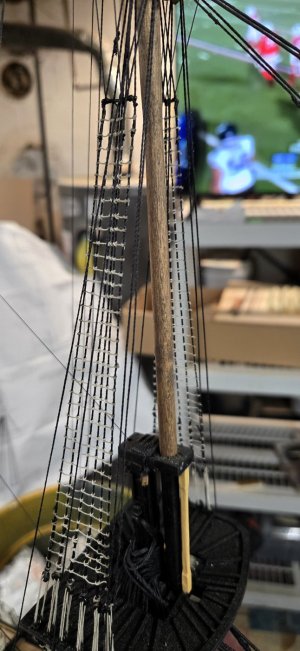
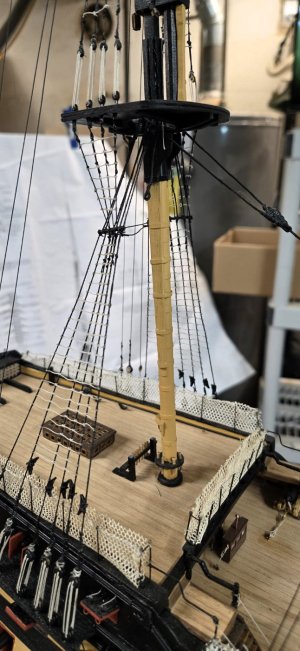
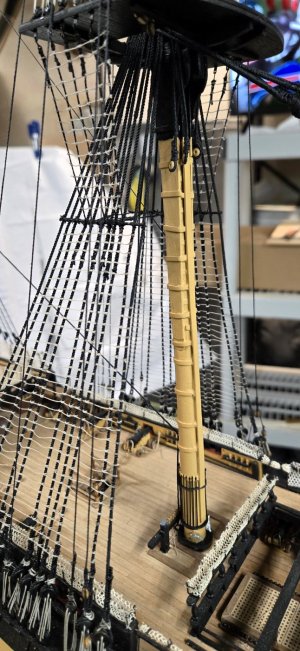
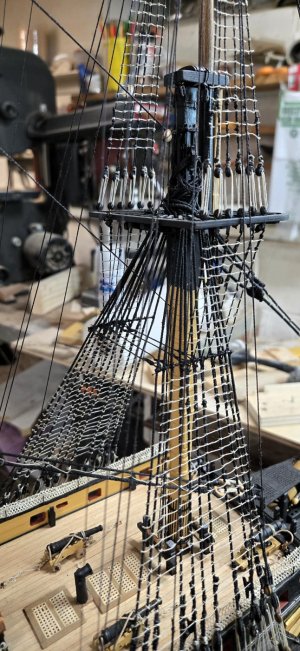
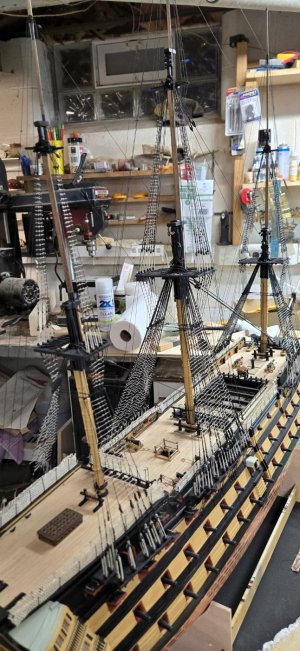
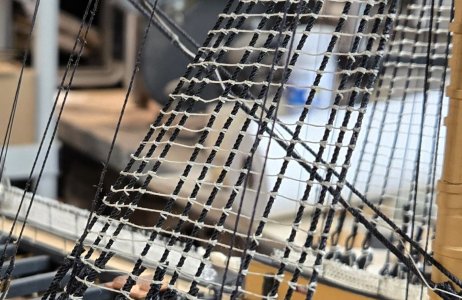
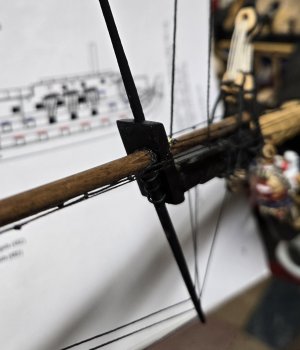
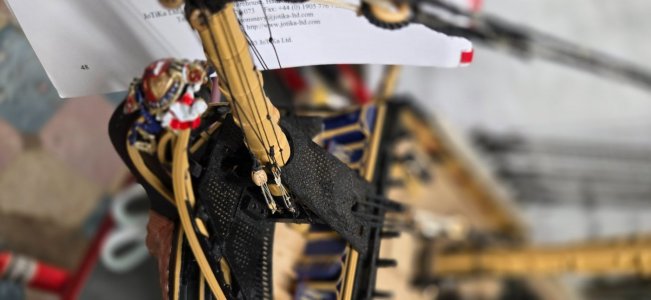
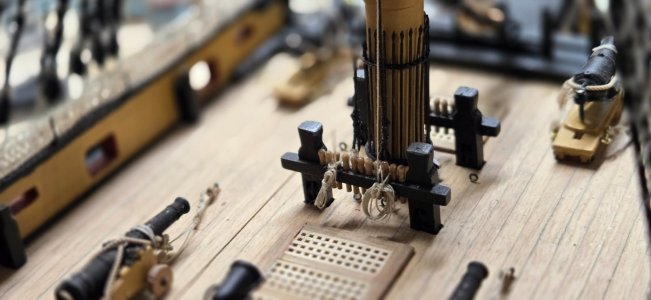
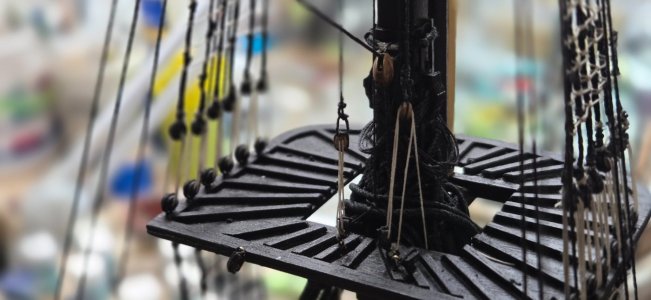
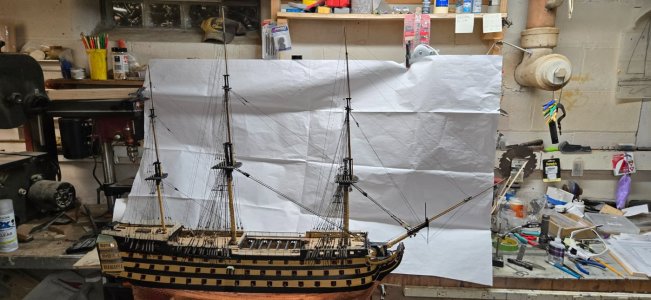
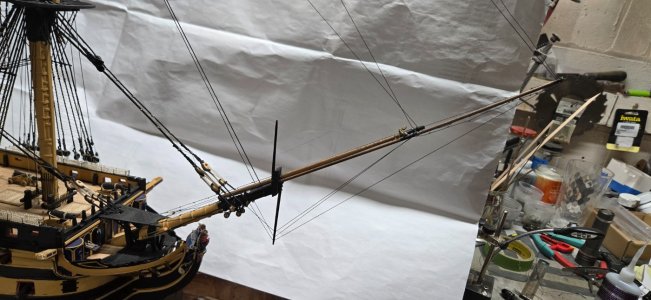
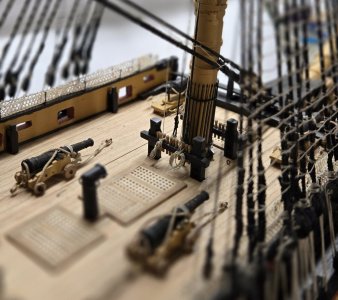
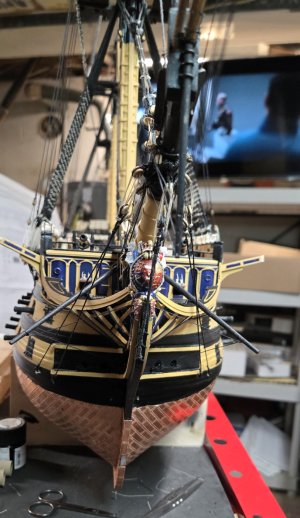
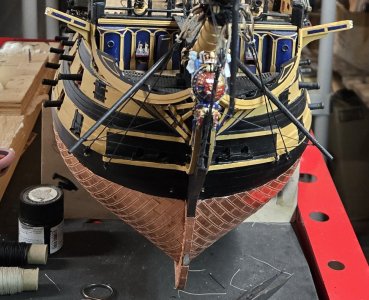
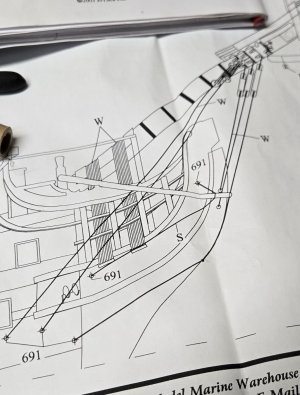
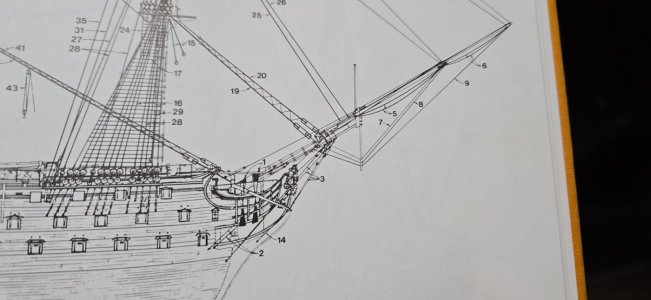
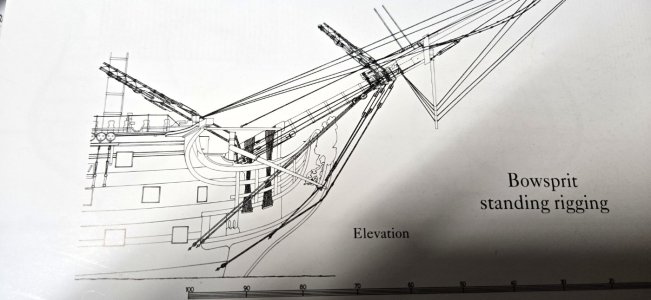
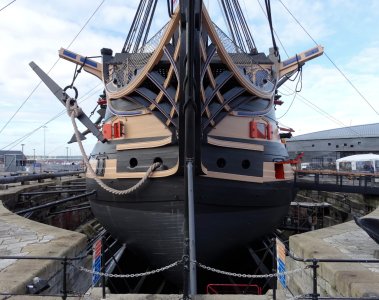
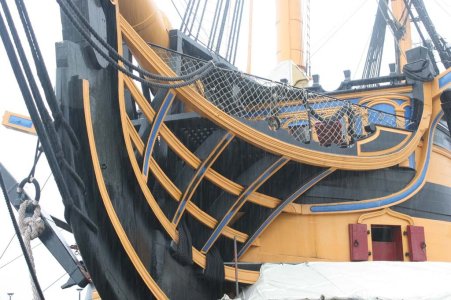
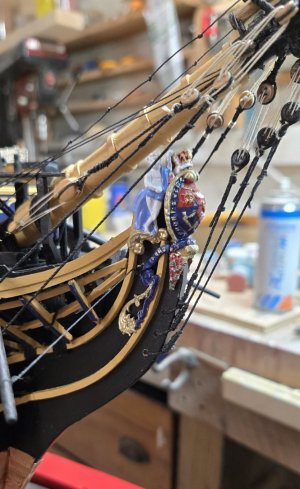
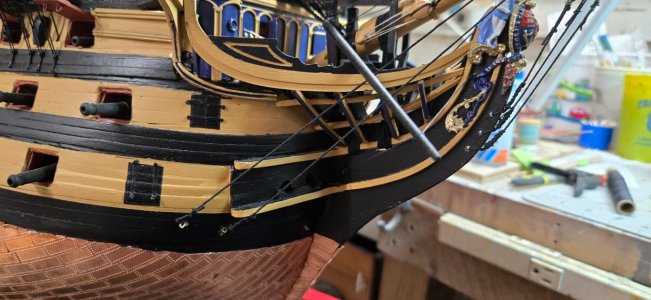
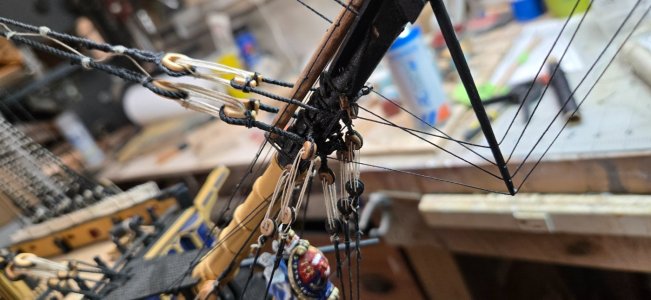
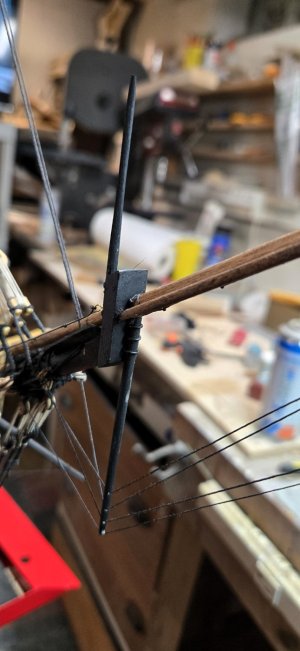
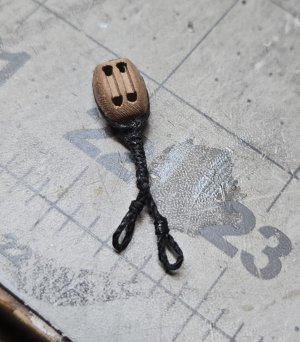
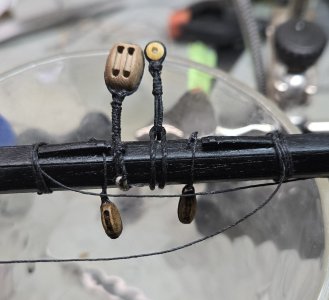
For the past week, I have worked on the various forward stays.
I can't do the main and fore stays, they require 1.8mm line and the kit line is crap. When I tried to seize it, it broke, when I even gave it a light tug, it broke. That's really sad considering the quality of the kit.
Eh....I ordered 1.8mm from Rope of Scale and I'm waiting on that. Once I get that, I think I can worm it first because it's so big and then seize the top where the mouse is.
Doing the mouses was very hard. I tried so many different ways. Longridge suggested making a hollow mouse and then running an odd number of treads around it...I assume much like what the magnetic fields look like around the Earth?
I tried that it was a bear and didn't work.
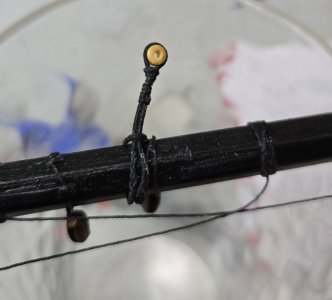
I was able to drill small holes in some small doweling and then drill a larger hole. Then I cut it to about 5mm in length and kind of stuck it on the end of a pointy file and sanded around it to make it pear shaped. Once I did that, I CA glued it to the stay and put it on the serving machine. It was hard to get the serving line to lay right. I would add CA glue to help hold it in place. In the end they are passible, but not the best.
For the smaller lines, the directions just say to use seizing line and create a mouse. The first time I did it, I used larger line, thinking this would be ok. As others have said, large seizing line does not work. And it didn't really work here either. To try and salvage them, I went back to my thin seizing line and seized over it all. Again, passable.
Some of the directions for the stays are vague at best, but I think with the help of Longridge and McCay, I was able to plod through it.
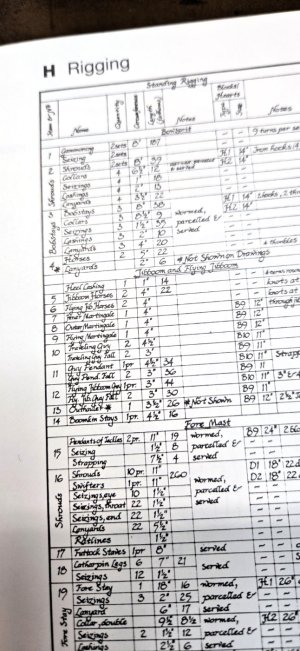
I was going to begin the back stays, but realized that most of these are in pairs. It's funny the directions don't specifically say that and honestly, I didn't really find it in Longridge's book. However!!!! McCay has the standing and running rigging diagrams with a table in the back that lists every line, block, cleat and widget needed. In that table in very, VERY small print it says the backstays are
1 pair!!!
View attachment 499854
View attachment 499855
View attachment 499856
View attachment 499857
View attachment 499858
View attachment 499859
View attachment 499860
View attachment 499861
View attachment 499862
View attachment 499863
View attachment 499864
View attachment 499865
View attachment 499866
View attachment 499867
View attachment 499868
View attachment 499869
View attachment 499870
View attachment 499871
View attachment 499872
View attachment 499873
View attachment 499874
View attachment 499875
View attachment 499876


