Hannah 1/48 - Lumberyard

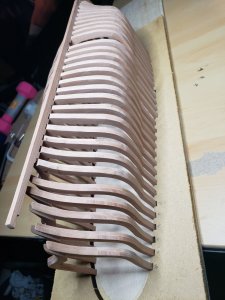
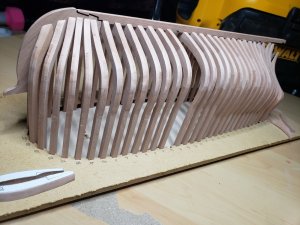
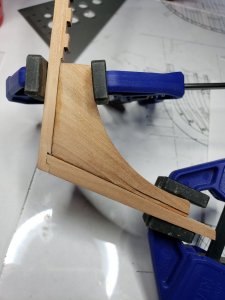
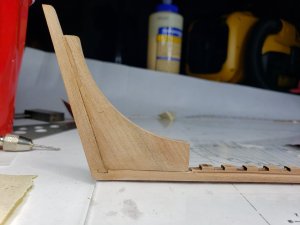
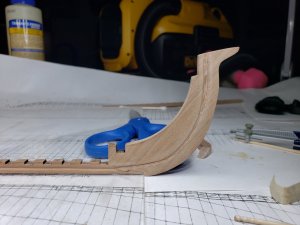
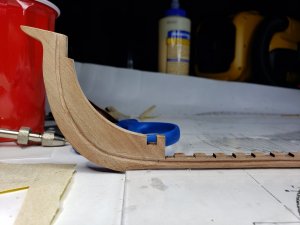
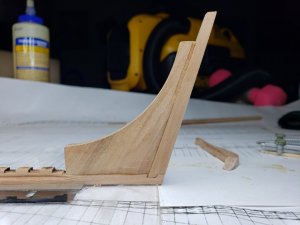
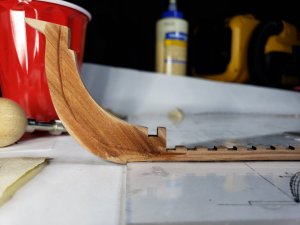
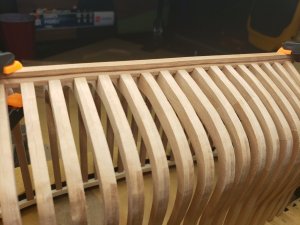
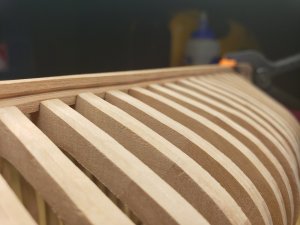
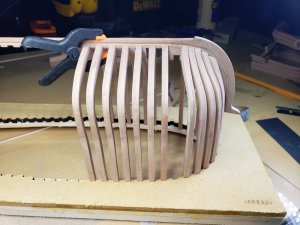
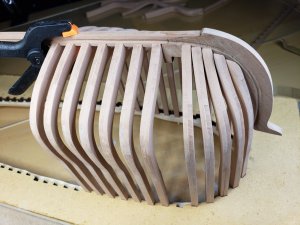
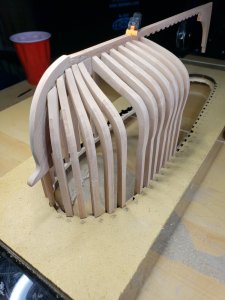
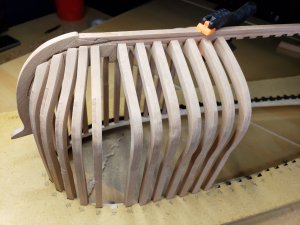
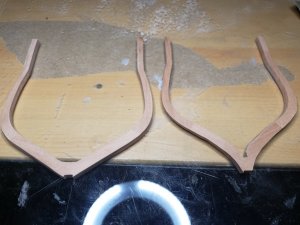
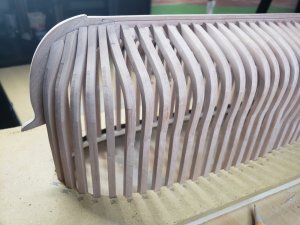
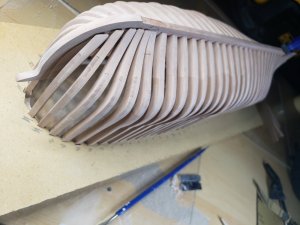
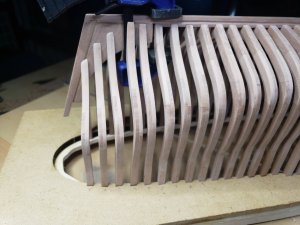
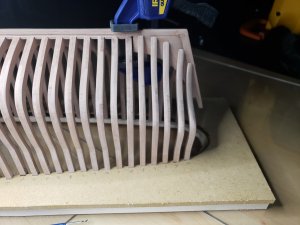
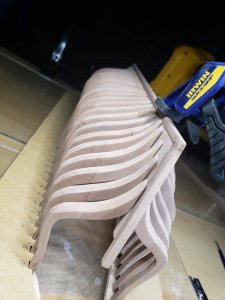
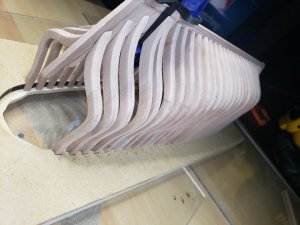
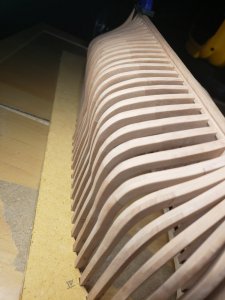
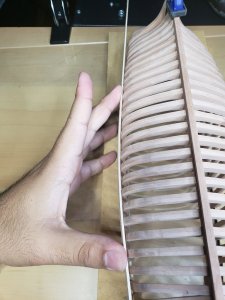
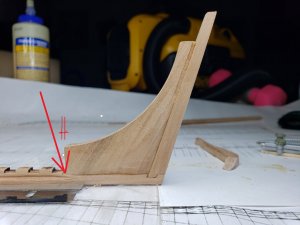
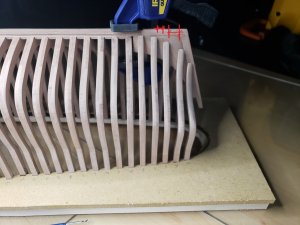
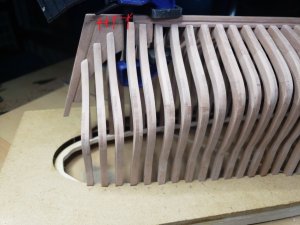
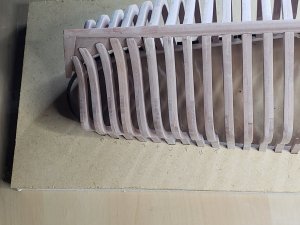
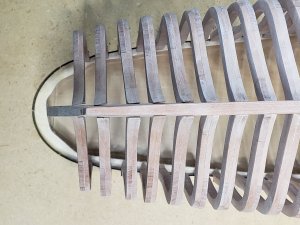
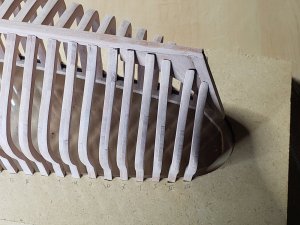
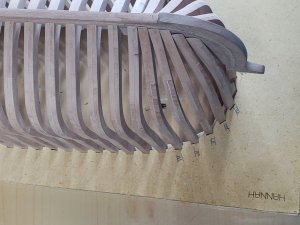
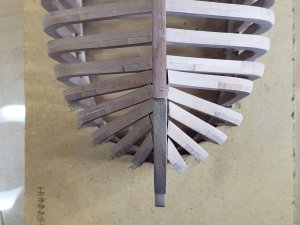
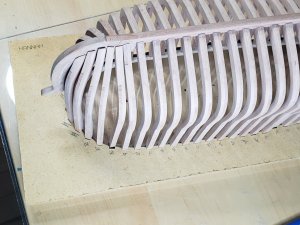
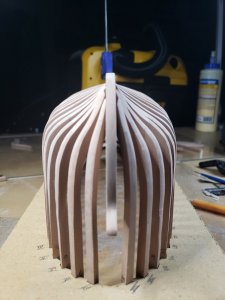
The half frames are complete. Only rib X (x not 10) ended up a little too thin at the point it enters the jig, so that kinda sucked, but everything else looks good. The front half ribs don't all line up perfectly with the keel but I'm not going to try and fix that until everything is glued in and the keel is complete and in place since its likely the angles are going to change between now and then. Until then it looks like only one of the half ribs in the bow will need to be replaced.
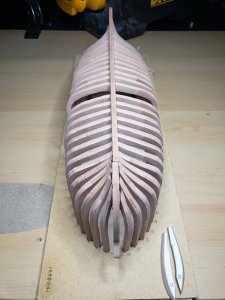
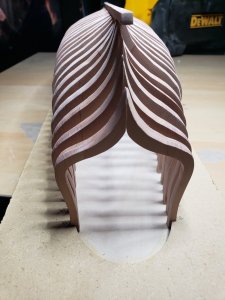
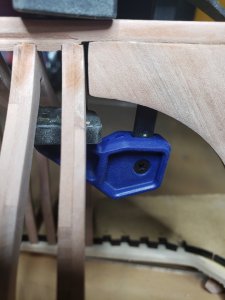
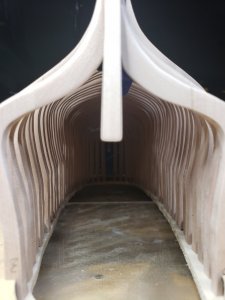
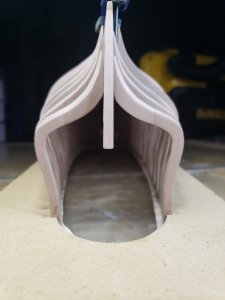
20190626_233741.jpg 20190626_233828.jpg 20190626_233849.jpg


20190626_233752.jpg

Next up is to finishing the missing rib I and finish cutting and thinning the two half ribs there that go in the bow.

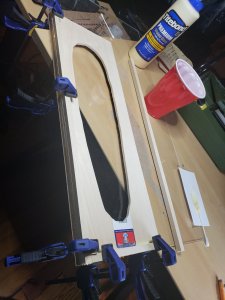
Once that is done I'm going to be cutting the center out of the jig and adding some support to keep it square.

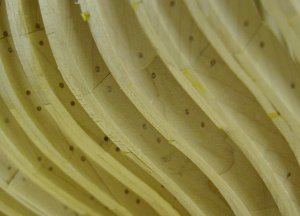
Early I did the testing for simulating the tree nails.

So I put a coat of wood treatment to bring out the color of the pearwood and then a coat of poly. Here is the result. I think the Cherry really does blend the best here, the colonial maple is too orange.

View attachment 91643 View attachment 91644

Some thoughts here would be appreciated. So the frames aren't perfect, unfortunately, so the joints aren't uniform across all of the ribs, a lot of them are very close but there are some that are kinda out there. If i simulate the tree nails properly, at the joints, then they will be all over the place. If I put the tree nails where they belong then they wont align with the joints. So I have three options, please weigh in accordingly.

1. No tree nail simulation at all.

2. Simulate tree nails at the location of the joints, not taking into account where the joint is on the rib at all.

3. Joints be damned, just put the tree nails more or less where they should go.

The representation of fastening on the frames is not critical and is mostly just a preference on the part of the modeler.
One thing is sure is that the presence of treenails or nails on the frames represents the fastening at the joints: so if you elect to represent them, they should be where the joints are located in your frames.
In my opinion and if I understand exactly what you mean:
# 1 above would be an option
# 2 out of question as you would end up with nice lines of treenails but in places where they should not be (at the joints).
# 3 would be an option as you would follow the location of the joints but the treenail may not perfectly line up.

102174

G
 
Thanks for the feedback everyone.

Given how the frames are I'm going to stick with my original thought and what's been recommended here and just not do the treenails this time around. I'll save that for my next build.

While I was deciding on what to do with the treenails I turned to finishing the jig and working on the keel.

20190628_212633.jpg

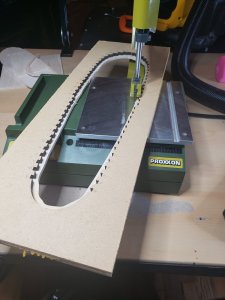
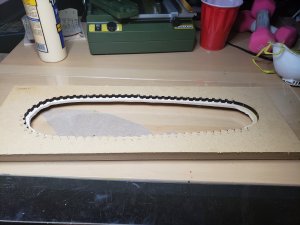
I cut out the center of the basswood I had attached to the jig on my scroll saw. Trying to leave a good amount around the areas where the ribs go into place. I didn't take a photo but when I had all the ribs in there for the dryfit I made some marks for how far the ribs came out of the jig to use as a guide for cutting.

20190628_213751.jpg

Then I added basswood strips to the bottom to give it some stabilization and here we are, a complete jig.

20190629_001440.jpg

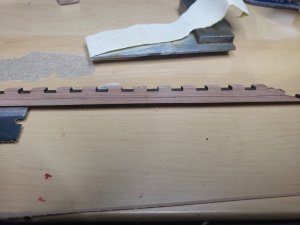
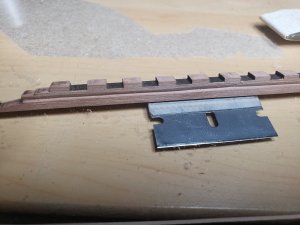
Moving on to the keel. First thing was to do some carving. So I did some measurements and marked a line for carving.

20190629_005644.jpg

20190629_005653.jpg

Carved with the blade shown and used the sandpaper to even it out. Had some issues and made some unfortunate cuts in the wrong places but hopefully they won't be too much of an issue later on. They'll probably be sanded out or filled in some with some saw dust later.

Next up to finish building the keel and do some final sanding with fine grit paper so they can be glued into place on the jig.
 
Good work, especially the jig, is looking forward to seeing when you start gluing frames and keel.

Thanks! I like how the jig turned out, I think it will work well once I start gluing in ribs.

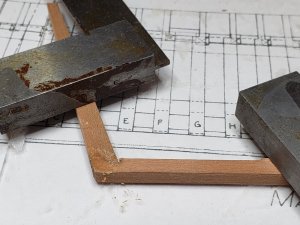
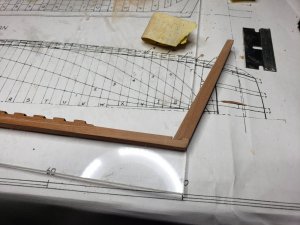
Next up was finishing assembling the keel. I took out the plans so I could match the angles properly. After gluing at the correct angle and letting dry for a few minutes I also mixed in some saw dust to help blend the joints. I have plenty of left over scrap pieces of pearwood so I just sanded some down.

20190630_174024.jpg 20190630_210943.jpg

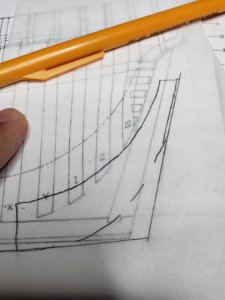
Because the stem comes in one piece I need to find the correct angle for continuing the rabbit cut into the stem, so I measured it off the plans.

20190630_133626.jpg 20190630_135458.jpg

After carving out both sides and a lot of sanding I moved back to the stern piece to do the proper tapering.

20190630_210952.jpg 20190630_211001.jpg

With both sides tapered the deadwood needed to be tapered and installed. For this I used tracing paper to find the right amount. Cut one side off and used it as a template for both sides of the deadwood.

20190630_212338.jpg 20190630_213035.jpg

I did the same thing here again once the deadwood was carved and attached with adding glue mixed pearwood dust.

20190630_223909.jpg

The final result:

20190630_234126.jpg 20190630_234118.jpg

20190630_234048.jpg 20190630_234056.jpg

20190630_234352.jpg

There was some errant cut marks here and there unfortunately since I was using the same blade. But all cuts and carvings here are done with the same kind of blade I used early to cut the initial rabbit. It looks pretty okay, the important thing is the rabbit is even on both sides from the looks of it. There is more sanding to be done but the last picture here shows more or less what it will look like later when a stain is put on it and it looks pretty okay.

I realized two things last night: I can't finish the keel because I'm actually missing a piece of ebony in my milled set, so I have to email and see if I can get that replaced. And two I don't have enough variety of sandpaper grits; so I'm getting more grits so I can finish sanding the keel. In the meantime I'll be taking a short break until I get the right grits so I can sand the keel and the ribs and until the replacement ebony piece comes in to complete the bottom of the keel.
 
I did contact the Lumberyard so hopefully I'll have a replacement ebony piece for my keel soon. In the meantime I won't be attaching the keel until it's been completed, just in case there are any issues. I did finish making some adjustments to the keel during the dry fit, and everything more or less fits properly now.

20190703_012433.jpg 20190703_012445.jpg

The ribs almost fit perfectly onto the rabbit line which is a nice thing to see. I'm not sure that the rabbit line is at the right angle/even deep enough to be honest. But since I won't be planking all the way to the keel I'm not super worried. But something to keep in mind for future builds if I plan on planking. (Honestly, I think this is a similar issue I faced on the Longboat)

So far I've been using 80 and 220 grit sandpaper I picked up in packs from Home Depot and just cutting them up into smaller pieces. HD doesn't have as much variety as I would like though, so after some searching on Amazon I picked a couple packs of these. So far so good, they don't last perhaps as long as I would like but for the price and variety I'm happy.

I decided to give all the pieces another sanding with 320 and 400 grit that came in the variety pack. I'm happy with the outcome. This also has helped the keel fit more snuggly into the frames, sanding away an extra thinner layer and just generally being a smoother piece now.

20190705_001627.jpg 20190705_001621.jpg

The color is much more uniform across all the wood now, and I did some cleaning of the pieces after sanding with some water and once everything receives a staining it's going to look very nice I think.

20190705_001600.jpg 20190705_001611.jpg

The half ribs, as noted earlier, don't fit exactly right along the keel, so change are in order, but those will still be done last once everything else is completed.

As you can probably see in the photos the ribs are still a little bumpy, places where the knife and the dremmel pushed in too far during shaping. I think it adds character, we'll see how much of that is left after the hull is faired for the last time once everything has been glued in place.
 
Your frames are looking very good - I am pretty sure, that the hull will be very good after final sanding, when everything is glued in place.
I know by own experience, that it is hard to wait and to leave enough meat.........
 
Your frames are looking very good - I am pretty sure, that the hull will be very good after final sanding, when everything is glued in place.
I know by own experience, that it is hard to wait and to leave enough meat.........

Thanks! Yeah, there seems to be a couple bumps in the hull that will be interesting to see how they work out, see below.

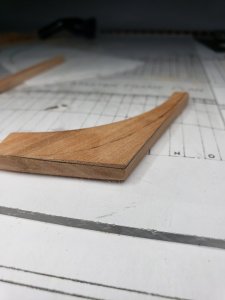
So first up I wanted to show the difference in frame sanding. Well, first, I have a table that I work on but to insure a flat surface I actually work on multiple plexiglass sheets that I got from Amazon, right now I use a couple squares and a rectangle one the size slightly bigger than the Hannah jig. Anyway, on the sanding. So the rib on the left is one that has been fully sanded, 220 - 320 - 400. The one on the right is a "rough" rib that has 80-220 + blade scraping. The extra sanding makes a huge difference and I think it will become truly apparent once the stain treatment is put on the ribs.

20190706_230319.jpg

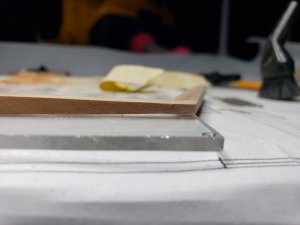
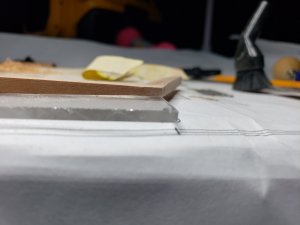
So issue #1 moving forward is I have a weird gap.

20190707_005614.jpg

I'm not sure how this happened, the rib is exactly the 5mm it should be and the transom is laser cut. It looks like I'm going to have to cut up a thin piece from the scrap pile and fill in this gap. The exciting news is that I've completed all the sanding (unless I decide I need to make new ribs...). And have dry fit everything into place.

20190707_011742.jpg 20190707_012434.jpg 20190707_012359.jpg

The curve of the hull is so close, and keep lays pretty well after some adjustments to the ribs.

Now, issue #2 is a known issue, the half ribs don't fit right, to be expected.

20190707_011802.jpg 20190707_011752.jpg 20190707_012200.jpg

What is odd is that the half ribs in the photo on the right, fit so much better than the ones in the photo on the left. And this goes doubly for the half ribs at the stern. I don't really understand how this happened.

20190707_012316.jpg 20190707_012211.jpg

As I mentioned above, I'm really unsure if these half ribs can be salvaged at the stern, in the photo they don't look terrible but in real life they look like if they get cut to fit they will end up being weird. Which is really a shame because their shape on the hull is so good.

20190707_012334.jpg 20190707_012328.jpg

I'm going to transfer the location of where they should fit on the transom from the plans like I did before with the sketch paper, and we'll see if we can save these pieces. I have a lot of left over planks of pearwood, I'm not sure if I need them for other things (I don't think I do) so I can remake things if necessary.

I'll end this update with what is probably issue #3. The fairing on the hull, or the overall shape, looks good to the naked eye, as mentioned above.

20190707_012233.jpg

But it's actually off a decent bit.

20190707_015634.jpg

(This piece here is a strip of maple, maple will make up the upper hull planking and the deck planking, the contrast will be more stark in the future.)

Maybe this goes away once everything is glued. The rib that is sticking out so far is rib J (the one behind it that seems to not stick out far enough is K and I that seems to just be a product of the rib not being thick enough to stick in the jib, that one will be good later), not sure what happened there, if maybe it didn't get shaped properly or what; thankfully too big is better than too small. My gut tells me that this will be an issue even once everything is glued, it just looks bigger than the rest. So I will take it back to the sheets and shape it down again with a template.
 
Very good progress........ and it is good, that you think and discuss the issues - it is good to be every time self-critical

Here my two cents:
Issue 1:
yes, I think you should fill the gap (to prolong the deadwood) - or you have to check and maybe redo the deadwood
if you look at this older photo you could see already the gap - means, that maybe the deadwood is too short
20190630_2340561.jpg

Issue 2:
I think the biggest problem is that the frames are still only temporary installed and not fixed.....I think it will be better, if the distances between the frames are corrected - I showed the differences with red lines
20190707_0122111.jpg 20190707_0123161.jpg

Issue 3:
If frames are outside the final lines - no problem - correct it and sand them after you finally fixed and glued everything, so that the hull is rigid, and you can sand over all frames to get smooth lines
if one frame is too small, so inside the line - I would redo this frame and leave enough meat to sand it afterwards
 
I think that Uwek has it covered ......
But I will add the following comments:


You wrote:
"So issue #1 moving forward is I have a weird gap.
I'm not sure how this happened, the rib is exactly the 5mm it should be and the transom is laser cut. It looks like I'm going to have to cut up a thin piece from the scrap pile and fill in this gap. The exciting news is that I've completed all the sanding (unless I decide I need to make new ribs...). And have dry fit everything into place."

Cutting a thin piece may be a fix, but certainly not the best fix. A new deadwood piece should be in order.

You wrote:
"Now, issue #2 is a known issue, the half ribs don't fit right, to be expected.
As I mentioned above, I'm really unsure if these half ribs can be salvaged at the stern, in the photo they don't look terrible but in real life they look like if they get cut to fit they will end up being weird. Which is really a shame because their shape on the hull is so good.
I'm going to transfer the location of where they should fit on the transom from the plans like I did before with the sketch paper, and we'll see if we can save these pieces. I have a lot of left over planks of pearwood, I'm not sure if I need them for other things (I don't think I do) so I can remake things if necessary."

Understanding where things have gone wrong is important for the fix.
Not sure about your ship as I do not have the plans, but usually the half frames (forward and aft) are cant frames so they sit on a slight angle. If that is the case then the forward face (for the bow frames) and aft face (for the stern frames) is beveled to properly sit against the rising-wood at the front and the deadwood at the back. If all these frames on one side are not sitting properly, it is likely that the bevel was cut wrong / in reverse on that side: especially if the shape of the hull seems symmetrical from side to side (port / starboard) with a small gap or whatever else on one side between the beveled edge and the area the frames are supposed to rest against.
Important note: A good dry fit is when parts are properly fitted in their final and "precise" position: as they should when glued on.

As you say, it could be because it is just a dry fit. This said if it is symmetrical as that point, when the frames are glued on you will end up with one side being off by being too narrow in the curve compared to the other. If the dry fit is not precise and things look good, then things will not look so good after the final gluing stage. Just my opinion....
Now because you were talking about adding a thin filling piece above, you could do the same for the frame, but......
This said, see further below....
Furthermore. It is a good idea to trace a reference line (vertical line) on the parts where the frames are supposed to be fastened to.


You wrote:
"I'll end this update with what is probably issue #3. The fairing on the hull, or the overall shape, looks good to the naked eye, as mentioned above.
But it's actually off a decent bit.
(This piece here is a strip of maple, maple will make up the upper hull planking and the deck planking, the contrast will be more stark in the future.)
Maybe this goes away once everything is glued. The rib that is sticking out so far is rib J (the one behind it that seems to not stick out far enough is K and I that seems to just be a product of the rib not being thick enough to stick in the jib, that one will be good later), not sure what happened there, if maybe it didn't get shaped properly or what; thankfully too big is better than too small. My gut tells me that this will be an issue even once everything is glued, it just looks bigger than the rest. So I will take it back to the sheets and shape it down again with a template."

Fairing the hull is to even out bumps and hollow areas. That is why the frames are cut and assemble slightly larger that they should be. So not to worry too much at the dry fitting stage: unless of course there are spots or areas that are obviously too hollow.
This is especially true for the outside of the hull as these areas will become obvious when the hull is planked: and as you said, bumps are easily taken care of but hollows not so much. The inside is also important but that depends as to what your plans are in the presentation of your vessel.

_____________________________
Now about filling pieces.
Adding them to fix things around is always an option. The issue is that it is always better to have parts cut in a way that everything fits tight in the first place.
Filling pieces are an easy solution. Verification by measuring, dry fitting, making sure that everything fits together and re-doing if necessary is the solution.

This is easily done (especially for this kind of part) by comparing the fit of the part on paper (plan) and the model simultaneously while keeping in mind all possible alterations or compensations made on the model itself. if any were made.
This can easily be done for all "flat-laying" parts such as keel elements: as Uwek pointed out, there is a noticeable gap between the notched keel and the deadwood.

Sometimes it is better to re-do, we have to keep that in mind but we cannot be afraid of that..

Hope this help.

G
 
Last edited:
Thank you both for your detailed replies! Very helpful information and details to consider. Some more info and thoughts below:

Issue 1
I looked into cutting a new deadwood that would fit perfectly, but I don't have any pearwood that is thick enough, the keel is about 1.5mm thicker than my thickest plank of pearwood; since the deadwood was laser cut I believe I will have to go with inserting a piece of wood in my gap. I did notice the gap earlier on, as pointed out, I was hoping that it would either take care of itself as I got closer to this point or wouldn't be noticeable. But since I will not be planking below the waterline it will be noticed without a filler piece.

Issue 2

In terms of the cant frames, thanks again for all the feedback. This one is a little more tricky. I did some work on these and I think I'm going to need to remake some of these and some of them may be salvageable.

20190709_234014.jpg 20190709_234102.jpg 20190709_234003.jpg

Frame II and III on the stern (right most photo) above just don't want to fit into the jig or onto the deadwood properly. Everything lines up properly now that the angle on the cant frames has been fixed I don't know if I did something wrong with them or if they just need to be held in place to be glued. I think these for sure are going to get remade, especially since their shape matters to much when building the stern framing, I want these to be as close to a 100% as possible.

20190709_234024.jpg 20190709_234033.jpg 20190709_233956.jpg

The bow is kind of a mess with the cant frames. I think I got the shape and angle right on some of them but it took too much wood and I need to remake some of them. For example, cant frame IV (far right photo) is both too short and too lose in the jig, so that will need to be remade.

Issue 3

I haven't yet done work on the full ribs that look a little off. My plan is to take them out of the jig and compare them to their original shape on the plans that I have. I'm hopeful that the rib J that looks too big is exactly that, too big (or thick) and I can just shape it down to the size it needs to be and we will be good to go. If not then I will have to remake rib J. I believe I have enough wood to do all these remakes so that shouldn't be a problem.
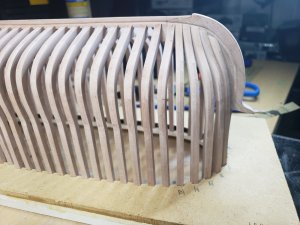
Still waiting to hear back on getting the ebony that was missing to complete the keel, so not a hurry to finish this up anyway.
 
Last edited:
I guess, with all of those 'issues' it makes even more interesting to build POF model. Most likely it is time to start mine... my palms are itchy ;)
 
Hey everyone, thanks for the question @Norway, I know I haven't log in in sometime.

Life of course got in the way, I just completed a move halfway cross country and the shipyard had to be packed away. Looking over things yesterday I'm honestly unsure of the condition of the Hannah, she was packed well but I found the movers stuffed the box she was in in a bad place and I haven't had the heart to open the box yet. Anyway, the more important part of this is I'm unsure when the Hannah build will continue, the workbench is in a smaller carpeted room now and I'm in an apartment now so not sure when I'll be able to break out the tools.

I may switch to a regular kit, I may try and make it work with the Hannah in short spurst, we will see!
 
I understand, a lot can go wrong while moving, it sounds like you've come to an apartment with limited space for our hobby, good luck.
 
Hello!

I'm back!

So a couple updates. We moved from Washington DC to Missouri and it's finally complete. Which allowed for the reopening of the shipyard, it's not completely put together yet but it's going to be significantly better than the small drafting table I was using before.

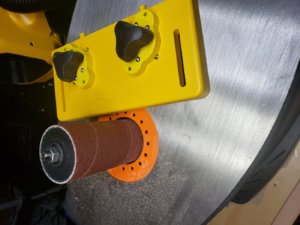
A few changes that I've made since my last update. First, since I don't have a planer I needed to figure out a quicker and better way to make the thickness even on all the remaining planks 1. As a test for future projects 2. Because I have a few ribs that need to be redone. So this is what I got:

20190729_192414.jpg

So this fun contraption has a strong magnet that attaches to the steel plate of the spindle sander and I just set the space between the two to 3.1m and run through planks, then 3.0 and run the other side. The planks came out very nicely! Cheap fix to not having a planer.

Next up I'm remaking some ribs. Of course I'm significantly better now than when I started this process so these new ones are probably going to look a lot nicer.

I've committed to remaking the last full rib, and some of the worst off cant ribs. And we'll go from there.

20200130_093918.jpg

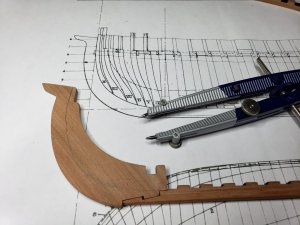
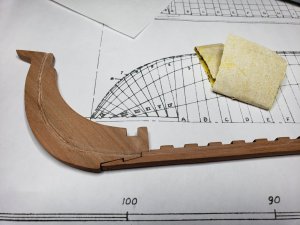
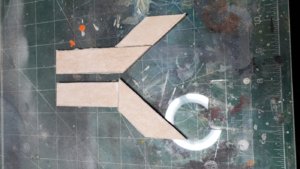
I had scanned in all the rib outlines and the templates for the blanks before i started cutting so no issues with doing remakes. This time I tried something different with the blanks, since I don't have a jig I glued the traced paper directly to the wood and I'll use these new blanks to make more. I think this will make things more consistent and the angles more accurate.

Looking forward to getting underway!
 
Scratch build is individual and personal. Like a painting the need to improve sometimes leads to endless "redoes" and sometimes a compromise is needed to progress and finish. i.e. balance obsession with impatience ( OCD+ADD = better next time!!!) . Your build is great by the way.
 
Back
Top