HMS Victory by Occre build log

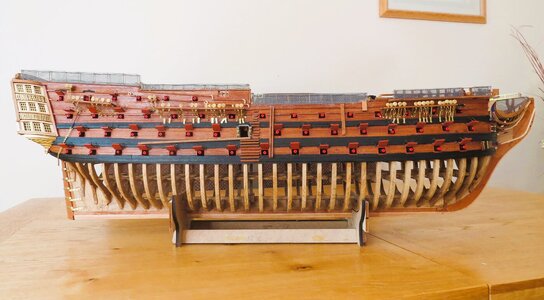
The end is in site for the hull!!
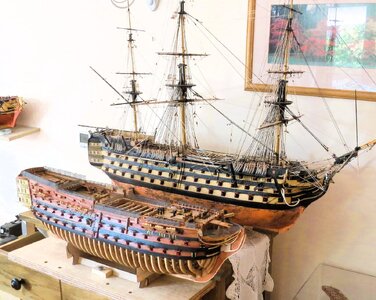
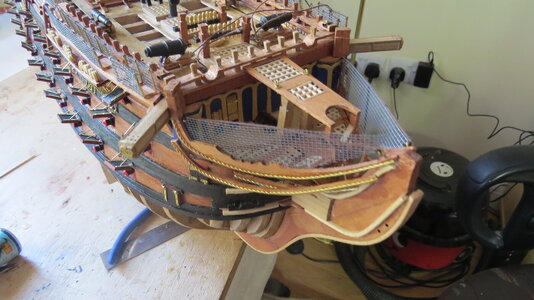
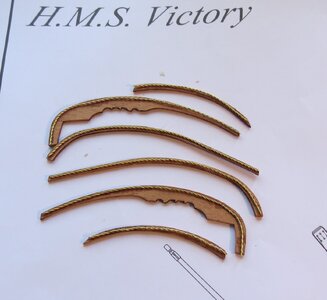
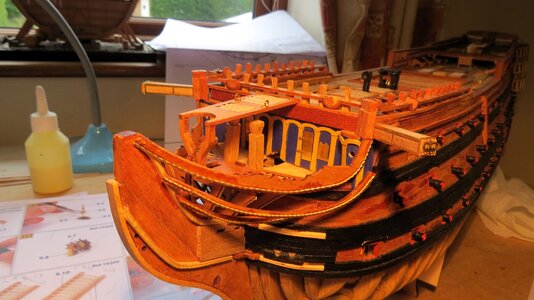
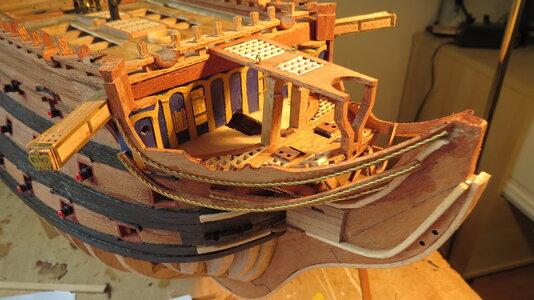
Finished the bow complete with all of its decoration. Rather clever use is very small wire to create decorations. The instructions recommend using a power drill to spin 2 wires together. Tried this with my Dremel but found it was not controllable and it made too many turns in the wires . Used my hand drill and it was far better

Glued the wires onto the side pieces (whatever they are called!) before they were glued in place. Tip of the day - I would advise not fitting the wires in instruction number 466 but wait until all of the pieces in the first photo are fitted - reason is I had to cut the tops of the wires in order to fit the side pieces snugly - bit of a pain as I had to refit some of the vertical wires

Continue to be frustrated with the lack of naming of nautical terms by Occre (find it awkward posting on this forum without using the appropriate terminology - forgive me for my ignorance!!). For this reason alone I would almost prefer the Calderwood version - however onwards and upwards.......

Next step fitting the Forecastle breast beam assembly etc (had to refer to my Caldercraft instructions for this name!!)

IMG_4824.JPG

IMG_4827.JPG

IMG_4828.JPG
 
Thanks for this thread Julian, keep up the great work. I have one of these kits in dry-dock currently waiting for the day when I get done with two other lesser practice models first.
Following.
 
The end is in site for the hull!!

Finished the bow complete with all of its decoration. Rather clever use is very small wire to create decorations. The instructions recommend using a power drill to spin 2 wires together. Tried this with my Dremel but found it was not controllable and it made too many turns in the wires . Used my hand drill and it was far better

Glued the wires onto the side pieces (whatever they are called!) before they were glued in place. Tip of the day - I would advise not fitting the wires in instruction number 466 but wait until all of the pieces in the first photo are fitted - reason is I had to cut the tops of the wires in order to fit the side pieces snugly - bit of a pain as I had to refit some of the vertical wires

Continue to be frustrated with the lack of naming of nautical terms by Occre (find it awkward posting on this forum without using the appropriate terminology - forgive me for my ignorance!!). For this reason alone I would almost prefer the Calderwood version - however onwards and upwards.......

Next step fitting the Forecastle breast beam assembly etc (had to refer to my Caldercraft instructions for this name!!)

View attachment 437309

View attachment 437310

View attachment 437311
She is looking great !
As far as not knowing the nautical names of parts, I have found that even with my references, often it doesn't have the name of the part I'm looking for. ROTF


Jeff
 
Great work Julian. Coming along so sweet and steady.
Slow the speed on your Dremel. I did for my wire platting, very controllable. Came out nice.
 
My Dremel has several speeds - the slowest is still too fast - it twisted the two wires like mad!!. The manual method enabled me to do the same number of twists for each set of wires
 
My Dremel has several speeds - the slowest is still too fast - it twisted the two wires like mad!!. The manual method enabled me to do the same number of twists for each set of wires
Time to invest in a new variable speed one. Me thinks. Fantastic control at the speed you want.
Couldn’t be without mine now.
 
Last edited:
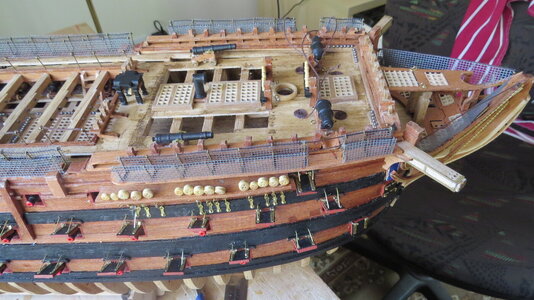
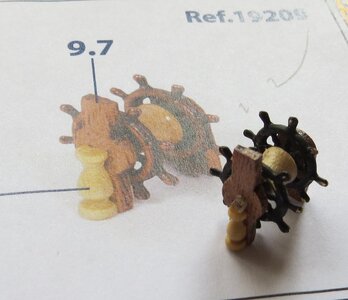
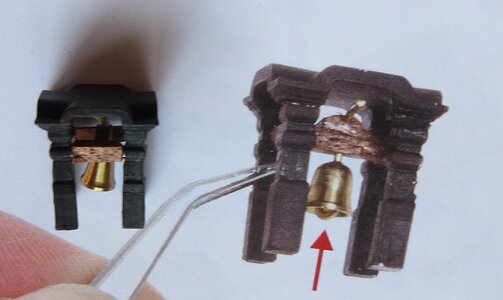
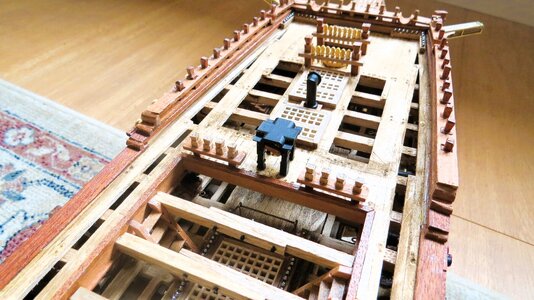
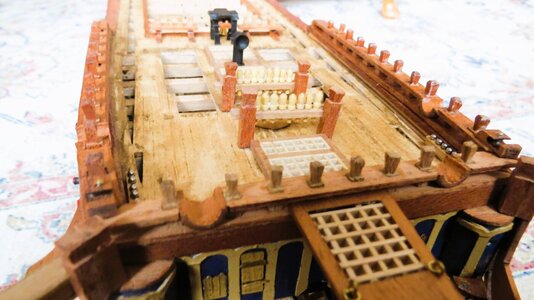
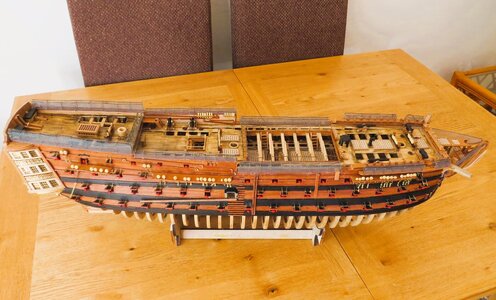
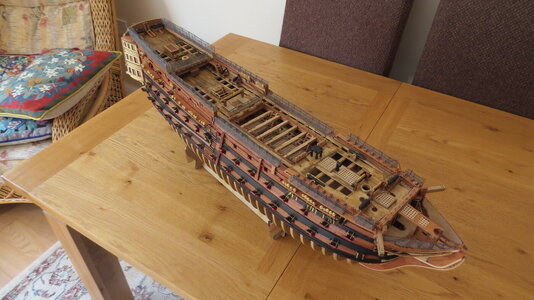
Its coming on a pace - made forecastle beam assembly, ships wheel and bell assembly amongst other sub-assemblies. Must say I enjoy making these sub-assemblies as it is something different to do and one can see them piling up ready to be fitted.

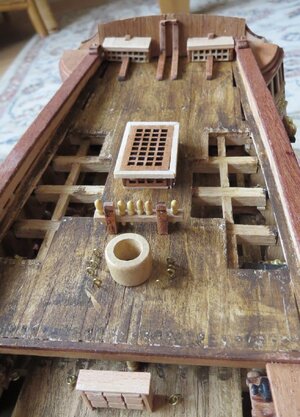
Practise makes perfect (well almost!!), starting to get the hang of making small intricate parts using tweezers and small very sharp model knives. Have to admit to another mistake - planked the quarter desk and then realised I had not fitted the wheel assembly . There was just not enough room under the deck beams to slide it into place, so I had to cut a hole in the deck, cut the wheel assembly in two and then glued in place. No-one will notice!!

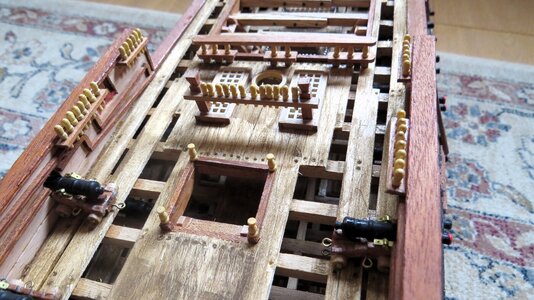
Fitted belaying pins in place plus Galley stove chimney also shot garlands

One question or observation - are the belaying pins too big??, They are 10mm long which at a 1:84 scale equates to 840mm or 33 inches long in real life - to me this seems to be rather large. I think that I remember a few months ago when this kit first came out someone wrote the scaling of the belaying pins was wrong. Is this correct??

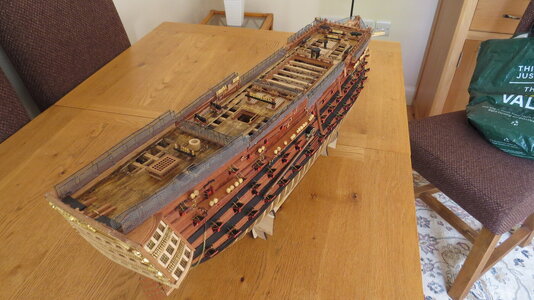
Looking at the photos realised some painting needs to be done especially around the deck grating - the white wood colour does not look realistic enough. Fairly pleas with the way the quarter deck colour turned out - not so sure about the colour on some of the photos; I tried to enhance the contract to show some more details.

IMG_4822.JPG

IMG_4820.JPG

IMG_4831.JPG

IMG_4832.JPG

IMG_4833.JPG

IMG_4834.JPG
 
Its coming on a pace - made forecastle beam assembly, ships wheel and bell assembly amongst other sub-assemblies. Must say I enjoy making these sub-assemblies as it is something different to do and one can see them piling up ready to be fitted.

Practise makes perfect (well almost!!), starting to get the hang of making small intricate parts using tweezers and small very sharp model knives. Have to admit to another mistake - planked the quarter desk and then realised I had not fitted the wheel assembly . There was just not enough room under the deck beams to slide it into place, so I had to cut a hole in the deck, cut the wheel assembly in two and then glued in place. No-one will notice!!

Fitted belaying pins in place plus Galley stove chimney also shot garlands

One question or observation - are the belaying pins too big??, They are 10mm long which at a 1:84 scale equates to 840mm or 33 inches long in real life - to me this seems to be rather large. I think that I remember a few months ago when this kit first came out someone wrote the scaling of the belaying pins was wrong. Is this correct??

Looking at the photos realised some painting needs to be done especially around the deck grating - the white wood colour does not look realistic enough. Fairly pleas with the way the quarter deck colour turned out - not so sure about the colour on some of the photos; I tried to enhance the contract to show some more details.

View attachment 438748

View attachment 438749

View attachment 438750

View attachment 438751

View attachment 438752

View attachment 438753
NO DOUBT THAT THE BELAYING PIN ARE OUT OF SCALE. I MADE THEM MYSELF USING TOOTHPINS AND THEN SHAPED THEM..
 
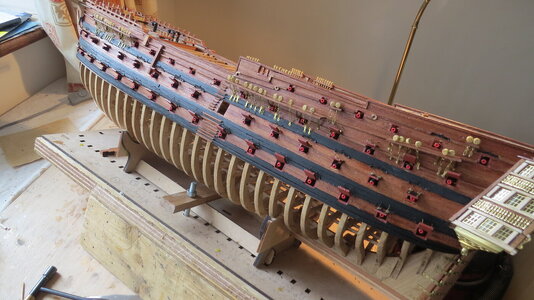
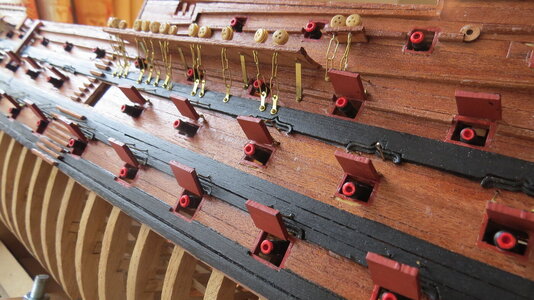
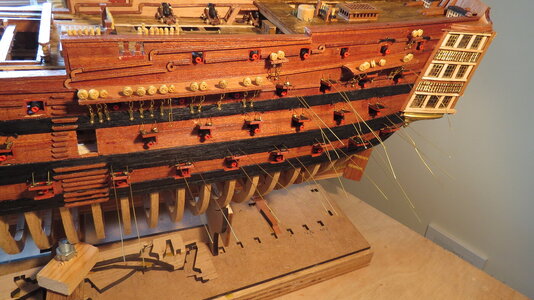
Major task almost completed - the channels. After two coats of varnish started to fit the channels. To aid fitting drilled a very small hole in the back and glued a pin in place (used a cutdown eyelet as supplied by Occre). Drilled corresponding hole in the hull, applied super glue to each pin and Gorilla glue to the back of the channel, held in place for 30 seconds while the superglue dried and job done.

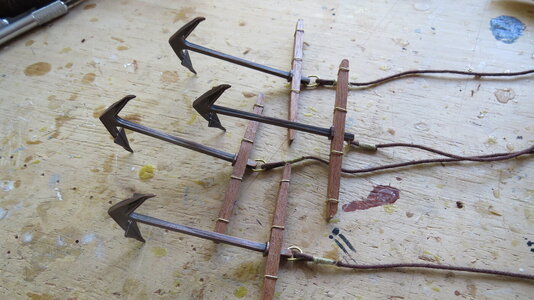
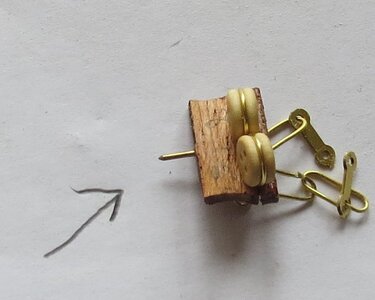
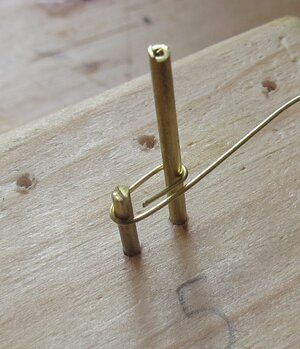
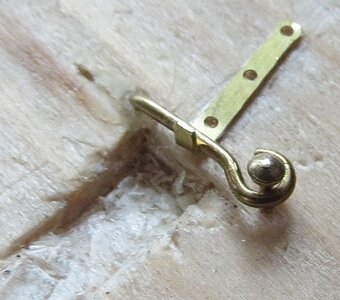
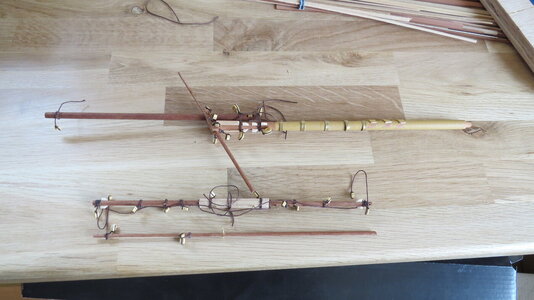
Made up a jig to make the chainplates - used two very thin rods 5mm apart glued in a wooden block. Easy to bend the wire round the rods and cut to length. Also used a eyelet to make a former to bend the gunport hinges around

Surprised Occre don't say anything about ropes used to open the gunports. On the Caldercraft Victory used very thin thread but thought this was a bit messy as it had to be glued into a hole in the gunport and a hole in the hull - my skills were not up to making this neat enough - always used too much superglue.

Question how does one place a very small amount of superglue in place?? - I try putting a drop on a pinhead but always seem to use too much..

So used very thin wire as supplied by Occre for the chainplates, drilled a small hole in the hull and glued in position using Gorilla glue - left overnight and cut to length. Using my very 'pointy' plier bent the wire so it touched the top of the gun port - no extra glueing required just a bit of bending in place.

ps - amazed how much definition is in the photos of the two jigs I used - Modern digital cameras can show so much detail in closeup

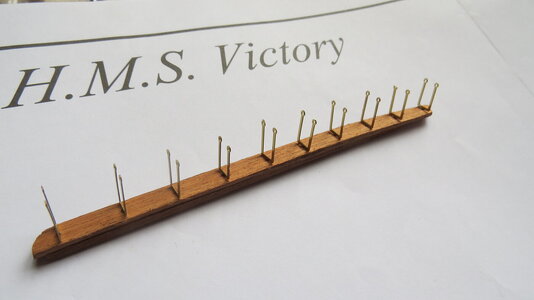
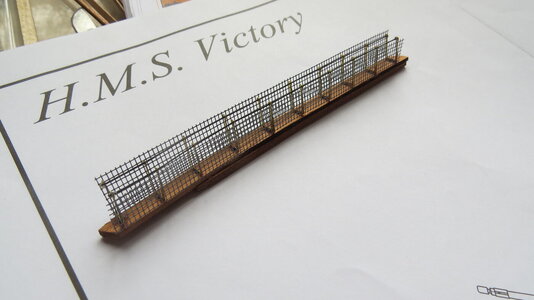
Next task fixing the channels on other side of the hull's and then making the barricades around the edge of the deck

IMG_4838.JPG

IMG_4839.JPG

IMG_4830.JPG

IMG_4836.JPG

IMG_4837.JPG

IMG_4835.JPG
 
Back
Top