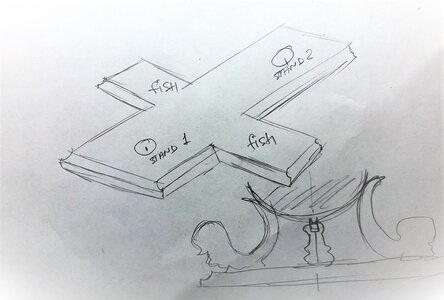
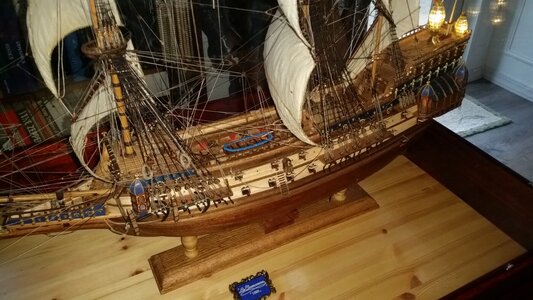
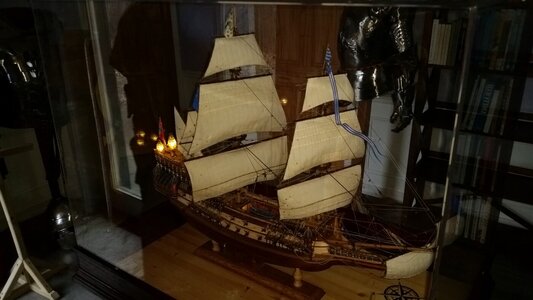
That's a great idea. I'll raise the fish. I epoxied them down, but if I break them too badly, I have two spares.Actually, nothing is too fancy when it comes to your personal taste. The fish is the perfect match for the build, but the tale of the fish should hold the hull. You have to move the fish closer and slightly up. This is why you need cross timbers, so it will hold the fish.
-

Win a Free Custom Engraved Brass Coin!!!
As a way to introduce our brass coins to the community, we will raffle off a free coin during the month of August. Follow link ABOVE for instructions for entering.
-

PRE-ORDER SHIPS IN SCALE TODAY!
The beloved Ships in Scale Magazine is back and charting a new course for 2026!
Discover new skills, new techniques, and new inspirations in every issue.
NOTE THAT OUR FIRST ISSUE WILL BE JAN/FEB 2026
You are using an out of date browser. It may not display this or other websites correctly.
You should upgrade or use an alternative browser.
You should upgrade or use an alternative browser.
La Couronne Corel/scratch 1:100 First build [COMPLETED BUILD]
- Thread starter DARIVS ARCHITECTVS
- Start date
- Watchers 54
...just don't break the La'Corounne, she is such a beauty!That's a great idea. I'll raise the fish. I epoxied them down, but if I break them too badly, I have two spares.
I sure will try not to! Wish me luck......just don't break the La'Corounne, she is such a beauty!
That's PERFECT. However, to make things simpler at this point, the fish will each sit upon their own routered pedestals. I wish I could afford the Mantua cast bronze sea dragon or fish stents (supports). They cost half as much as the ship kit!Here I made some really quick sketch. Hope it will give you an idea of what do I mean.
View attachment 194854
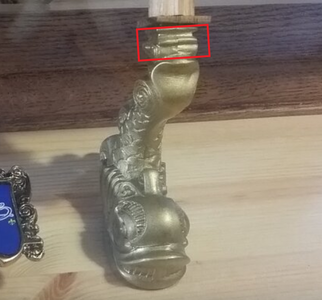
Just a proposal: I would even cut away the part I've marked with red:
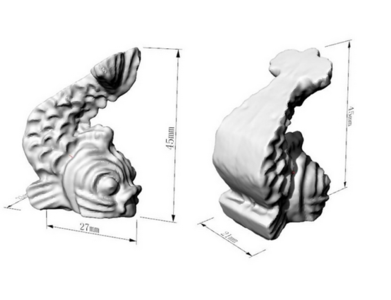
I agree with Jimsky that it would be a lot more pleasing to the eye if the tail supports the hull. Look for example the way these are made (from CAF):
You have spent hundreds of hours making such a truly beautifull ship to perfection. Don't let the stand drag it down. I assume they are made of plastic. How'bout carving them in wood?

I agree with Jimsky that it would be a lot more pleasing to the eye if the tail supports the hull. Look for example the way these are made (from CAF):

You have spent hundreds of hours making such a truly beautifull ship to perfection. Don't let the stand drag it down. I assume they are made of plastic. How'bout carving them in wood?
I can't carve. That's why. Re-sculpting the tails is a great idea.Just a proposal: I would even cut away the part I've marked with red:
View attachment 194997
I agree with Jimsky that it would be a lot more pleasing to the eye if the tail supports the hull. Look for example the way these are made (from CAF):
View attachment 194998
You have spent hundreds of hours making such a truly beautifull ship to perfection. Don't let the stand drag it down. I assume they are made of plastic. How'bout carving them in wood?
Good luck!I sure will try not to! Wish me luck...

 ! I did it, and without smashing almost three years of work too. Lifting the Plexiglas off and putting it back over the ship is always a risky affair. I salvaged the grossly oversized fish for something else, and devise a center saddle out of the leftover Corel base parts. It's a LOT less distracting. It took a while chisel the epoxy off the table pine wood, but no damage was done. The new saddle looks slimmer. Thanks for the great feedback, guys!
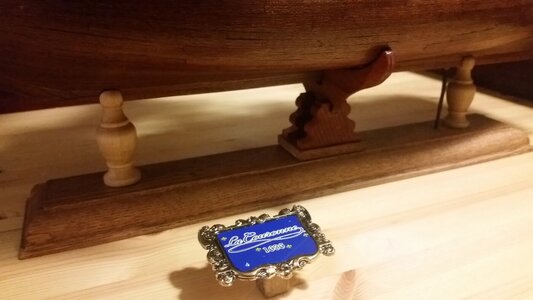
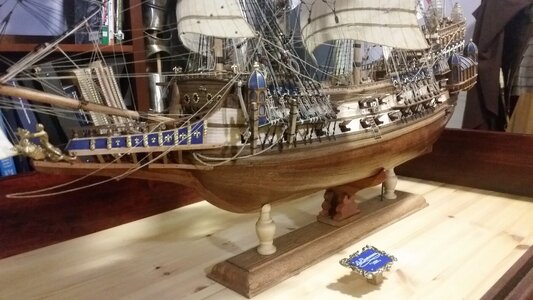
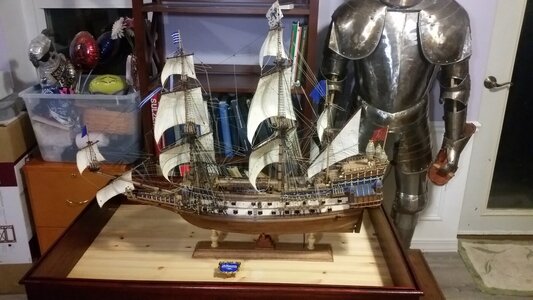
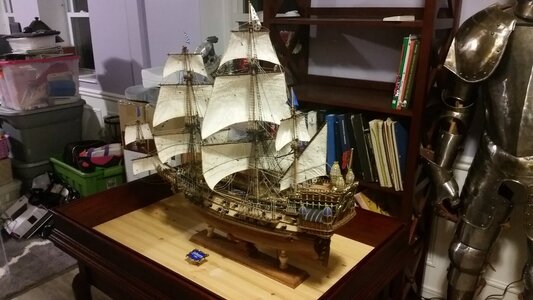
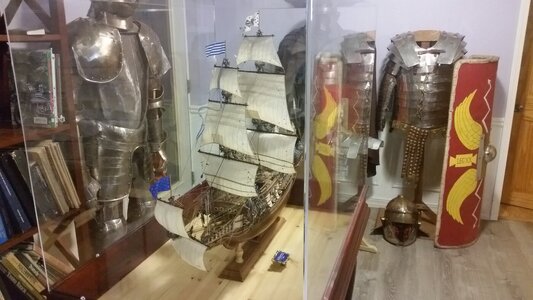
Back under the glass...
Superb - what can anyone say that has not already been said? I love the rigging details and especially the documentation (arrows) and instructions you gave. A beautiful model you have done.
Beautiful ship and I really like the sails!
Hi Darius,
A merry Christmas to you.
May I ask you what the thickness of the acrylic material you used for your display case is and the method of bonding the sides and top together?
I want to display my Endeavour in a similar fashion and fitting the case out with LED lighting. I do not want to go over the top as far as the thickness is concerned. However, on the other hand it needs to be sturdy. I was contemplating buying 4 mm. Additionaly, how much space did you leave between the sides and the top of the ship to the walls of the case?
Many thanks.
Trevor.
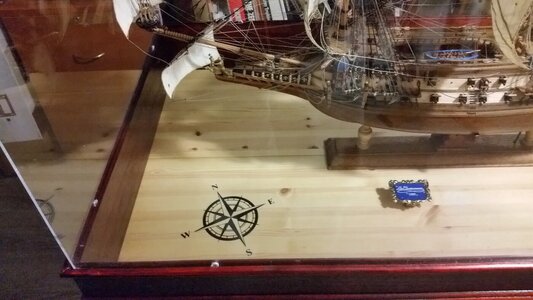
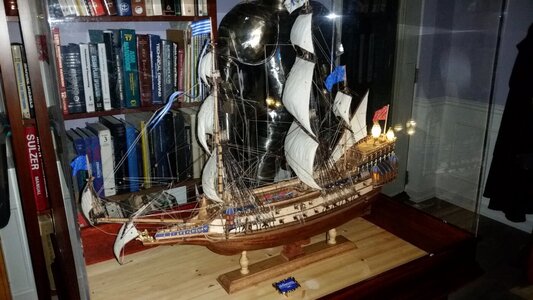
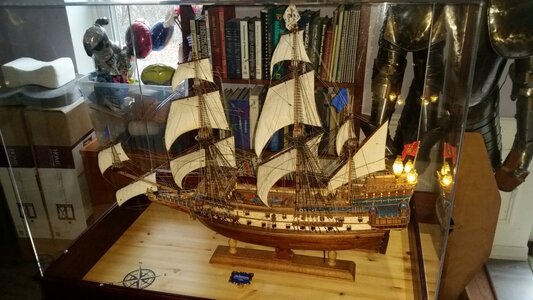
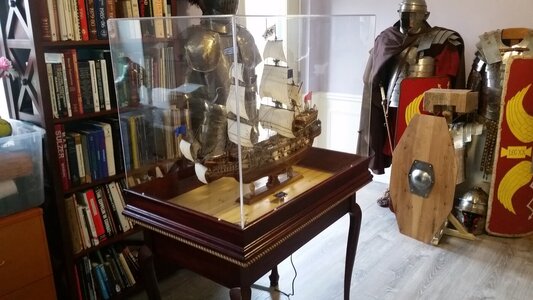
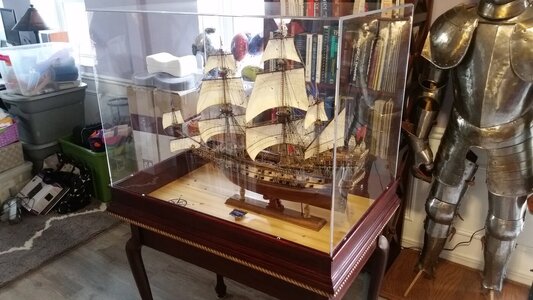
Well you may not be a photographer but you are definitely an artist with wood! Very nice display overall with wonderful balance and a pleasing aesthetic. Very well done indeed!I added some wooden rope edging to the display case to cover the table edge after taking some more pictures with the cell phone. I am DEFINITELY NOT a photographer.
View attachment 199307
View attachment 199308
View attachment 199309
View attachment 199310
View attachment 199311
View attachment 199312
There is a company in Sydney who makes very professional acrylic cases for ship models (and for other purposes). For this size of model they recommend 4 mm acrylic.Hi Darius,
A merry Christmas to you.
May I ask you what the thickness of the acrylic material you used for your display case is and the method of bonding the sides and top together?
I want to display my Endeavour in a similar fashion and fitting the case out with LED lighting. I do not want to go over the top as far as the thickness is concerned. However, on the other hand it needs to be sturdy. I was contemplating buying 4 mm. Additionaly, how much space did you leave between the sides and the top of the ship to the walls of the case?
Many thanks.
Trevor.
János
Thanks János! Do you know their name?There is a company in Sydney who makes very professional acrylic cases for ship models (and for other purposes). For this size of model they recommend 4 mm acrylic.
János
Thanks you for your kind words. I am very proud of how my first ship came out, especially the sails. The next model will not have fully deployed sails. I wanted the first one to have all the sails displayed. The next ship, which is HMS Sovereign of the Seas, probably never used the royal sails on top while sailing, so the yardarms will he lowered and tied down for those. I am debating furling or farthelling the main course sail like many others have done. I'm not sure what to do with the sprit topsail, bit the mizzen lateen will be furled.Well you may not be a photographer but you are definitely an artist with wood! Very nice display overall with wonderful balance and a pleasing aesthetic. Very well done indeed!
Last edited:
Hi Darius,
A merry Christmas to you.
May I ask you what the thickness of the acrylic material you used for your display case is and the method of bonding the sides and top together?
I want to display my Endeavour in a similar fashion and fitting the case out with LED lighting. I do not want to go over the top as far as the thickness is concerned. However, on the other hand it needs to be sturdy. I was contemplating buying 4 mm. Additionaly, how much space did you leave between the sides and the top of the ship to the walls of the case?
Many thanks.
Trevor.
The glass on the case is 5.8mm plexiglass, and the glass box is a used display box form a science museum. It used to house a fossilized dinosaur head. The edges are glues together, beveled and polished. 4mm should serve you well. Acrylic is superior in hardness, but drilling holes in it is more risky because it is more brittle. The box dimensions was not designed for this ship, and barely fit the length of the ship with 2-3 cm space on each end. I got lucky there. The sides have 12 cm space on each side, and the flagstaff of the main mast only 2 cm from touching the glass at the top. The height of the glass box was less than the height of the ship on its mounts, so the sides of the table were fitted with wooden riser sections to compensate. I could not afford a custom case. This one is a best effort from used parts from friends and a used dinosaur display cabinet. I was planning on buying one of those Chinese lozenge shaped casings for the next ship I like how the glass curves around the yardarms on those. Hopefully they are well made and the glass is clear and blemish free, because they are expensive. Best of luck on your project!


