• Win a Free Custom Engraved Brass Coin!!!
    As a way to introduce our brass coins to the community, we will raffle off a free coin during the month of August. Follow link ABOVE for instructions for entering.

Misticque, 1/36 - Build Log by Moreplovac

You can use a template made out of the metal plate with correct hole diameter (like treenail metal plate)
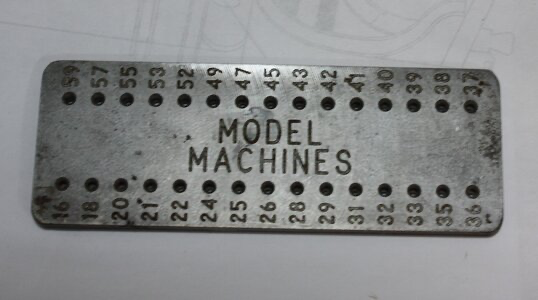
1762985203736.png

and then push the stick thru it but I found it easier this way and gives me practice for future oars making tasks for this ship..

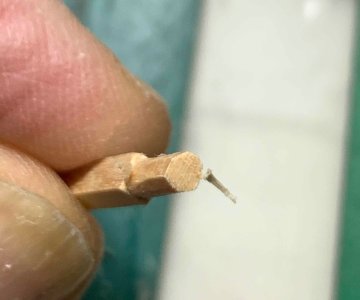
First I mark down the edge of a carriage and cut small cuts on all sides of a 3x3mm stick, with chisel..
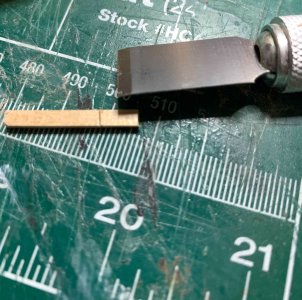
Mistique 095.jpg

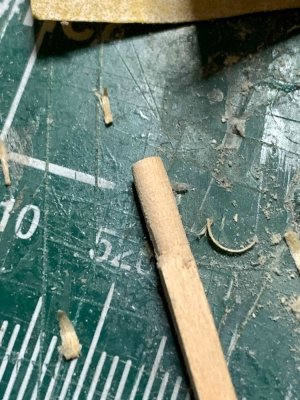
Then with scalpel, cut towards the middle, small cuts on stick edges, making it round alike..
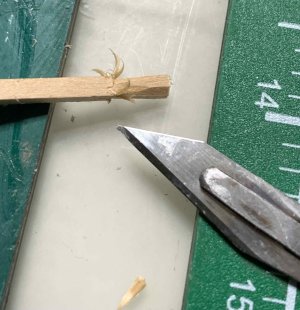
Mistique 096.jpg

Then removed those shaves with scalpel and cut in opposite direction edges of the stick..
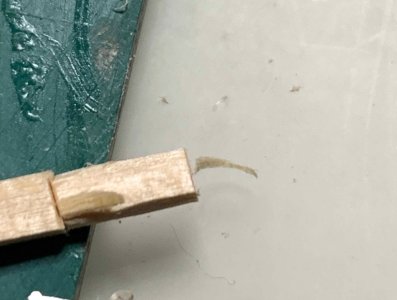
Mistique 097.jpg

The end result is like this..

Mistique 098.jpg

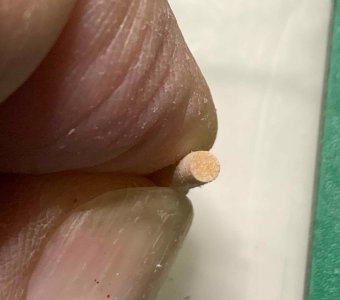
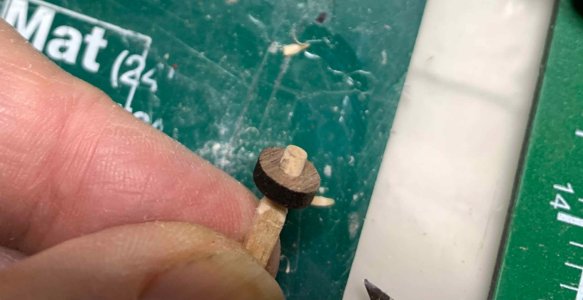
Then use piece of a sand paper, holding it with fingers, and twisting stick up and down, like you are trying to remove excess glue from fingers, making a ball which you can toss to someone :). I used basswood which is soft wood so no need for much sanding but be careful not to break the stick.. no big deal just start from scratch if breaking happens..
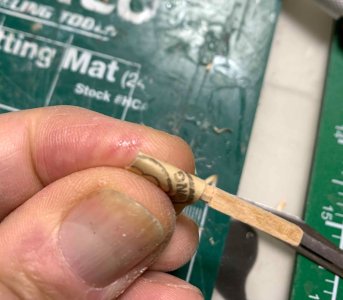
Mistique 099.jpg

End result..

Mistique 100.jpg

Mistique 101.jpg

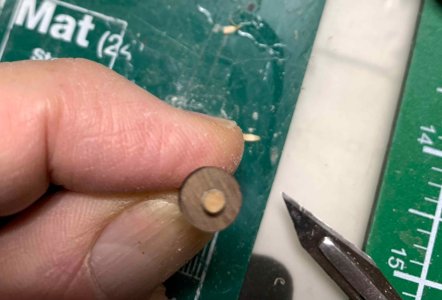
Test with a wheel..

Mistique 102.jpg

Mistique 103.jpg

There probably is a better, quicker way but not a problem doing it this way. If you use some harder wood, it will be a bit more sanding and cutting but end results will be OK. I am planning to drill a hole and add a piece of metal or wood in an axle, after the wheel is placed on it, kind of preventing wheel from rolling of the axle..

Happy modelling..
 
You can use a template made out of the metal plate with correct hole diameter (like treenail metal plate)

View attachment 556628

and then push the stick thru it but I found it easier this way and gives me practice for future oars making tasks for this ship..

First I mark down the edge of a carriage and cut small cuts on all sides of a 3x3mm stick, with chisel..

View attachment 556626

Then with scalpel, cut towards the middle, small cuts on stick edges, making it round alike..

View attachment 556625

Then removed those shaves with scalpel and cut in opposite direction edges of the stick..

View attachment 556624

The end result is like this..

View attachment 556623

Then use piece of a sand paper, holding it with fingers, and twisting stick up and down, like you are trying to remove excess glue from fingers, making a ball which you can toss to someone :). I used basswood which is soft wood so no need for much sanding but be careful not to break the stick.. no big deal just start from scratch if breaking happens..

View attachment 556622

End result..

View attachment 556621

View attachment 556620

Test with a wheel..

View attachment 556619

View attachment 556618

There probably is a better, quicker way but not a problem doing it this way. If you use some harder wood, it will be a bit more sanding and cutting but end results will be OK. I am planning to drill a hole and add a piece of metal or wood in an axle, after the wheel is placed on it, kind of preventing wheel from rolling of the axle..

Happy modelling..
Very nice. I don’t think I could achieve such consistent results by hand.
 
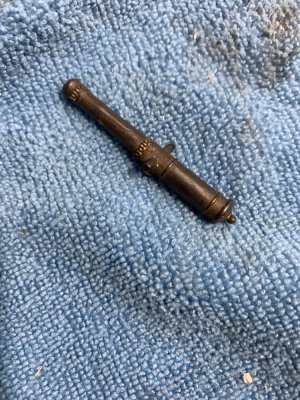
Worked on the cannons, to make them a bit more realistic....
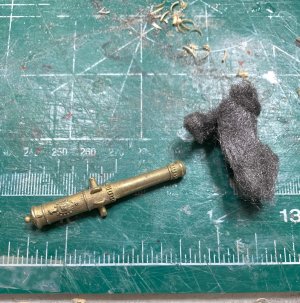
First I will sand them lightly ...

Mistique 104.jpg

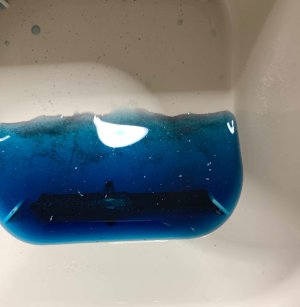
.. then bath in blackening solution, 1 minute..

Mistique 105.jpg

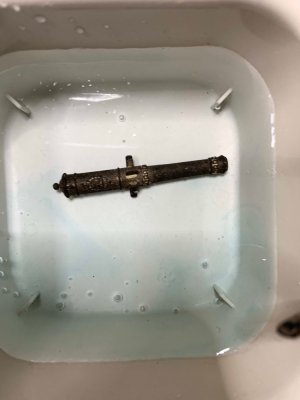
... then transfer into water bath...

Mistique 106.jpg

... then dry with a paper towel and rag..

Mistique 108.jpg

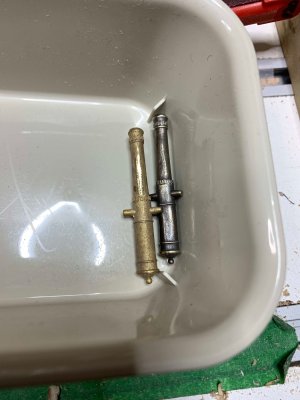
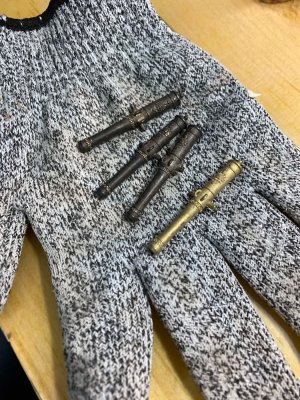
Comparing original and treated..

Mistique 107.jpg

Mistique 109.jpg

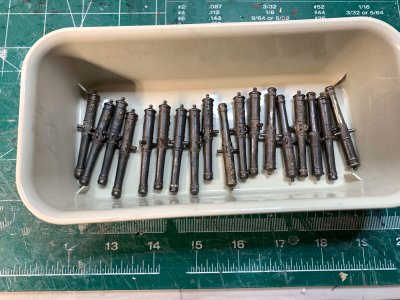
And all done..

Mistique 110.jpg

Happy modelling..
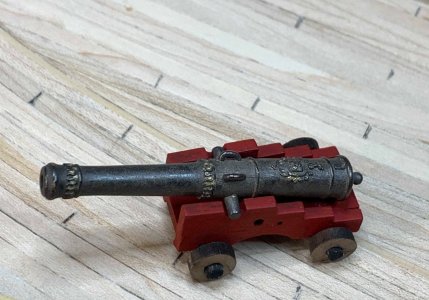
 
Worked on the cannons, to make them a bit more realistic....
First I will sand them lightly ...

View attachment 556666

.. then bath in blackening solution, 1 minute..

View attachment 556665

... then transfer into water bath...

View attachment 556664

... then dry with a paper towel and rag..

View attachment 556662

Comparing original and treated..

View attachment 556663

View attachment 556661

And all done..

View attachment 556660

Happy modelling..
Super cool!!!! Those on the red carriages are going to look fantastic curved around your deck. Cheers Grant
 
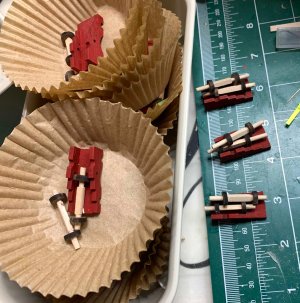
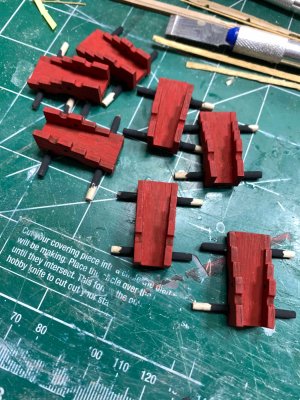
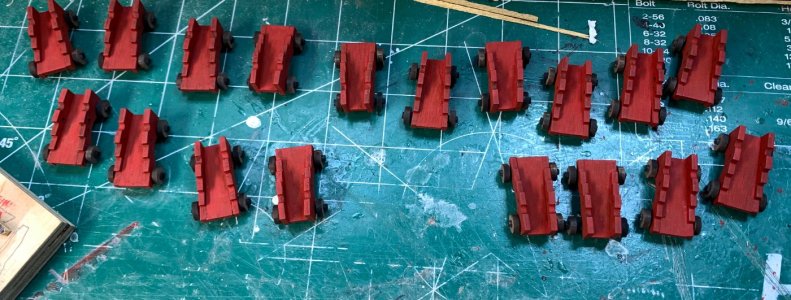
All axles are done and ready for painting..

Mistique 111.jpg

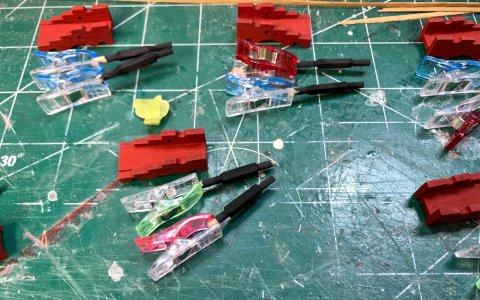
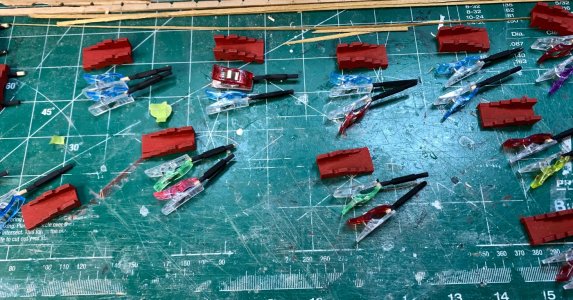
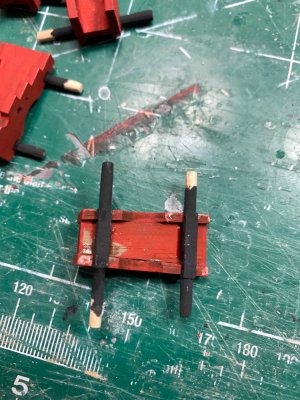
Now, black was painted on all axles..

Mistique 112.jpg

Mistique 113.jpg

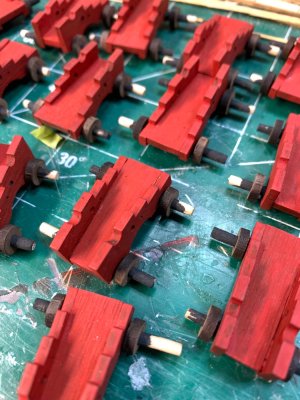
After short drying period, axles are mounted and glued to the carriages..

Mistique 114.jpg

Mistique 115.jpg

Then wheels are mounted as well. Since the wood expanded a bit due to painting, I needed to sand some wheels increasing the diameter so the wheel can fit to the axle.

Mistique 116.jpg

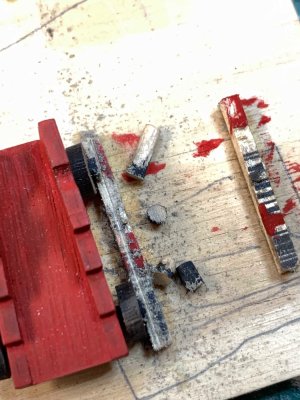
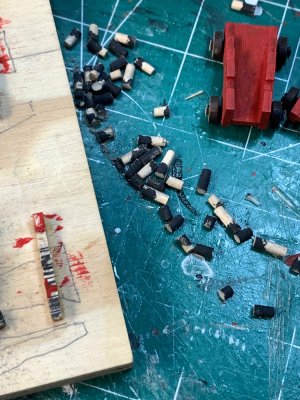
Then the excess axles wood was cut off.. I used carriage assembly template again to assist with keeping the carriage while I was cutting the excess wood, with hand saw.

Mistique 117.jpg

Mistique 118.jpg

Now, the axel area where excess wood was cut is sanded to remove bur and painted in black as well..

Mistique 119.jpg

Brief test on the deck..

Mistique 120.jpg

Happy modelling..
 
@moreplovac, what an interesting build. You have shown me some interesting building methods.

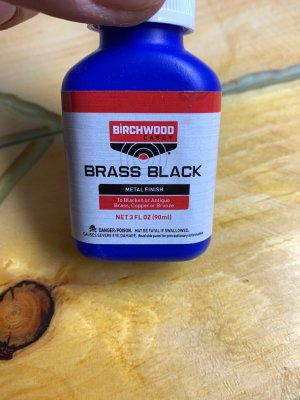
I have a question. What did you use as a blackening solution, as mentioned in Post #83?

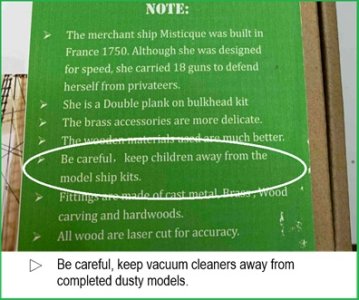
I received a shocking reminder, courtesy of your post #2, of an incident that occurred at home. Back in the 1960s, my father built a cloth-sailed HMS Endeavour. A relative decided, while vacuuming the floor, to give the sail a clean. The destruction made my father put the ship into the rubbish bin.

OP 1.jpg

I am looking forward to seeing how the Misicque turns out.
Thanks for sharing.
 
@moreplovac, what an interesting build. You have shown me some interesting building methods.

I have a question. What did you use as a blackening solution, as mentioned in Post #83?

I received a shocking reminder, courtesy of your post #2, of an incident that occurred at home. Back in the 1960s, my father built a cloth-sailed HMS Endeavour. A relative decided, while vacuuming the floor, to give the sail a clean. The destruction made my father put the ship into the rubbish bin.

View attachment 557268

I am looking forward to seeing how the Misicque turns out.
Thanks for sharing.
Hi Swabbie, thanks for kind words..
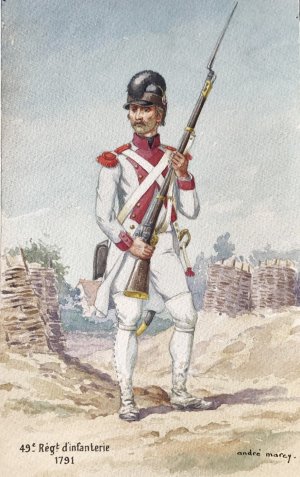
I am using following for blackening. All used solution am I'm kipping for future usage on separate bottle; I can use it for other blackening stages
Mistique 121.jpg

Happy modelling.
 
Back
Top