-

Win a Free Custom Engraved Brass Coin!!!
As a way to introduce our brass coins to the community, we will raffle off a free coin during the month of August. Follow link ABOVE for instructions for entering.
-

PRE-ORDER SHIPS IN SCALE TODAY!
The beloved Ships in Scale Magazine is back and charting a new course for 2026!
Discover new skills, new techniques, and new inspirations in every issue.
NOTE THAT OUR FIRST ISSUE WILL BE JAN/FEB 2026
You are using an out of date browser. It may not display this or other websites correctly.
You should upgrade or use an alternative browser.
You should upgrade or use an alternative browser.
Montañes by Occre Build Log
- Thread starter Bilal ZEYBEKOĞLU
- Start date
- Watchers 27
Hallo Bilal,I started to build the masts.
I decided built the bowsprit first. But I faced a problem.
In Turkey we were ordered to stay at home from 9 pm to 5 am for weekdays and for weekends (from friday 9 pm friday to monday 5 am). It's active for last 7 weeks and noone knows when it'll end. So I decided to move some of my tool to home and converted my computer dest to a small workshop. (Yes of-course I got permission from my wife) But couldnt take my lathe to home.
I decided to use my drill as lathe to make bowsprit parts. What I did here is to sand by hand gently to thinner the wood. I used 80 grit sandpaper first and than 150, 240 and finally 400. Result was satisfying.
View attachment 206787View attachment 206788View attachment 206789
Problem solved and bowsprit came to shape.
I used brass black solution for brass strips ans simply glue them to their places. I glued all three parts together and tie down with 0.5mm brown thread.
View attachment 206791
View attachment 206790
I made two metal parts from 1 mm coper wire ( Sorry I dont know their names. If someone tell me I'l be very pleased)
I forged the edges of the parts and shaped them, solder the edges of the ring after mounting the pieces and used brass black solutionfor to give iron effect.
View attachment 206792View attachment 206793View attachment 206794View attachment 206795View attachment 206796View attachment 206797View attachment 206798View attachment 206799
View attachment 206802
Finally I tied down the blocks.
View attachment 206803View attachment 206804View attachment 206805View attachment 206806View attachment 206807View attachment 206809
great and very good work of your rigging - especially your self made hooks are very good.
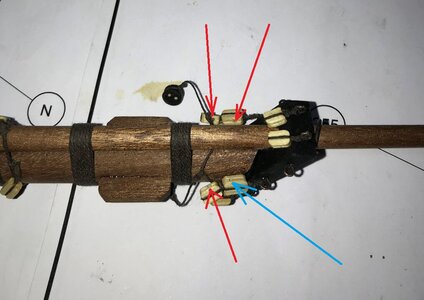
I realized a (maybe) small mistake in the installation of the blocks - so maybe you could check the orientation of the blocks (oriantation of the holes)
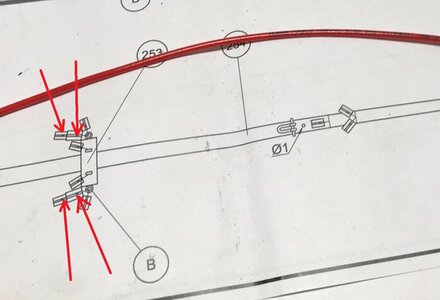
Hallo Bilal,
great and very good work of your rigging - especially your self made hooks are very good.
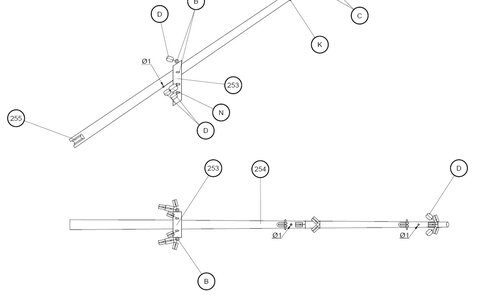
I realized a (maybe) small mistake in the installation of the blocks - so maybe you could check the orientation of the blocks (oriantation of the holes)
View attachment 207127
View attachment 207128
Thanks for your encouraging comments Uwek.
That drawing at the picture is top view.
Side view drawing is much more clear.
Thanks for your comment Mustafa.Veery good work Bilal Bey. Congratulations and thank you for sharing your excellent build on here. I am learning a lot.
But isn´t the block with blue arrow in the wrong direction?Thanks for your encouraging comments Uwek.
That drawing at the picture is top view.
Side view drawing is much more clear.
View attachment 207129
I think he is saying the block with the blue arrow is facing the wrong way, the hole should be on the opposite side. Otherwise your line is coming from the bottom of the block. Hope that makes sense. You could always just hand drill a hole on the correct side.Thanks for your encouraging comments Uwek.
That drawing at the picture is top view.
Side view drawing is much more clear.
View attachment 207129
Sorry Understood at last.But isn´t the block with blue arrow in the wrong direction?
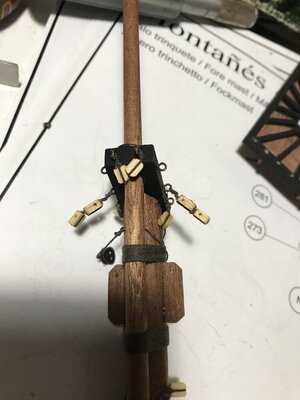
I'll correct it tonight.
The WWII Eisenhower admonition of the landing plan on D-Day "The devil is in the details" carries over to precise rigging. Good encouraging critiques being given and received here without rancor which is a positive side of SoS for the vast majority. Just a thought. Rich (PT-2)Sorry Understood at last.
I'll correct it tonight.
You’re absolutely right sir.The WWII Eisenhower admonition of the landing plan on D-Day "The devil is in the details" carries over to precise rigging. Good encouraging critiques being given and received here without rancor which is a positive side of SoS for the vast majority. Just a thought. Rich (PT-2)
In my opinion that’s what these logs for.I appreciate all SOS members who warns my mistakes.
Ship modelling is a huge ocean and all of us have lots of questions about it whether as a newbee or as a proffesional modeller.
BTW mission completed.
Nicely tied off. Well done which will make moving forward much easier. RichYou’re absolutely right sir.
In my opinion that’s what these logs for.I appreciate all SOS members who warns my mistakes.
Ship modelling is a huge ocean and all of us have lots of questions about it whether as a newbee or as a proffesional modeller.
BTW mission completed.
View attachment 207185
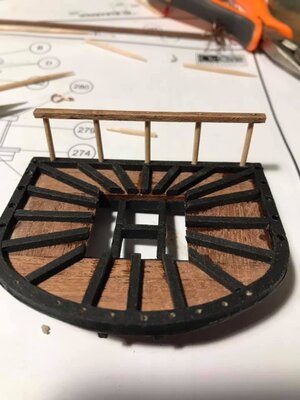
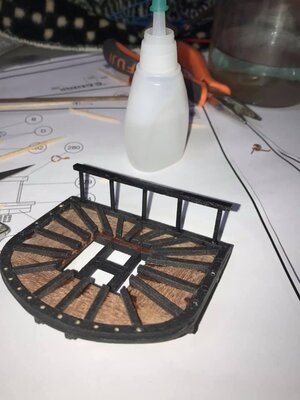
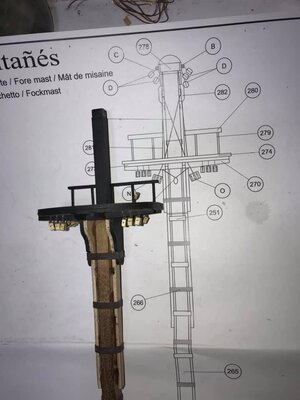
Wow! Fantastic Bilal.A little progress last night.
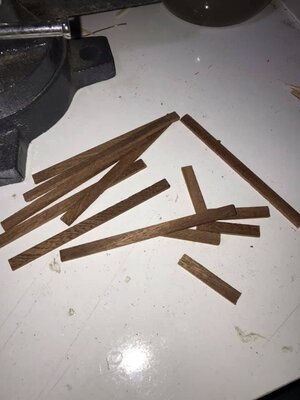
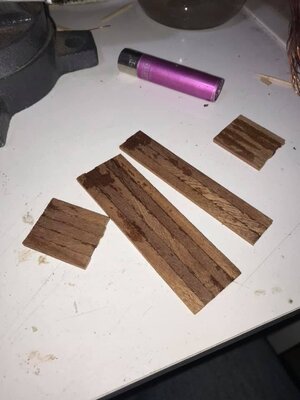
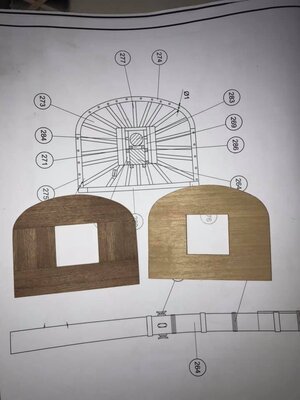
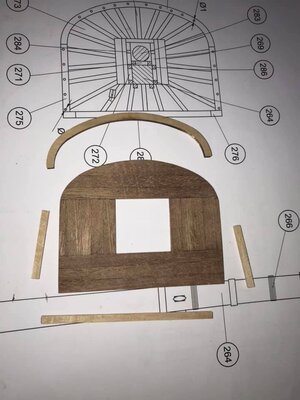
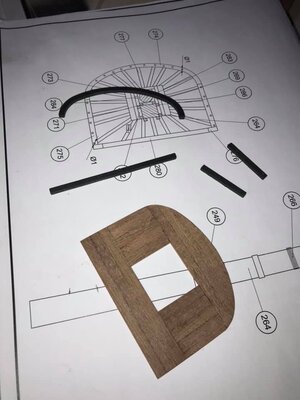
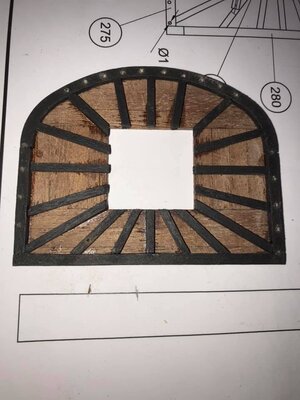
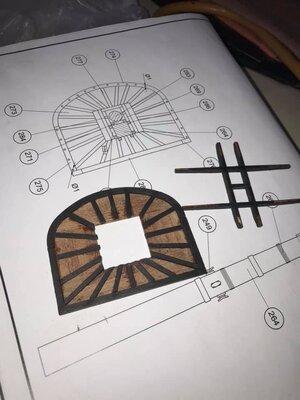
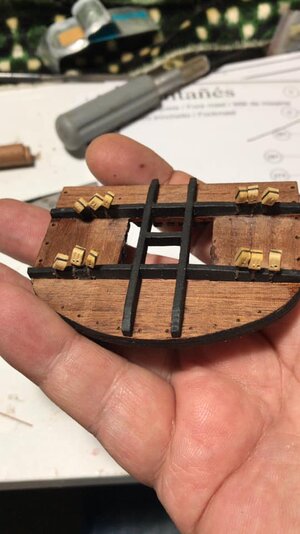
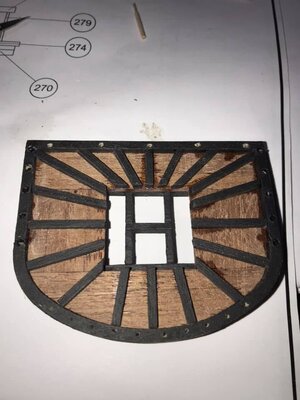
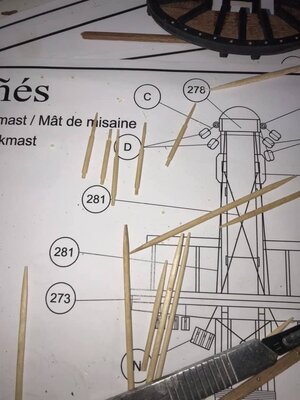
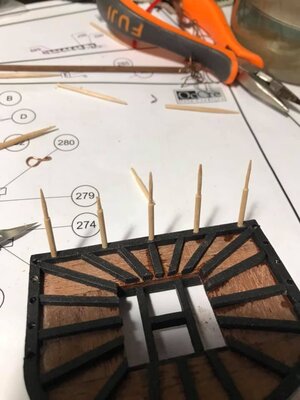
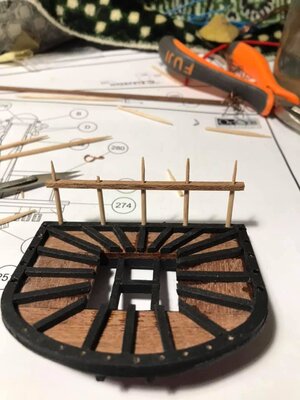
I didnt want to use supplied base plates for crows nest. So I did my own. Finally fore mast lower piece completed.
View attachment 207585View attachment 207586View attachment 207587View attachment 207588View attachment 207589View attachment 207590View attachment 207591View attachment 207592View attachment 207593View attachment 207594View attachment 207595View attachment 207596View attachment 207597View attachment 207598View attachment 207599
Thanks Paul.Wow! Fantastic Bilal.
You have produced an excellent substitute for your build. RichThanks Paul.
Thanks for your comment Rich.You have produced an excellent substitute for your build. Rich
Past weekend I varnished the hull. I used flat varnish. 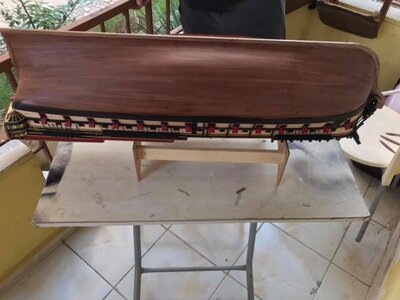
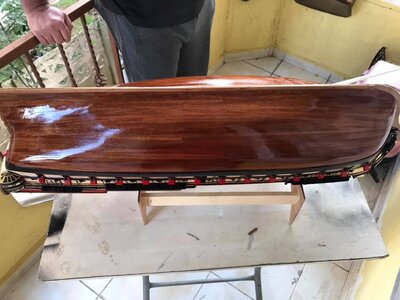
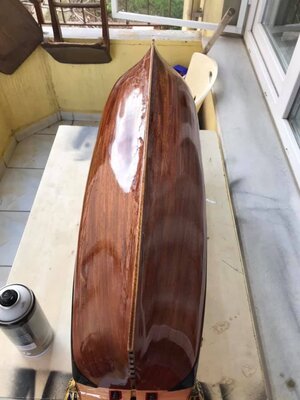
Photo was taken just after varnishing. Shining will fade as the varnish dries.
Here are some photos after varnish dried.
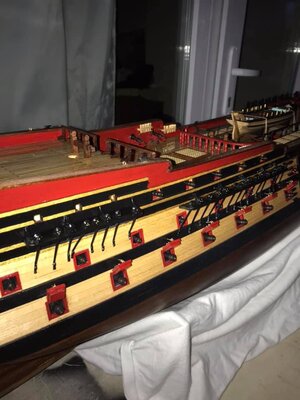
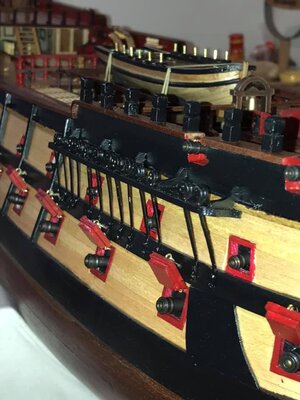
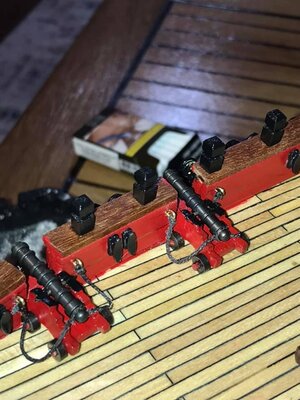
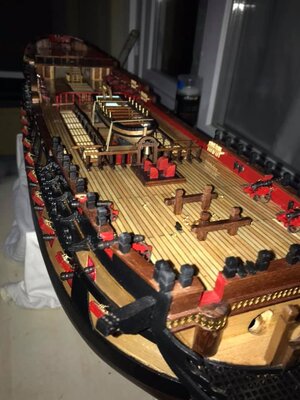
After this process I started to rigging.
First I installed the bowsprit. Checked the aligment first and then tie down necesarry ropes to install fore mast lower section.
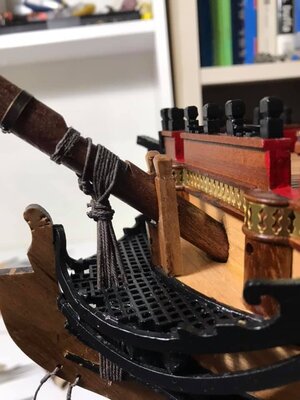
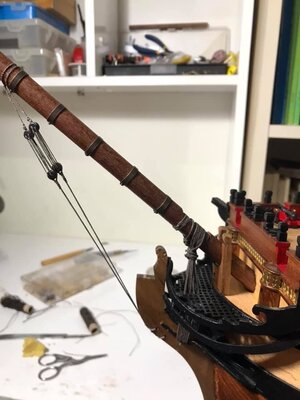
After bowsprit installement. Before gluing, I wanted to check the position of fore mast. I used three temporary ropes to do this. And then glued.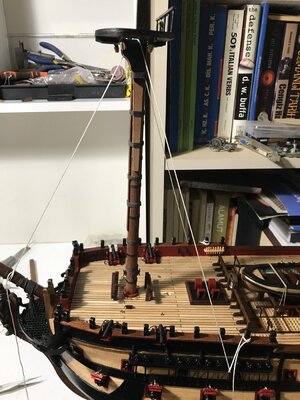
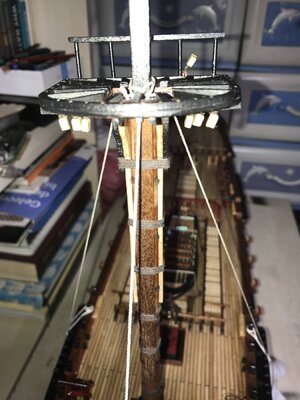
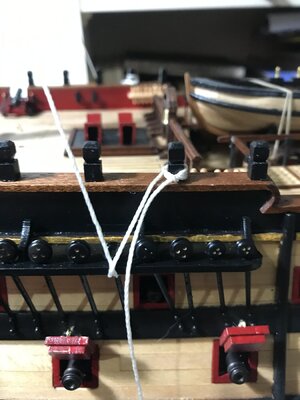
And then begun to prepare the shrouds. There are nine shrouds on each side. So I prepared 8 double and 2 single shrouds.
Shrouds installed to the mast one to the right and one to the left, respectively
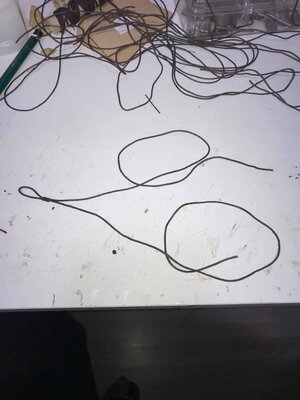
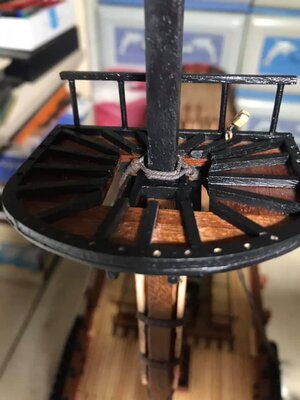
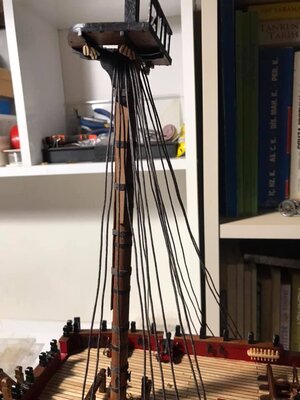
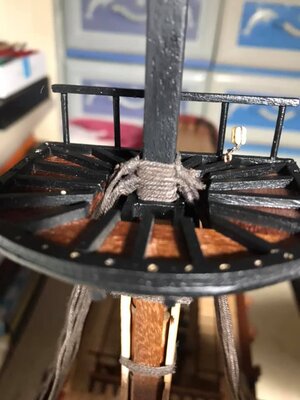
And then I checked the orientation of the ropes just under the crow's nest as picture below.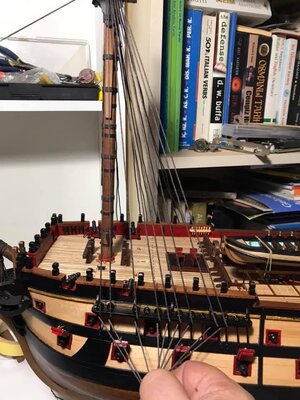
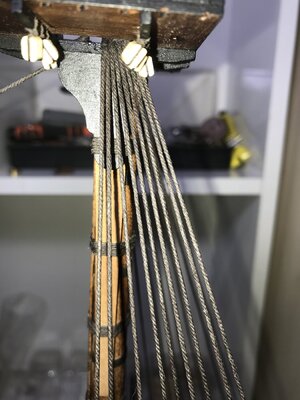 .
.
Now It's time to tie them up. Fist I installed the support rope (I dont know the technical term in english sorry.) Then begun to tie down the dead eyes. I didnt use any template for deadeyes. Also sorry because I forgot to take photos how I managed this process bu will do with the main mast.
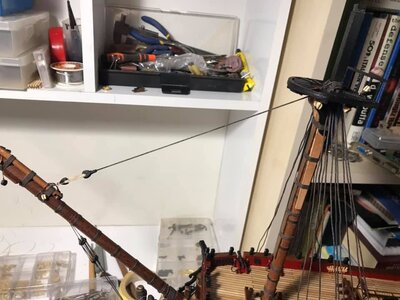
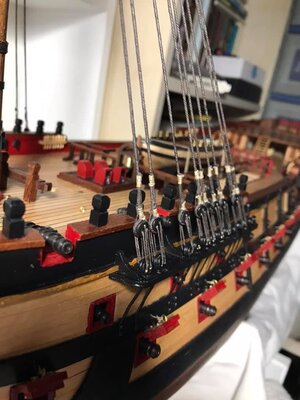
And then two ratlines for warm up and finished for now. I dont use any template for ratlines also. Up to me every shrouds and ratlines unique for each model and using a template is useless for good quality work.
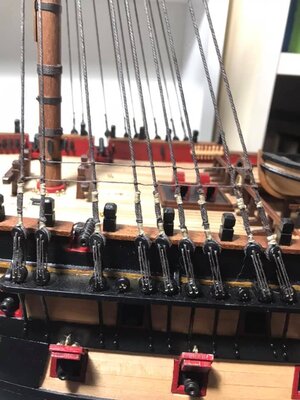
Finally my quality control team checked the model.
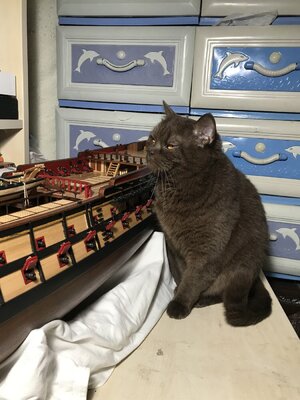
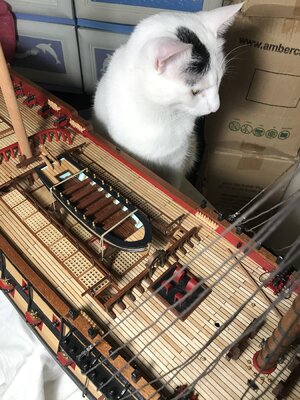
And yes the brown lady was the manager of QC team. Please take a look at her way of looking.
Best Regards from Turkey.


Photo was taken just after varnishing. Shining will fade as the varnish dries.
Here are some photos after varnish dried.


After this process I started to rigging.
First I installed the bowsprit. Checked the aligment first and then tie down necesarry ropes to install fore mast lower section.


After bowsprit installement. Before gluing, I wanted to check the position of fore mast. I used three temporary ropes to do this. And then glued.


And then begun to prepare the shrouds. There are nine shrouds on each side. So I prepared 8 double and 2 single shrouds.
Shrouds installed to the mast one to the right and one to the left, respectively


And then I checked the orientation of the ropes just under the crow's nest as picture below.

 .
.Now It's time to tie them up. Fist I installed the support rope (I dont know the technical term in english sorry.) Then begun to tie down the dead eyes. I didnt use any template for deadeyes. Also sorry because I forgot to take photos how I managed this process bu will do with the main mast.


And then two ratlines for warm up and finished for now. I dont use any template for ratlines also. Up to me every shrouds and ratlines unique for each model and using a template is useless for good quality work.

Finally my quality control team checked the model.


And yes the brown lady was the manager of QC team. Please take a look at her way of looking.
Best Regards from Turkey.
Last edited:
Hi Bilal.
You have installed the shrouds already and I have to tell you that the prow ones are wrapped as well as the others in their closest part to the crosstrees.
I'll try to find some pictures...
Sorry
You have installed the shrouds already and I have to tell you that the prow ones are wrapped as well as the others in their closest part to the crosstrees.
I'll try to find some pictures...
Sorry
Hi Bilal.
You have installed the shrouds already and I have to tell you that the prow ones are wrapped as well as the others in their closest part to the crosstrees.
I'll try to find some pictures...
Sorry
Hi Jaime
I have only this drawing from OCCRE and it's A4 size.
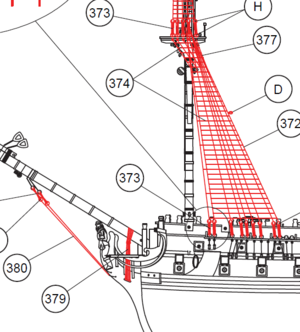
And I installed the rope which marked with green arrow to support the fore mast
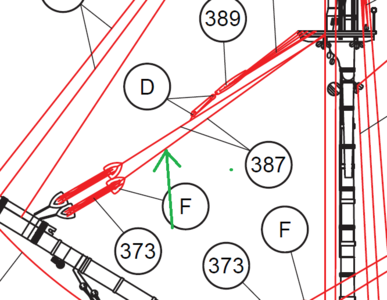
If I did something wrong I want to correct it.
I'm waiting your pictures.
Thanks in advance.
Best Regards.
Last edited:
You are progressing well and I am confident that you will have a pleasing finish ship to view. RichHi Jaime
I have only this drawing from OCCRE and it's A4 size.
View attachment 208451
And I installed the rope which marked with green arrow to support the fore mast
View attachment 208452
If I did something wrong I want to correct it.
I'm waiting your pictures.
Thanks in advance.
Best Regards.
Good morning Bilal.
At least I could find the pictures of my build. Is the San Juan Nepomuceno that is not exactly the same type of ship (The Montañés was more modern and better) but in this special feature, I think, were the same.
The wrapping or the threads were made in order to protect them from extreme friction or tension. Thats the reason why the prow shrouds were covered, to prevent them from being severely frictioned by the yards coming up and down and from the continous beating of the sails. In the same way, the stays were also wrapped, because were in high tension, provided they support the stability of the masts.
Besides all the shrouds were wrapped in the part they embrace the masts, just in the crosstrees and until the futtocks.
I show you all of this in some images.
Please let me know if there is something you want me to explain further.
Greetings and good job.
Jaime
PD. The instruction manual is very simple, all of this is an improvement of the model that will make it unique.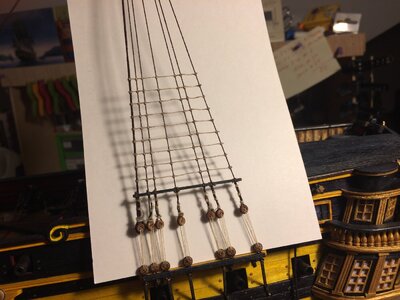
See the prow shroud wrapped
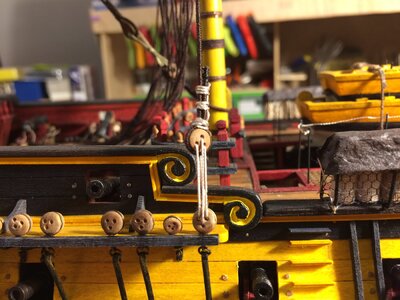
Detail
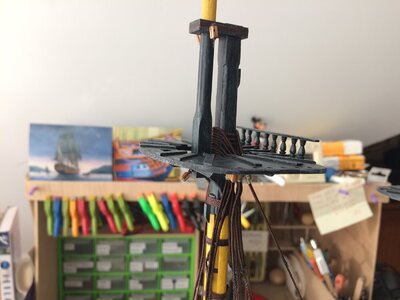
The shrouds supporting the masts. That part is also wrapped.
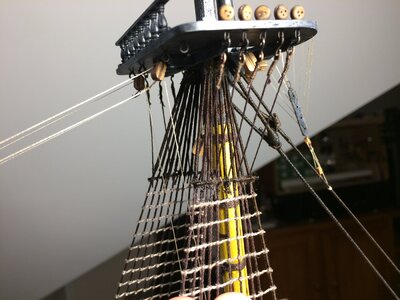
Wrapped until the futtocks.
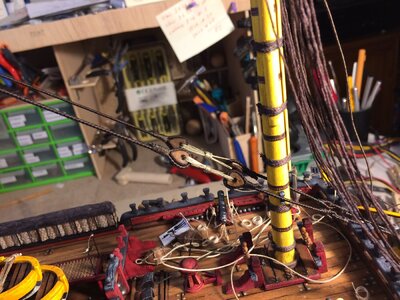
Main stay and preventer stay, wrapped.
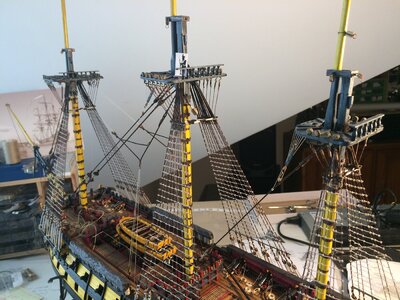
General view.
At least I could find the pictures of my build. Is the San Juan Nepomuceno that is not exactly the same type of ship (The Montañés was more modern and better) but in this special feature, I think, were the same.
The wrapping or the threads were made in order to protect them from extreme friction or tension. Thats the reason why the prow shrouds were covered, to prevent them from being severely frictioned by the yards coming up and down and from the continous beating of the sails. In the same way, the stays were also wrapped, because were in high tension, provided they support the stability of the masts.
Besides all the shrouds were wrapped in the part they embrace the masts, just in the crosstrees and until the futtocks.
I show you all of this in some images.
Please let me know if there is something you want me to explain further.
Greetings and good job.
Jaime
PD. The instruction manual is very simple, all of this is an improvement of the model that will make it unique.

See the prow shroud wrapped

Detail

The shrouds supporting the masts. That part is also wrapped.

Wrapped until the futtocks.

Main stay and preventer stay, wrapped.

General view.


