- Joined
- Nov 30, 2024
- Messages
- 156
- Points
- 103

Yeah, from what I’ve read, the Pinta and Nina were even smaller than the Santa MariaI was suprised at how small as well. We had a replica Pinta visit here quite a few years ago.
 |
As a way to introduce our brass coins to the community, we will raffle off a free coin during the month of August. Follow link ABOVE for instructions for entering. |
 |
 |
The beloved Ships in Scale Magazine is back and charting a new course for 2026! Discover new skills, new techniques, and new inspirations in every issue. NOTE THAT OUR FIRST ISSUE WILL BE JAN/FEB 2026 |
 |

Yeah, from what I’ve read, the Pinta and Nina were even smaller than the Santa MariaI was suprised at how small as well. We had a replica Pinta visit here quite a few years ago.
Thank you so much for these helpful pictures and instructions Tony. I am building this model (also only my second ship build) and ths deck has really challenged me. I have found yourbuild log very helpful!Instructions video #14 Part 1 completed
There’s a lot of work to be done in this video so I’ve decided to post it in 2 parts to avoid an overly long post with too many pictures
Another omission on this one, the video doesn’t show the fitting of the 2 square pillars at the stern although they are noticeable later in the video. For those that need to know, one is 24mm high like the majority of the others but the stern most one sits under deck beam #16 so has to be 21mm high
View attachment 504526
View attachment 504527
View attachment 504528
View attachment 504529
View attachment 504530
View attachment 504531
View attachment 504532
View attachment 504533
View attachment 504534
View attachment 504535
View attachment 504536
View attachment 504537
View attachment 504538
View attachment 504539

Glad it’s helping you TonyM, but my name is AlanThank you so much for these helpful pictures and instructions Tony. I am building this model (also only my second ship build) and ths deck has really challenged me. I have found yourbuild log very helpful!

Sorry! I realised that after I had sent the message.Glad it’s helping you TonyM, but my name is Alan

No problem, coincidentally TonyJ is another Australian from Brisbane I think, he is following my build and has his own build log on this siteSorry! I realised that after I had sent the message.


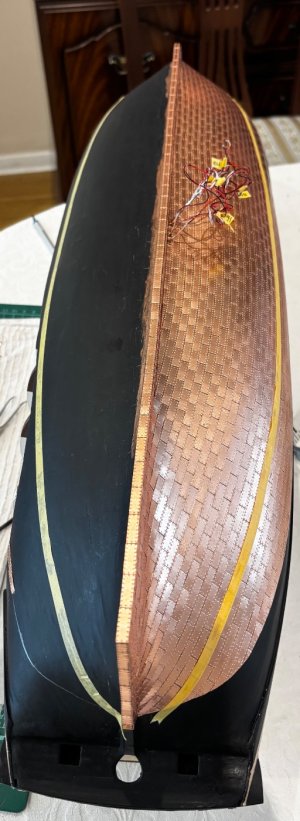
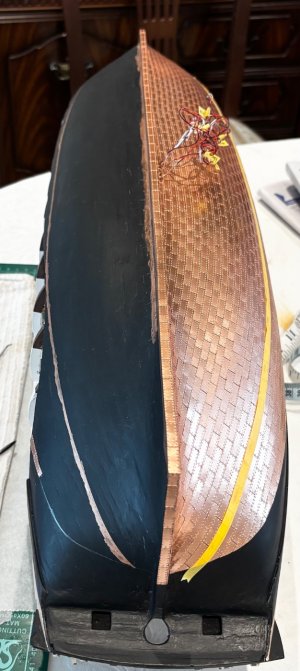
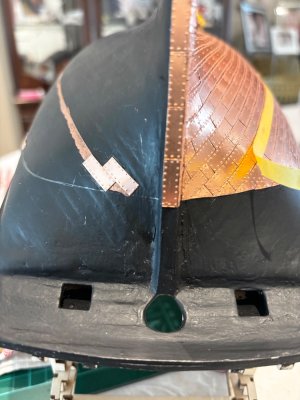

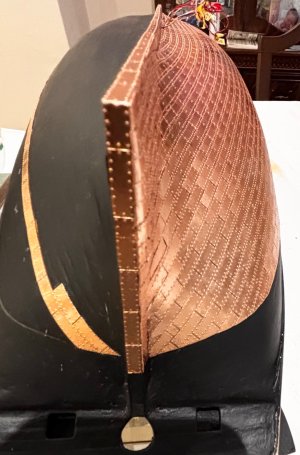
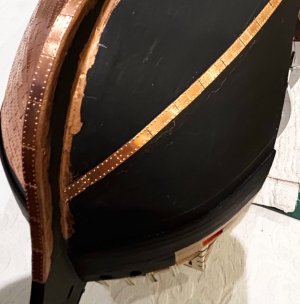
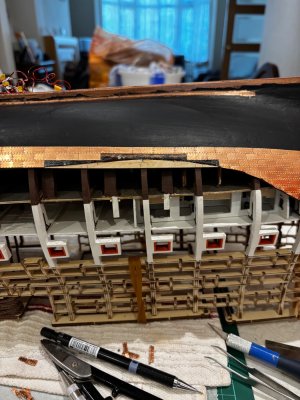
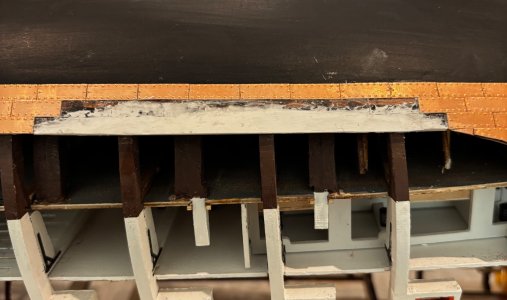
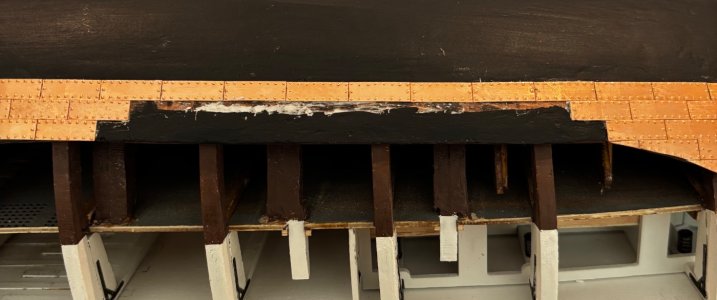


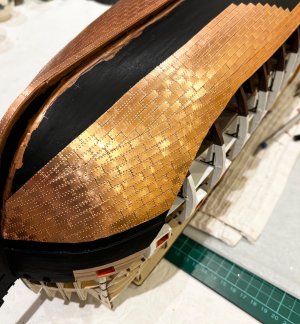
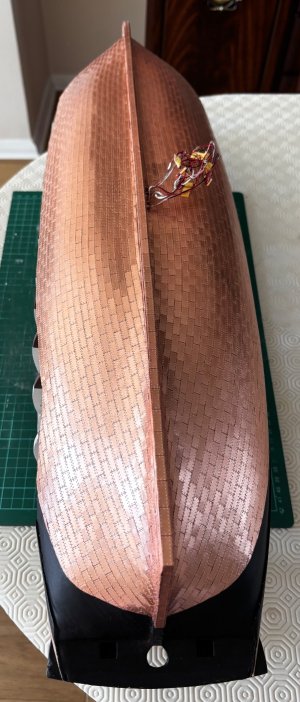
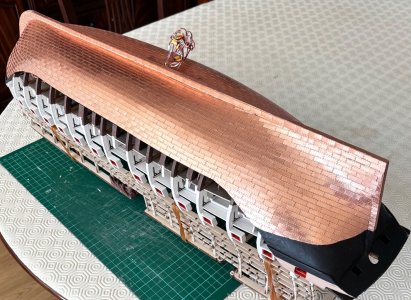
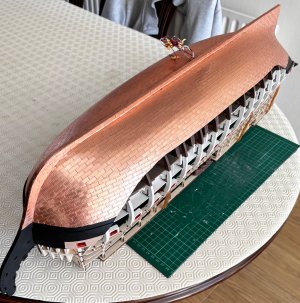
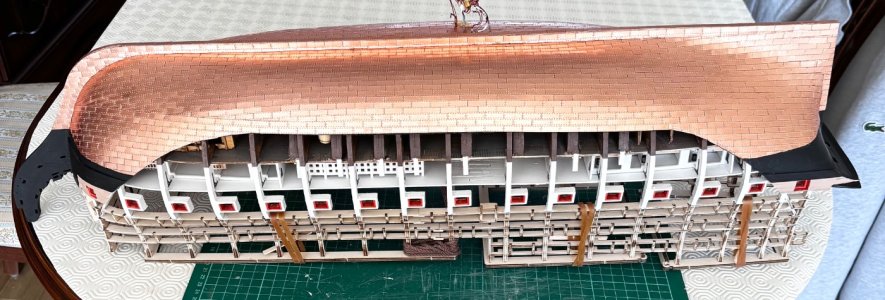
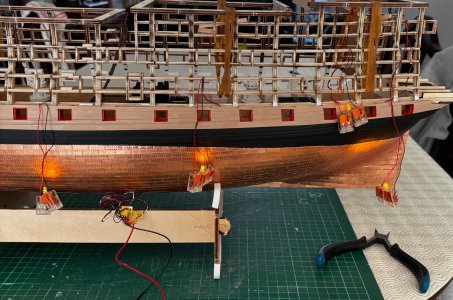
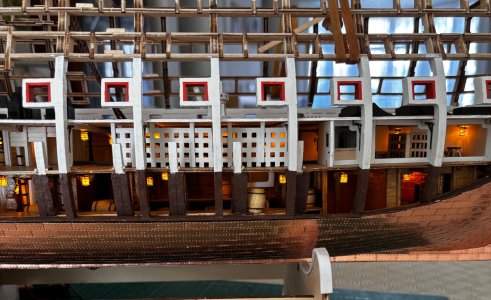


Thank you Günther for your comments and continued support of my build logHey Alan,
Great shots and really fantastic realisation. The copper plates are amazing. I can imagine that you need a break. But I forbid you to take a year off!!! Who am I supposed to learn from and copy how great the Victory is built?Don't do that to me ...
But seriously, I think it's great to see your progress and also how you're approaching building the Victory. Also, I'm glad your Victory survived the spins and standing on its head well. I hope no parts fell out? I'm glad the wiring held up well too. Otherwise it would certainly have been difficult to check the wiring to see where the fault might lie.
I can only say that I was very pleased to finally hear from you again and I'm looking forward to seeing what happens next.
Best regards
Günther


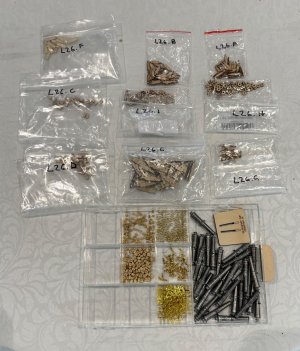
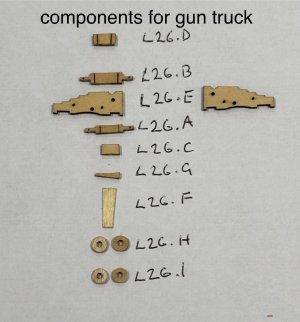
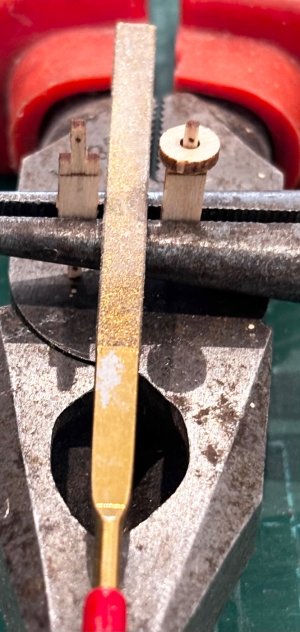
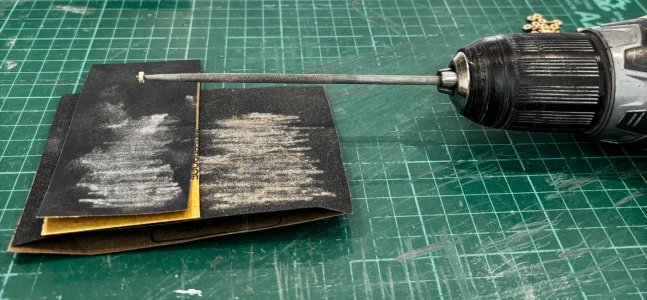
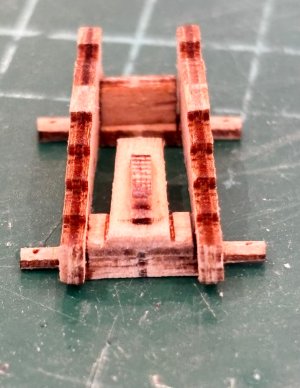
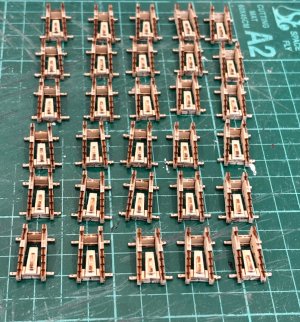
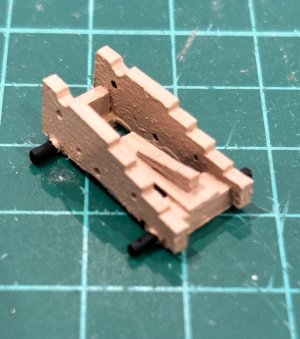
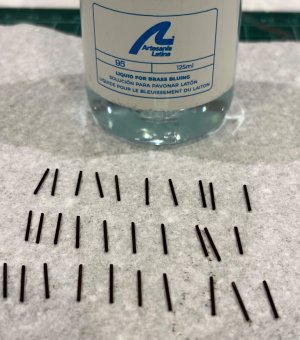
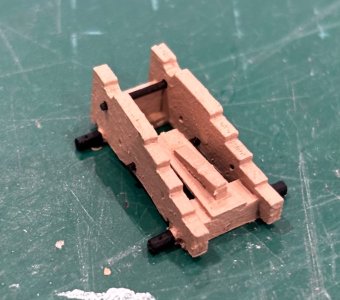
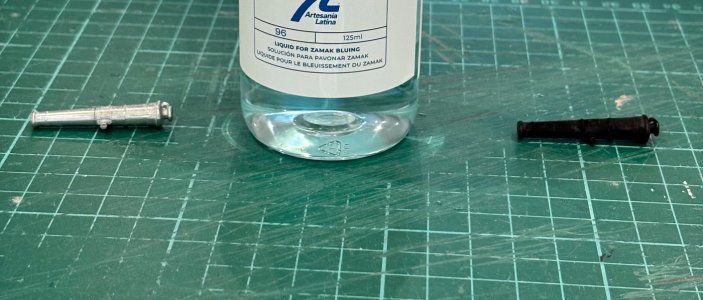
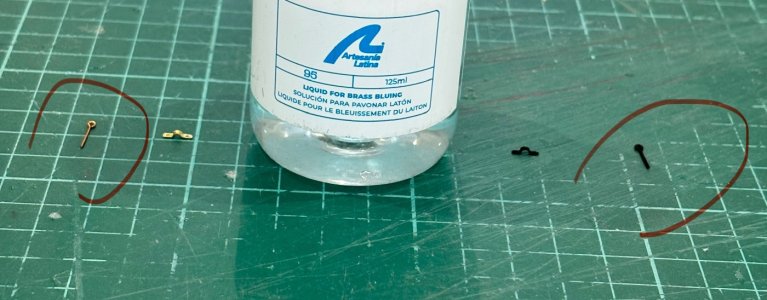
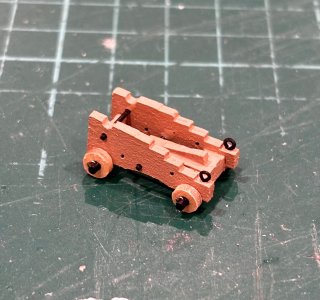
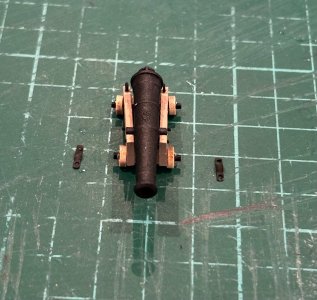
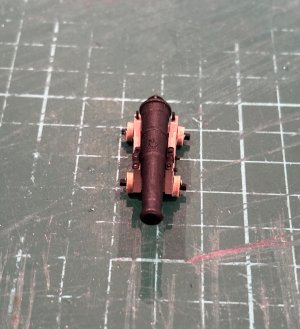
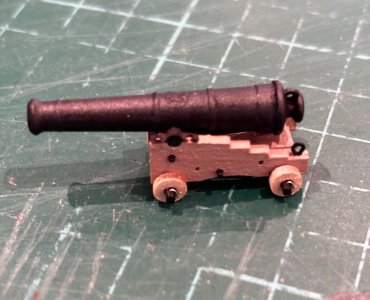
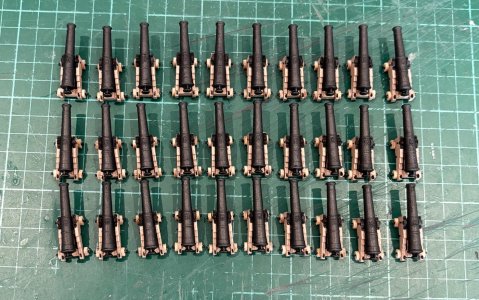

Thanks for your commentsAlan,
Wow what superb work!!. Also as was mentioned your copper plates look amazing. This is arguably also the best commercial kit of this ship on the market today.
Quick question does that AL bluing liquid also leave your fingers all black - I've used something else (forgot the name) but a real mess to use
requiring washing the parts after - hence also the blackened fingers.
Brilliant work - excellent log - glad to be aboard.
Regards,

Hi DaveThe cannons look great. I am looking to order this kit the question I have is with the light kit, does it come with enough lights for the model or do you have to order more then one light kit
Dave

Hi DaveWell I to have purchased this Victory just waiting for it to go through customs and get delivered. I will be using your log as a guide. It will be my first ship that I put lights in it. Any tips and tricks will be greatly appreciated
Dave
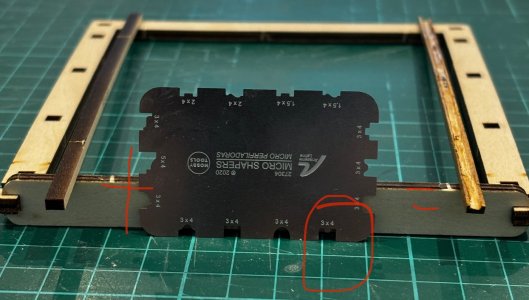


Hi GHey Alan,
really very impressive how you build them. The copper ring is world class. Respect. Can I ask how much the copper plates cost? Here in Germany, 100 pieces in this size cost 8.20 euros. You're right about the burnishing. It gives you black fingers. Because the surface is anodised. You should wash it off. Especially as, if you don't, you may end up with white spots that look really unattractive.
I pull my chair even closer to the table so that I can watch you closely. It's really fun to marvel at the progress you're making.
Best regards
Günther
Hi GüntherHey Alan,
really very impressive how you build them. The copper ring is world class. Respect. Can I ask how much the copper plates cost? Here in Germany, 100 pieces in this size cost 8.20 euros. You're right about the burnishing. It gives you black fingers. Because the surface is anodised. You should wash it off. Especially as, if you don't, you may end up with white spots that look really unattractive.
I pull my chair even closer to the table so that I can watch you closely. It's really fun to marvel at the progress you're making.
Best regards
Günther
It may just be the lighting in the photos but are they upside down? The plates were nailed on so there would be dents where the nails were hammered in rather than the appearance of rivet heads.Also as was mentioned your copper plates look amazing.
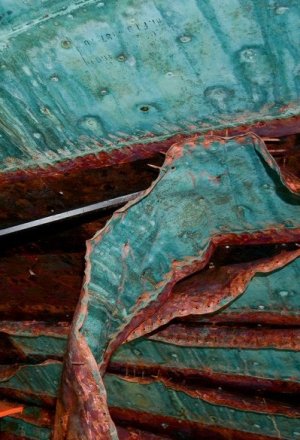

No, it’s supposed to be rivet headsYou folks doing the lighting amaze me. I guess we can all do it but I am totally intimidated by this. Nicely done.
It may just be the lighting in the photos but are they upside down? The plates were nailed on so there would be dents where the nails were hammered in rather than the appearance of rivet heads.
View attachment 534789
